21 Budget Bedroom Transformations: Before and After Mistakes to Avoid in Small Apartments
The Reality of Small Apartment Bedrooms
Living in a compact rental often involves negotiating with awkward corners and tight door clearances. When subtle missteps pile up, a cozy nook quickly turns into a cluttered bottleneck. Exploring practical small apartment decorating ideas doesn't require luxury spending. Real-life reveals prove that an intentional budget bedroom makeover comes down to clever furniture placement and balanced textures.
Space-Planning Mistakes That Shrink Your Bedroom
Even the best color palettes and linen duvets fall flat when traffic flow feels pinched. An intuitive small bedroom layout balances visual weight with everyday movement, ensuring wardrobe doors swing open freely and pathways remain unobstructed. When furniture crowds primary walkways, the eye immediately registers the room as half its actual footprint.
Unchecked space planning mistakes frequently turn functional layouts into cramped obstacle courses before you hang your first art print. By rethinking how pieces anchor the corners and allowing negative space along major sightlines, you establish an airy foundation that highlights the rest of your decor.
1. Pushing All Furniture Against the Walls
It feels natural to shove your dresser and bed frame flat against baseboards to hoard open floor space. However, perimeter crowding draws immediate attention to tight boundaries. Lining every wall with bulky furniture creates an empty center that emphasizes room limits rather than softening them. Shifting toward an intentional small bedroom arrangement means pulling the headboard a couple of inches off the drywall or angling an accent chair to create subtle zones. Embracing floating furniture bedroom layouts allows light to circulate freely, establishing depth that makes compact sleeping quarters feel deliberate.
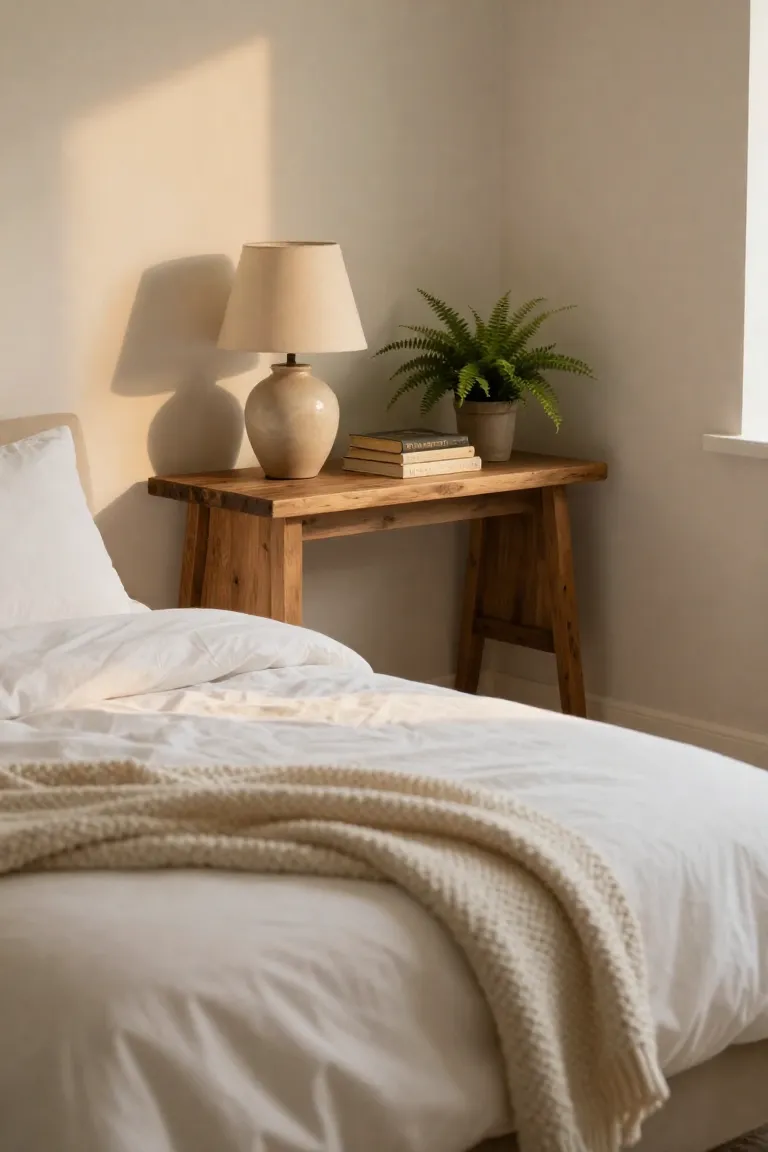
2. Ignoring Vertical Storage Opportunities
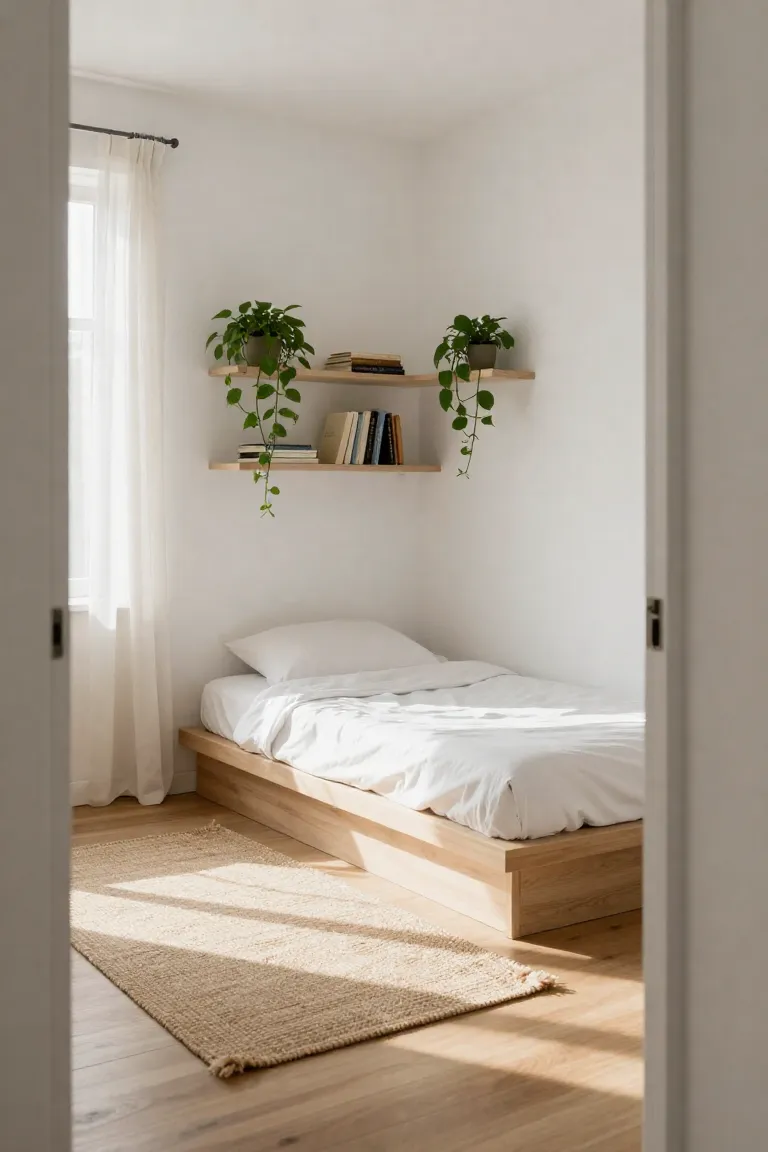
Glancing down at crowded dressers reveals how easily usable floor footage gets consumed. When you confine all storage to waist-level dressers, the perimeter feels boxed in while the upper walls sit bare. Shifting focus toward clever vertical storage ideas redirects the eye toward the ceiling, creating an illusion of height. Installing slender small bedroom shelving or hanging modular floating units right above head height pulls books and folded linens off valuable floor space. Choosing tall bookcases that stretch nearly to the ceiling molding draws the gaze upward, helping compact quarters breathe while keeping everyday essentials within reach.
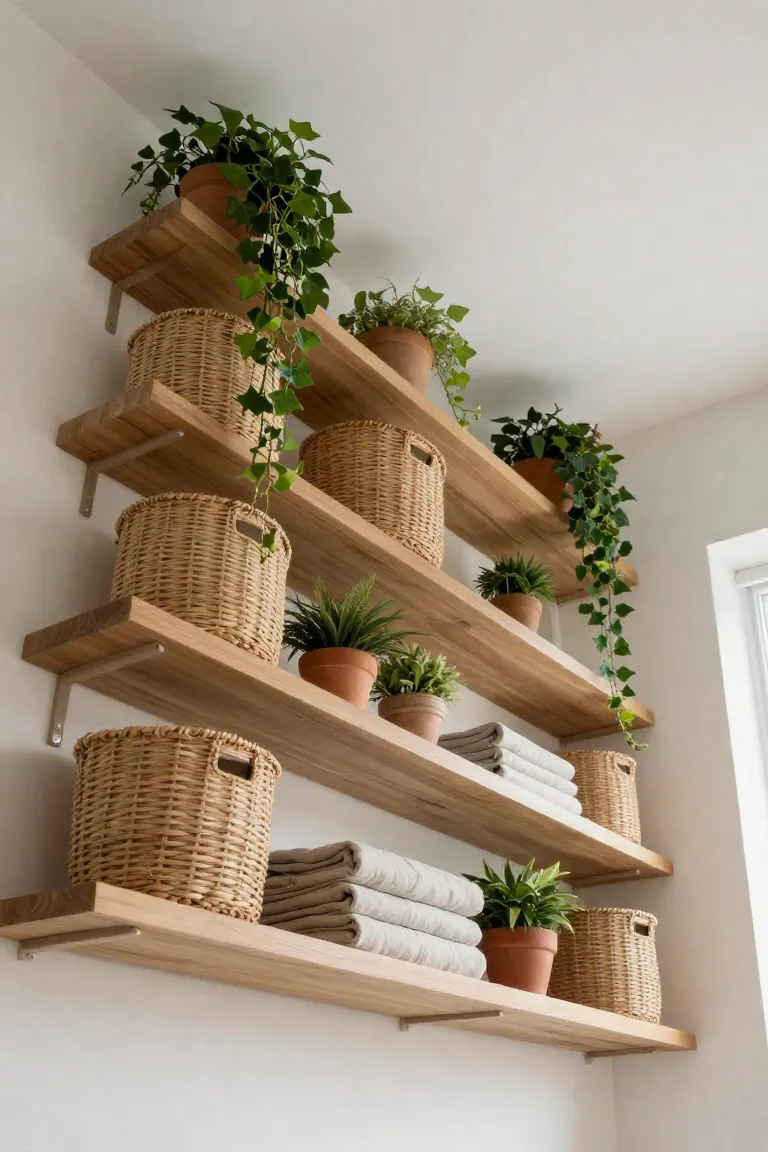
3. Blocking the Only Natural Light Source
Cramming a tall chest of drawers directly against the sill cuts off the path of morning daylight, casting shadows over the entire room. Rethinking your window placement furniture strategy allows morning beams to bounce cleanly off perpendicular walls, brightening a natural light bedroom.
- Pull high-profile dressers to adjacent interior walls so outdoor daylight washes across the room without obstruction.
- Swap thick headboards for low-profile frames that sit well below the sill line if placing the bed near the glass is unavoidable.
- Pair light-filtering linen drapes with clear wall clearances to let sunshine graze the flooring and amplify open space.
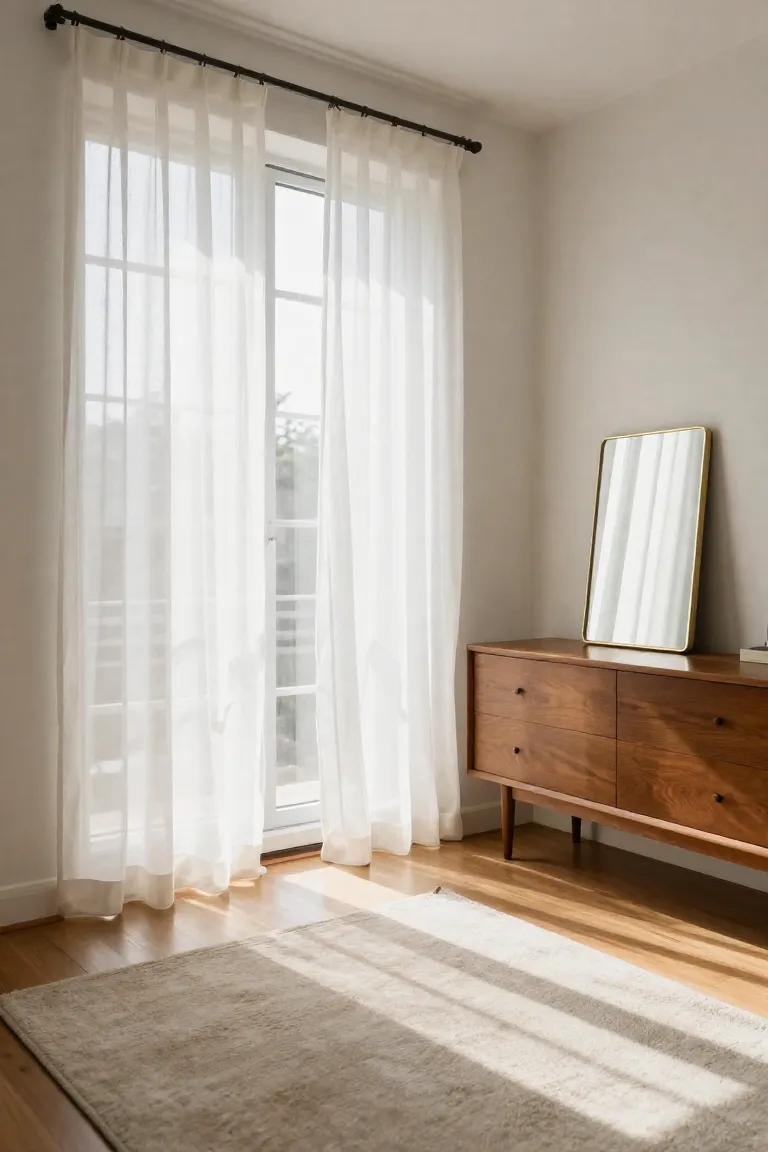
4. Choosing Oversized, Bulky Bed Frames
Plush wingback headboards carry a substantial physical footprint, stealing up to eight extra inches along each border that a tight layout simply cannot spare. Investing in a streamlined minimalist bed frame recaptures that lost clearance, establishing crisp lines that keep walkways clear. Choosing a slender wooden platform or an open-leg metal base ensures your small apartment bed looks light on its feet rather than dominating the floor plan. Open sightlines beneath the perimeter trick the eye into reading more continuous flooring, grounding your sleeping zone while maintaining clearance around the corners.
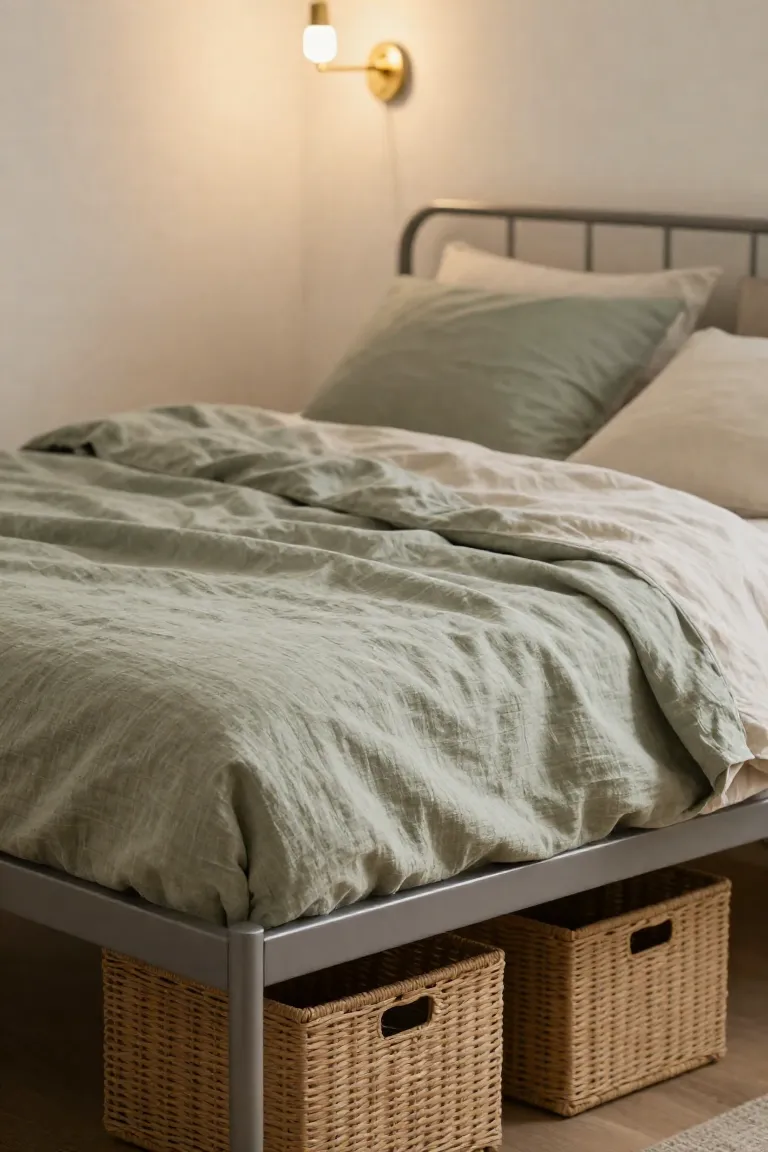
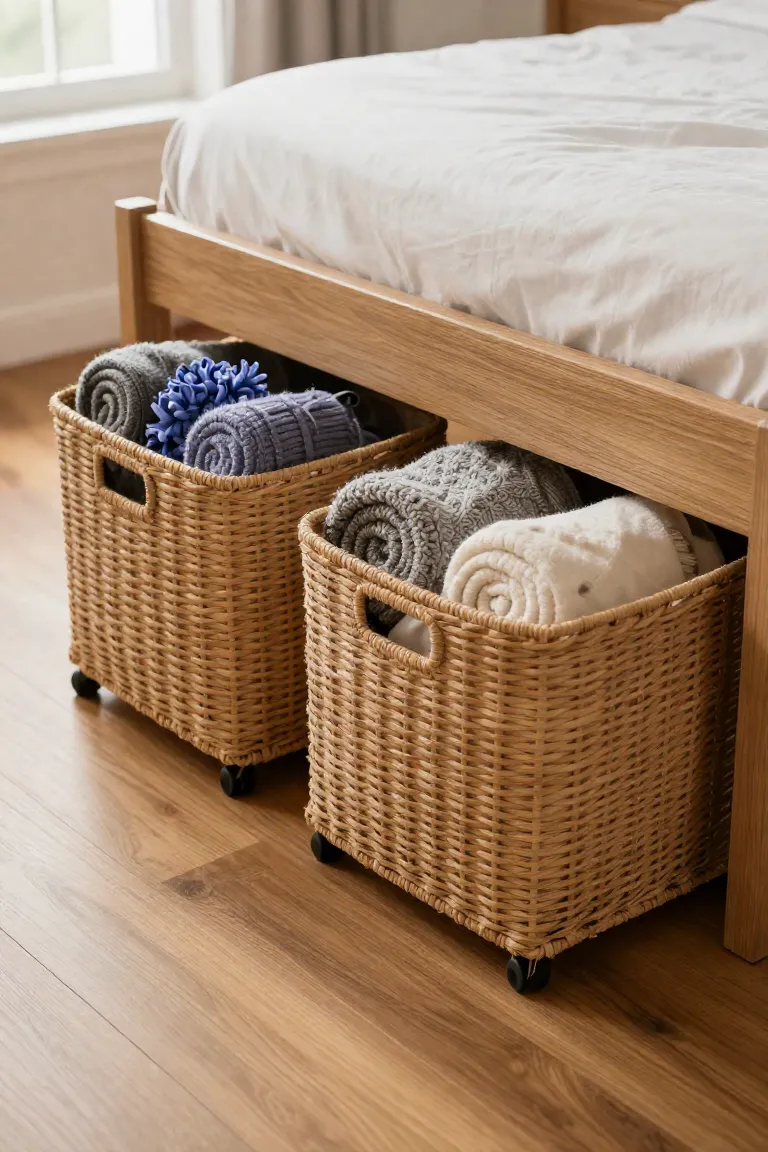
5. Forgetting About Under-Bed Storage Real Estate
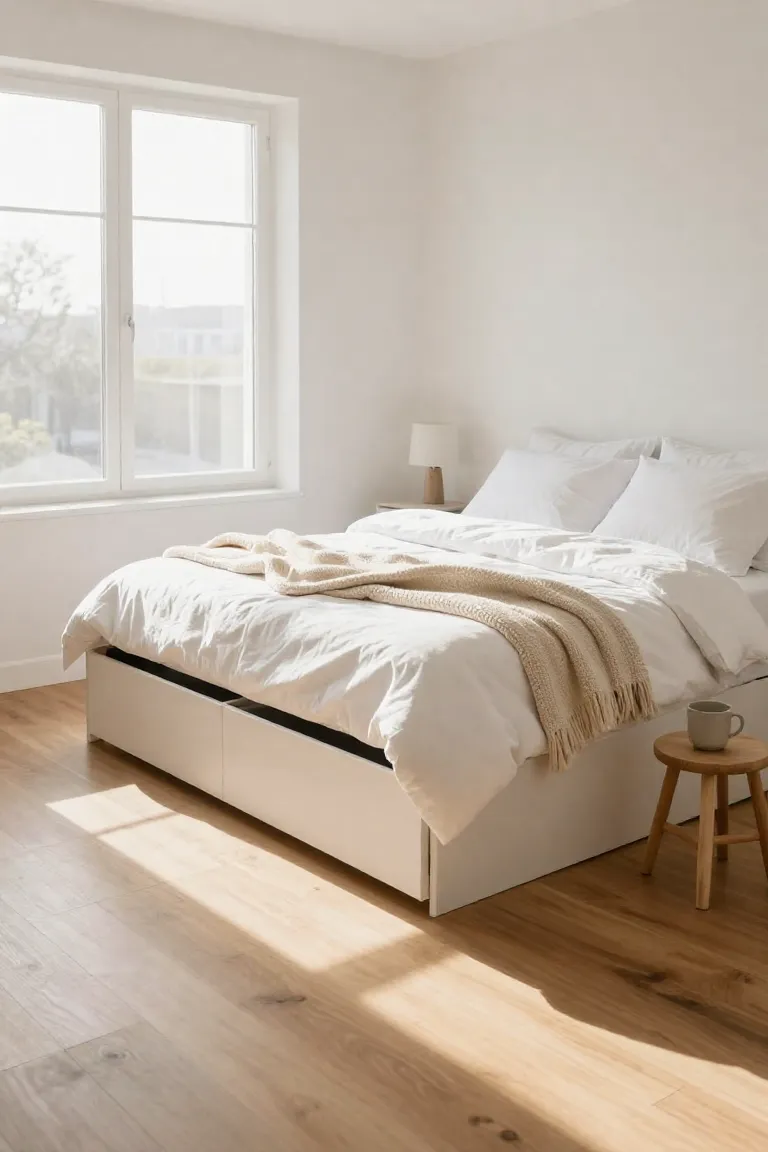
Leaving the clearance beneath your mattress vacant surrenders several square feet of prime storage in a tight footprint. Instead of letting dust accumulate across bare floorboards, slide low-profile canvas bins or cedar drawers on wheels beneath the frame to establish discreet hidden bedroom storage. Fabric-lined woven baskets work well if your frame has exposed sides, keeping spare linen sets and seasonal footwear organized yet out of direct sight. Matching basket tones to the baseboards creates a tailored look that keeps pathways open while doubling your wardrobe capacity. Choosing shallow containers with fitted lids keeps dust out and allows smooth sliding over low-pile rugs, giving you practical under bed storage that keeps extra clutter concealed.
Color and Lighting Blunders on a Budget
Surface finishes and illumination directly influence visual expansion. A fresh gallon of budget bedroom paint alters how light travels across tight corners, turning a dingy rental enclosure into an open retreat. Many apartment dwellers accept dreary shadows or stark yellow casts as unavoidable landlord quirks, but targeted cosmetic adjustments generate shifts in spatial depth for modest costs.
In cramped layouts, proper small bedroom lighting operates alongside wall tones to soften harsh boundary lines and claustrophobic corners. With warm bulbs placed at multiple eye levels and reflective eggshell wall sheens bouncing ambient daylight, you reset the atmosphere without permanent wiring changes.
6. Relying Solely on the Overhead Rental Light
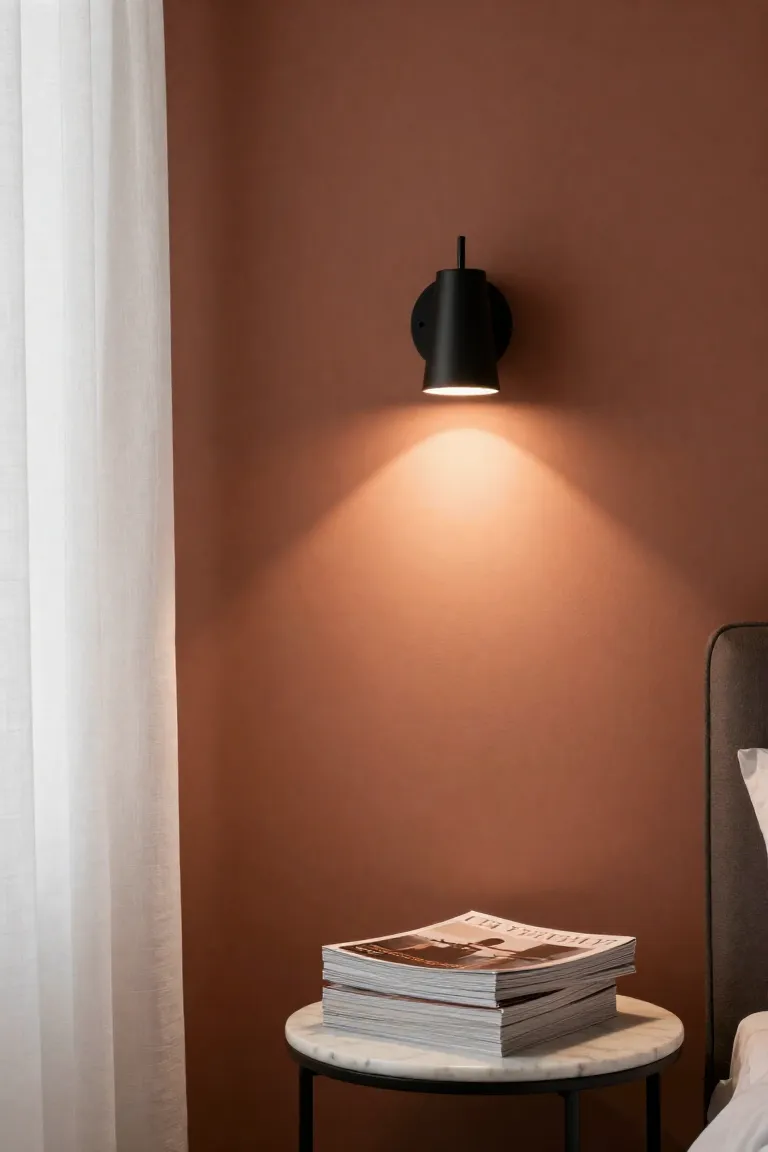
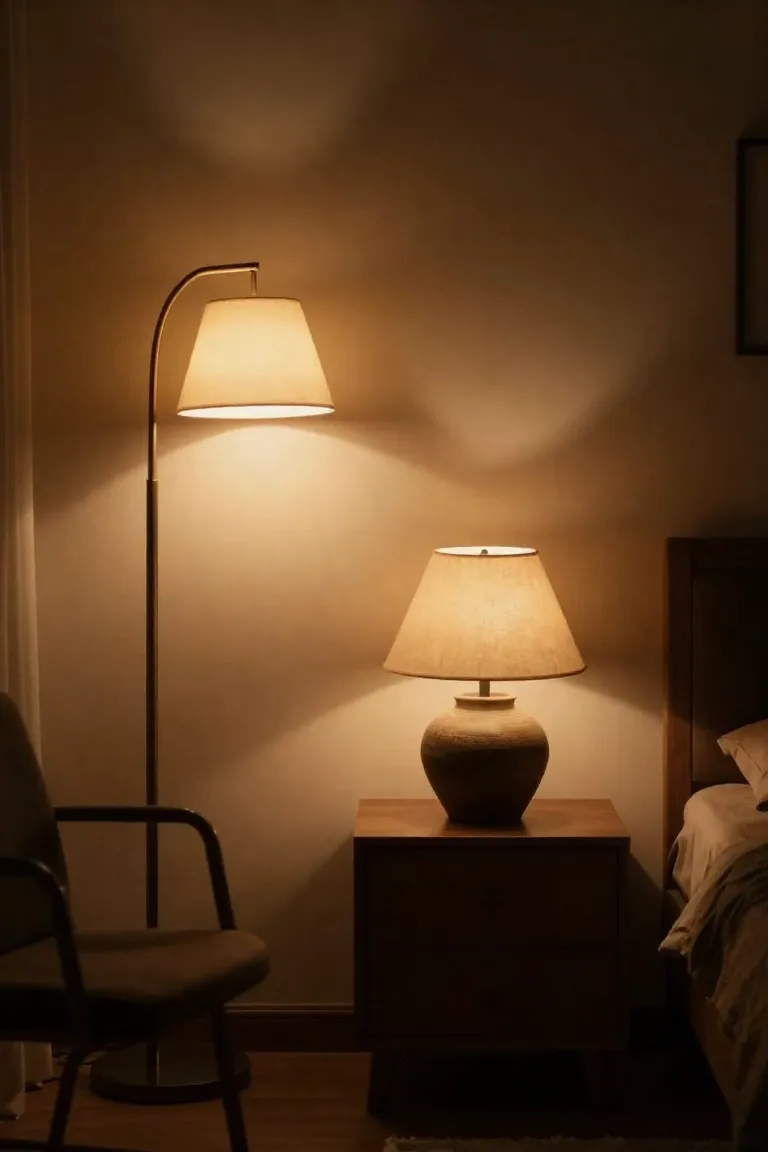
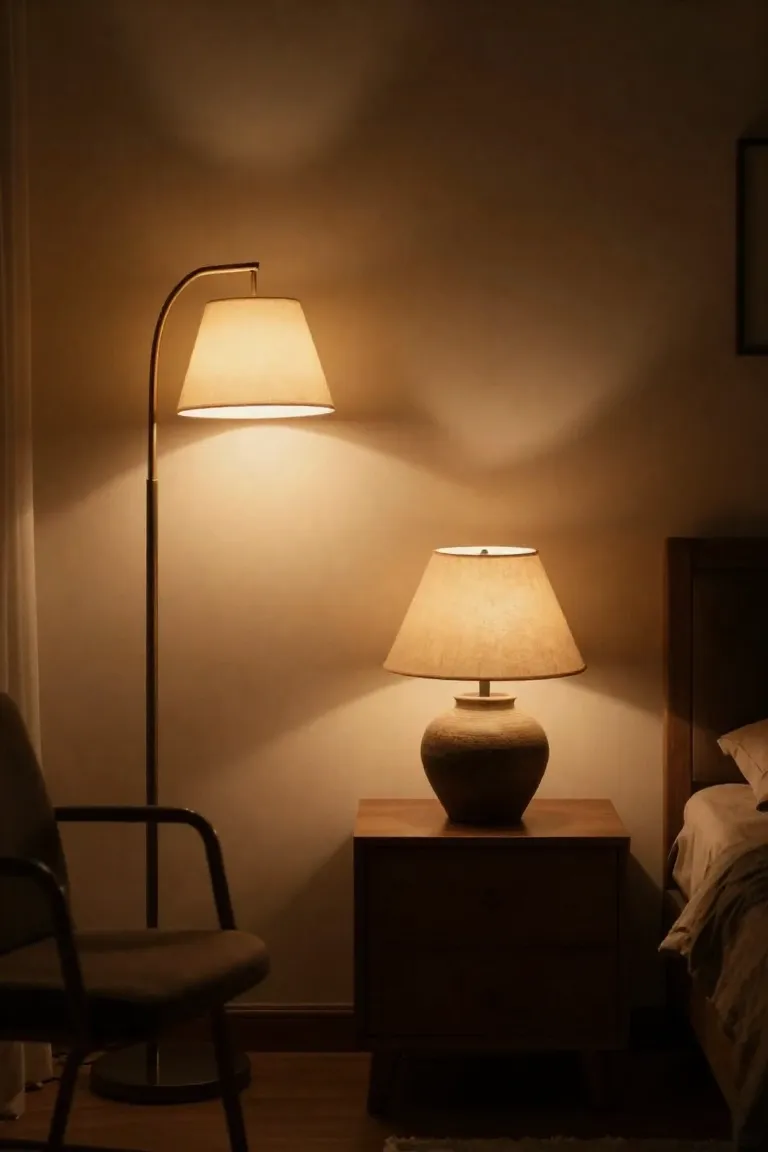
Turning on a standard frosted ceiling fixture washes the space in an unflattering glare, accentuating tight angles and flattening bedroom texture. A cozy evening retreat requires layered bedroom lighting, dispersing a glow across distinct heights to create ambient depth.
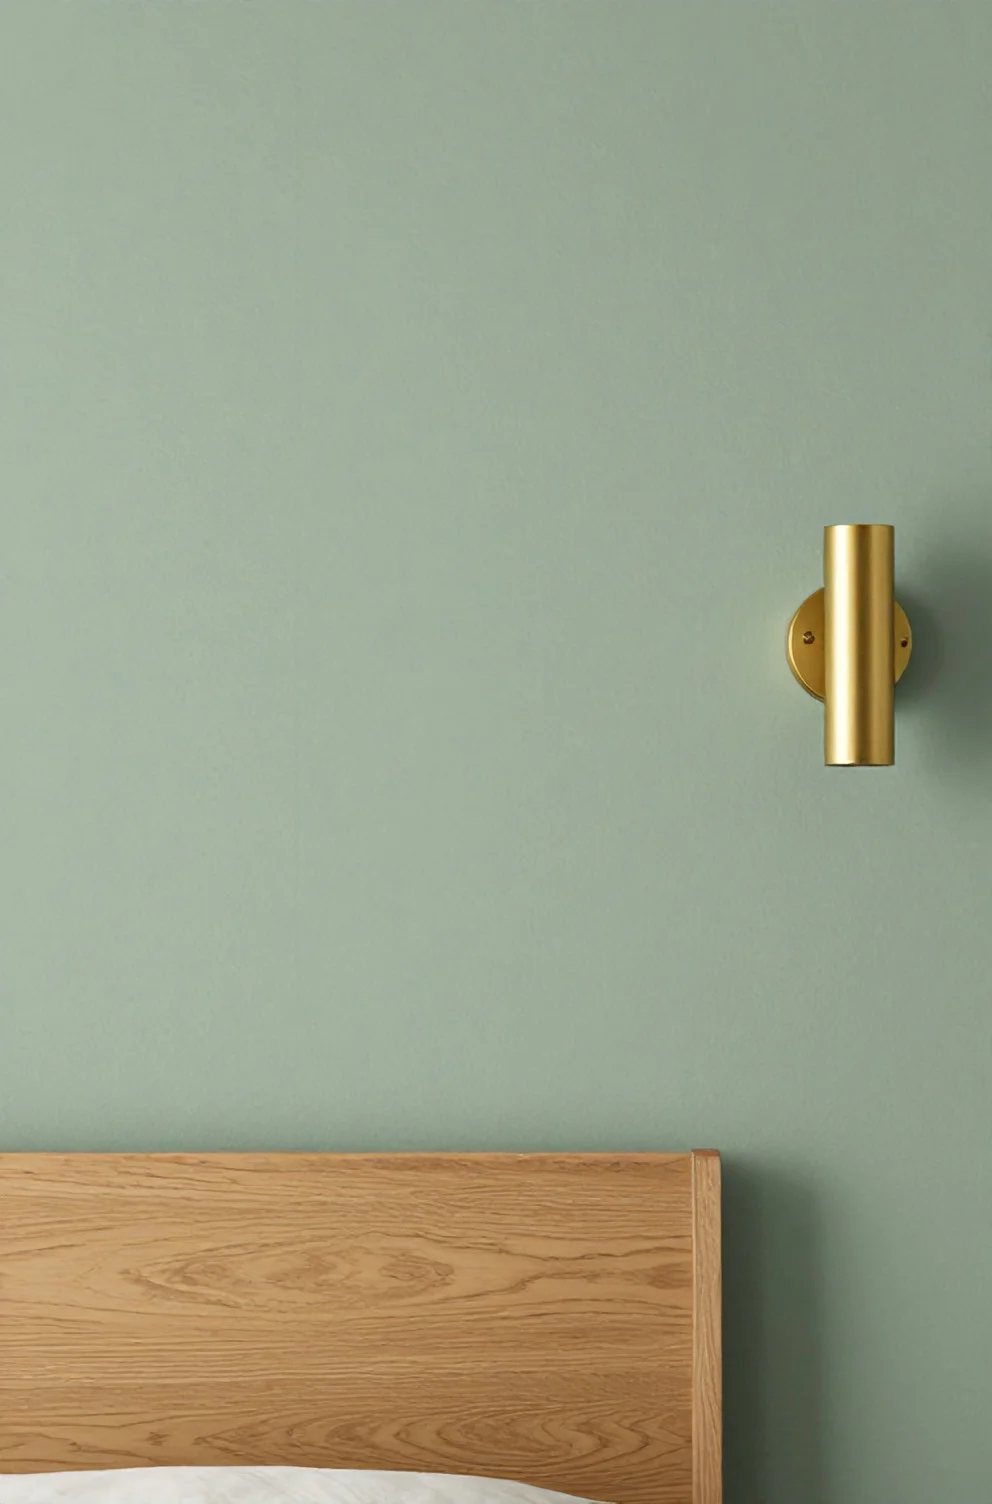
- Anchor bedside tables with a streamlined plug in wall sconce to free up surface room while casting soft directional reading light.
- Tuck a warm-toned ceramic accent lamp onto a low dresser to eliminate shadowy gaps in unused corners.
- Swap stark daylight bulbs for warm white 2700K options to soften room edges.
7. Painting Every Wall a Dark, Heavy Color
Dark charcoal walls absorb natural illumination entering the room, boxing in your sleeping quarters. Saturating every square foot with moody hues shrinks perimeter boundaries, pulling the ceiling downward and creating an unintentionally cramped enclosure. Shifting the main backdrop toward creamy off-white or pale linen bounces incoming sunlight throughout the layout, proving how much light bedroom colors expand visual breathing room.
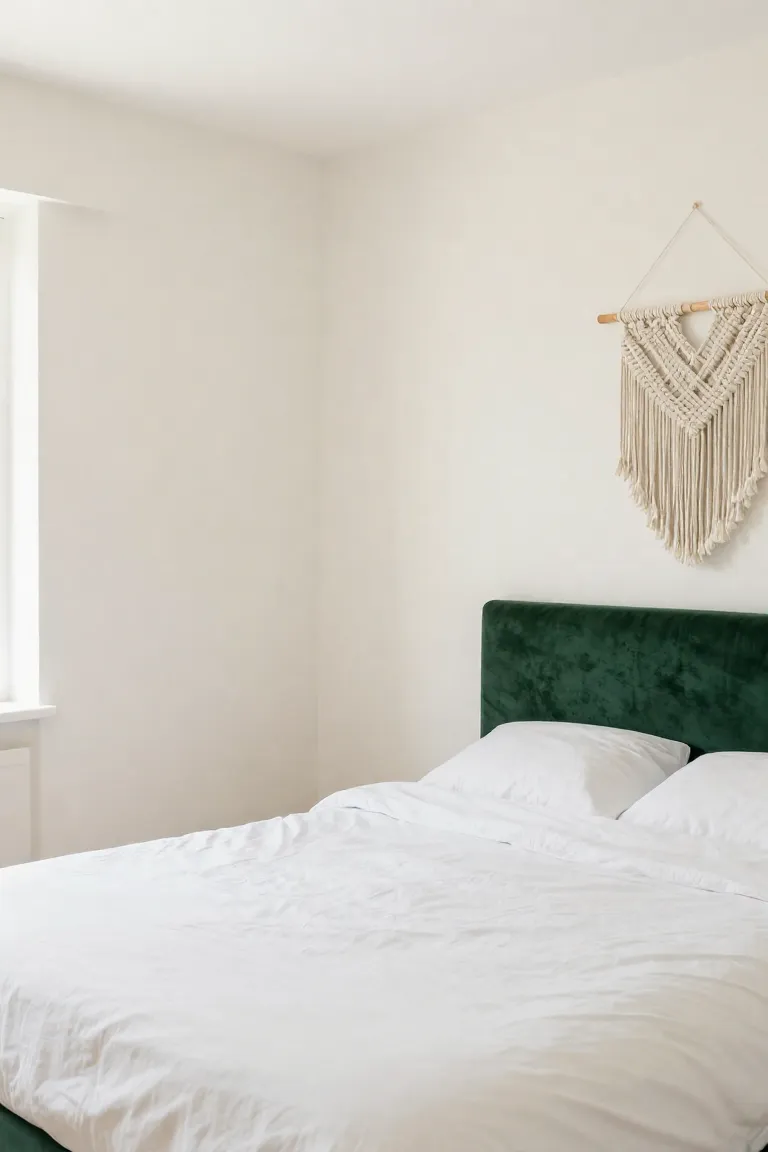
For anyone wanting dark tones without sacrificing spatial clarity, a targeted accent wall small room setup delivers rich contrast behind the headboard. Deep forest green anchored to a single focal plane grounds the bed without swallowing precious square footage. Crisp contrast against soft-toned adjacent walls keeps the perimeter bright while lending depth to compact quarters.
8. Skipping Window Treatments Completely
Bare window frames can leave a bedroom feeling drafty and uncomfortably exposed to outdoor foot traffic. Unadorned glass panes bounce sound around compact spaces, introducing a stark chill that cheapens the furniture layout. Thoughtfully curated bedroom window treatments solve this by layering tactile fabric and filtering harsh midday glare.
A smart budget styling trick involves hanging curtains high and wide beyond the physical window casing. Mounting the drapery rod just inches beneath the ceiling molding pulls the eye upward, giving standard eight-foot rental walls the illusion of vertical height. Flowing floor-length panels that kiss the baseboards disguise awkward off-center window placements while locking in warmth.
9. Mismatching Wood Tones and Finishes
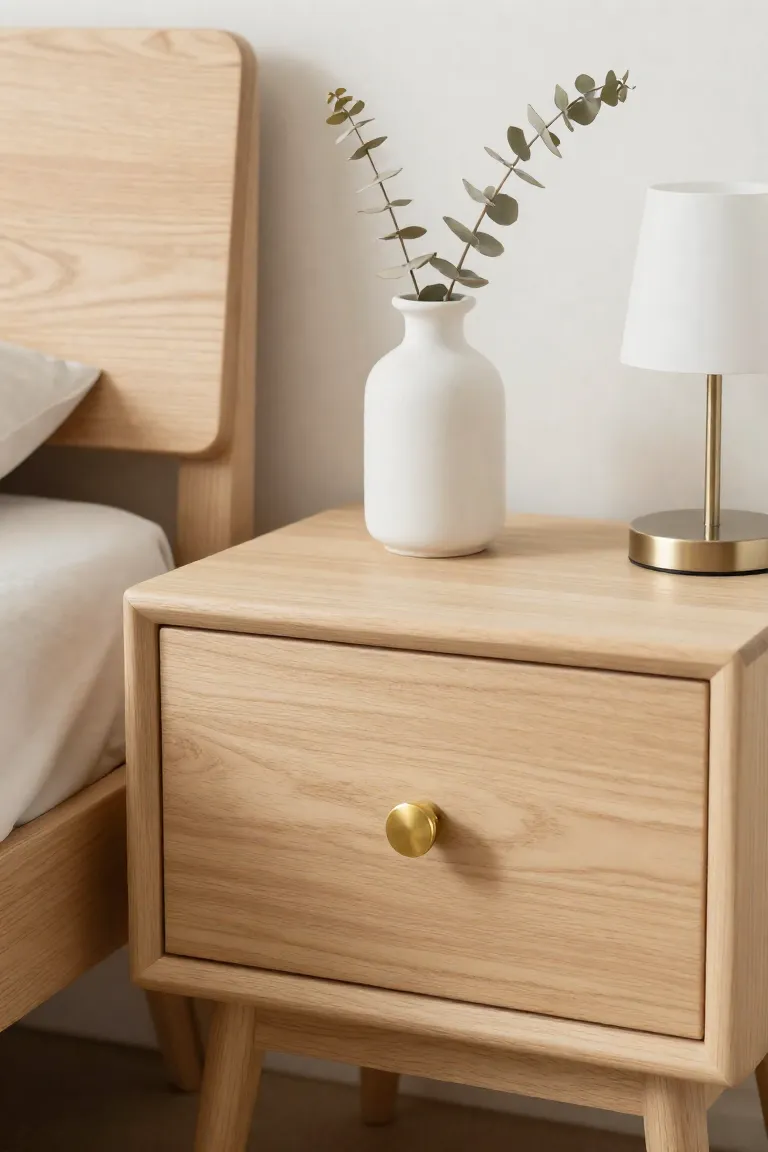
Clashing orange pine and raw oak create visual friction that fragments compact layouts. While intentional mixing wood tones brings character to spacious homes, tight quarters require a restrained hand to preserve calm. Streamlining secondhand finds with unifying undertones restores visual order, establishing the foundation for a cohesive bedroom design.
- Unify disparate thrifted nightstands with two coats of satin cabinet paint in warm greige.
- Match the underlying wood temperature across natural pieces by pairing exclusively warm honey tones or cool ash finishes.
- Standardize mismatched hardware by swapping drawer pulls to a single matte black finish.
10. Forgetting to Add Reflective Surfaces
When finishes across a compact layout are flat or exclusively matte, the perimeter absorbs incoming daylight and feels closed in. Absorbing natural rays leaves tight corners looking shadowy and visually static. Incorporating mirrors for small spaces breaks that boxed-in sensation by bouncing daytime light into deep alcoves and creating an optical illusion of depth where solid walls feel restrictive.
A full-length bedroom floor mirror positioned directly across from the main window acts like an artificial glass opening, doubling the natural daylight across the room. The clean bounce of morning sunshine off an arched metal or slim timber frame multiplies ambient brightness without demanding floor clearance.
Styling and Decor Mishaps You Need to Fix
A cramped sleep space rarely stems from a lack of square footage alone. Subtle layout missteps and haphazard accessories distort the visual balance of the room. Curating thoughtful small bedroom decor does not require sledgehammers or expensive contractor visits. Often, striking room transformations happen simply when you pause to reassess how wall art and accent textiles interact with your sightlines.
Smart budget styling tips prioritize intentional spatial breathing room over constant shopping hauls. Shifting a single gallery frame closer to eye level or swapping a bulky throw blanket for breathable linen can reset the visual layout. By focusing on cohesive textures and intentional editing, you create an airy aesthetic while working strictly with pieces you already own.
11. Creating a Chaotic, Cluttered Nightstand
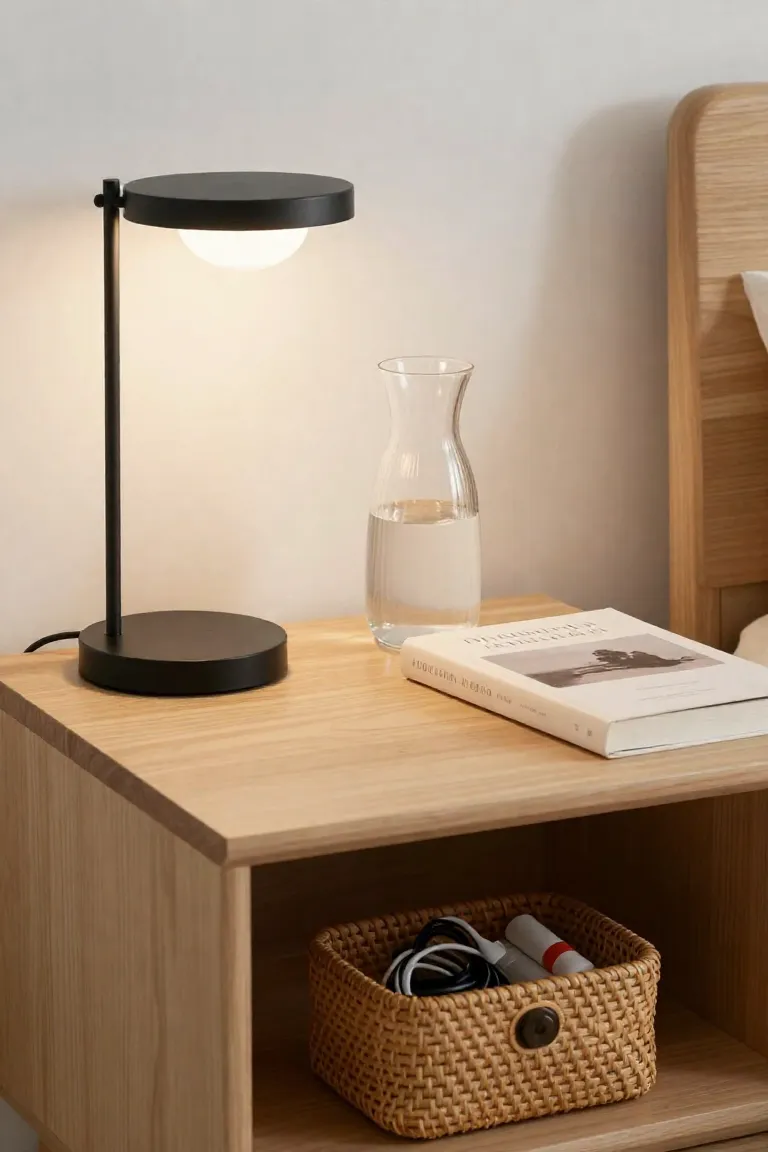
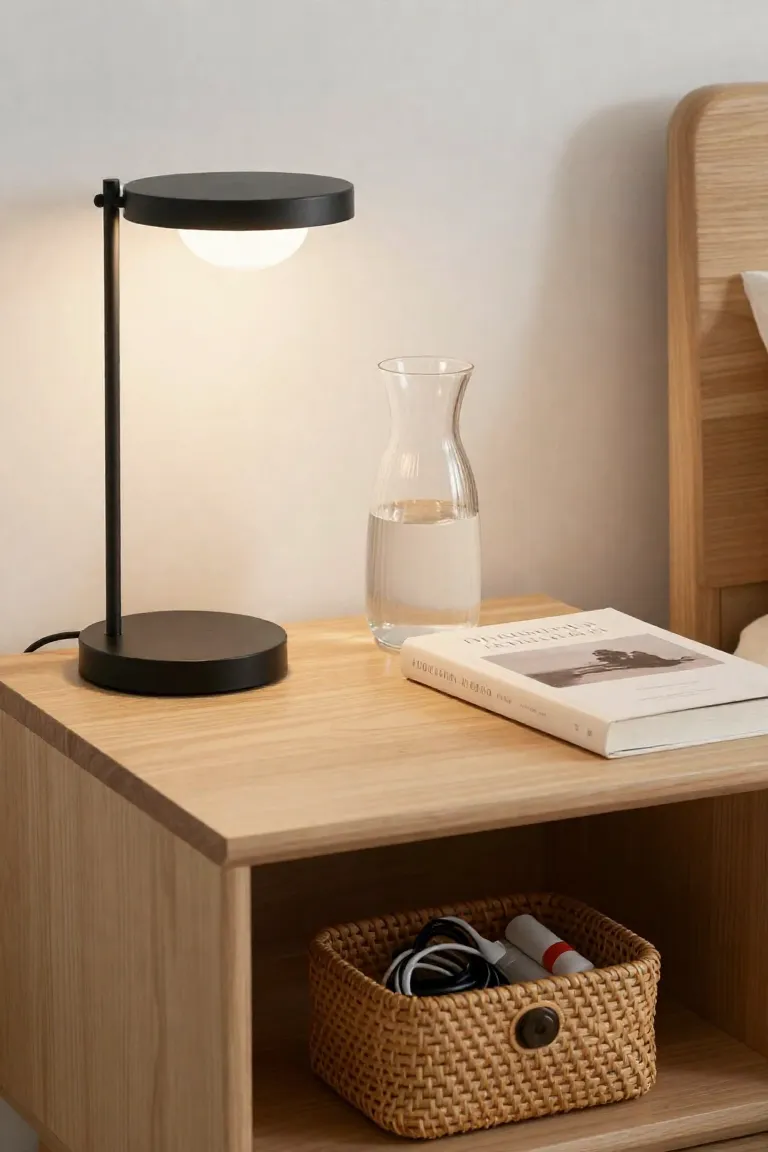
Tangled charging cords and scattered receipts piled beside your pillow make the room feel untidy. Because the eye naturally gravitates toward bedside surfaces, letting clutter accumulate makes the entire sleeping zone feel disordered, no matter how clean the sheets are. Mastering practical nightstand organization calms that sensory chaos and reframes the sleeping nook as an intentional retreat.
A lidded linen box or a single shallow drawer conceals lip balms and bedtime clutter away from open view. Resting nothing on the tabletop except a slim task lamp and your current novel turns an ordinary ledge into a refined minimalist bedside table. This simple edit protects visual breathing room right where you start and end your day.
12. Hanging Art Way Too High on the Wall
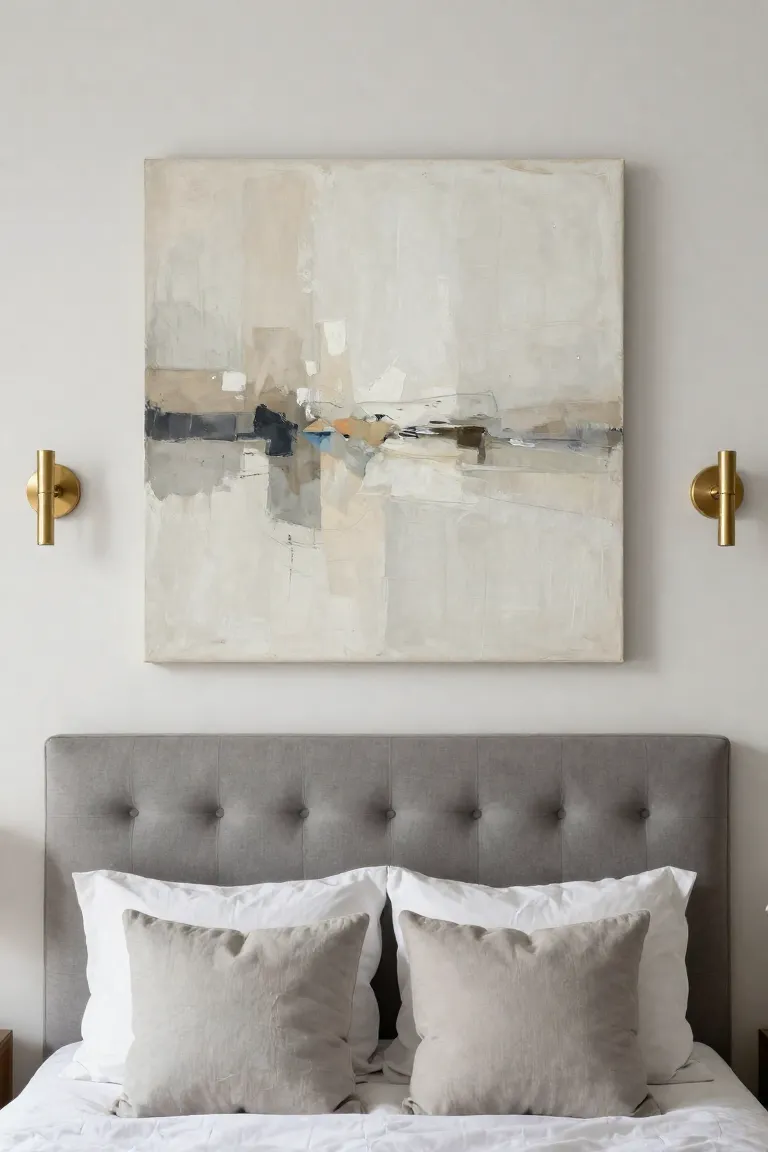
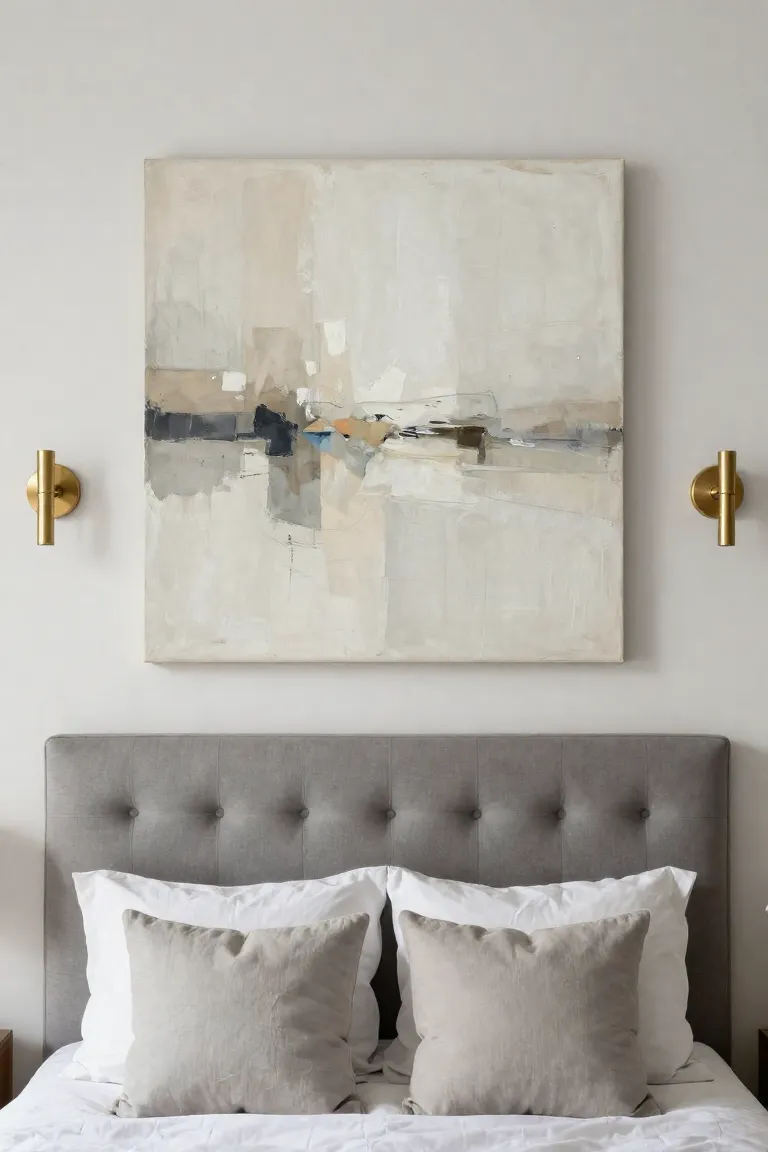
Carrying that visual balance up from the bedside ledges requires rethinking how frames interact with the architecture of a compact room. When small prints float stranded near the ceiling line, they sever the connection to the furniture and trick the eye into perceiving boxed-in vertical boundaries. Mastering how to hang art comes down to treating the frames and headboard as a single unified vignette. Aim to position the center of a solo print roughly 57 to 60 inches from the floor, or tether multi-piece bedroom wall decor just five to eight inches above the headboard. This calculation creates a grounded focal point that anchors the sightline, allowing generous negative space above to make tight drywall expanses breathe.
13. Buying a Rug That Is Too Small for the Space
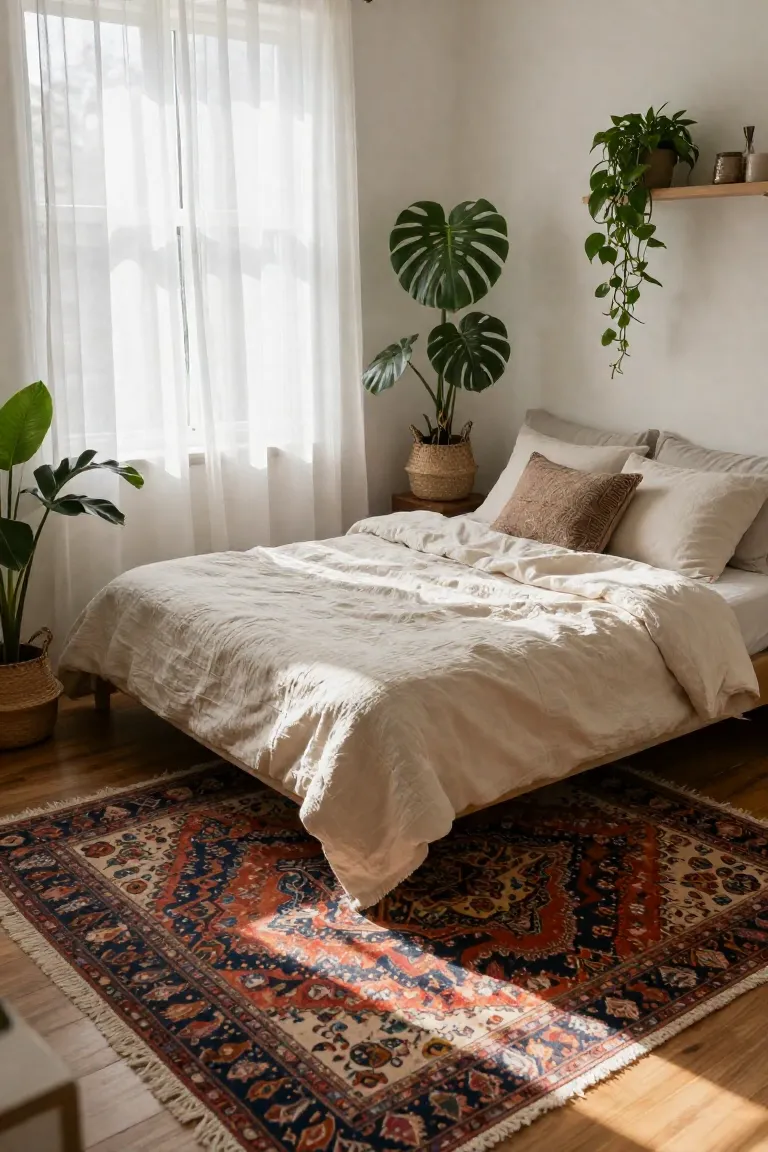
Down on the floorboards, floating a tiny accent textile beside the mattress triggers the notorious postage stamp effect, visually fracturing hard surfaces into disjointed zones. Skimping on floor coverage tricks the brain into registering narrow boundaries, accentuating tight rental corridors instead of softening them. Dialing in proper bedroom rug placement relies on generous horizontal proportions. Sliding an 8x10 low-pile wool or jute weave beneath the bottom two-thirds of the bed creates an expansive footprint. Sourcing the right size rug ensures at least eighteen to twenty-four inches of plush border spill past both sides and the footboard, locking disparate furniture legs onto one continuous foundation that expands the floor plan.
14. Using Too Many Small, Dinky Decor Pieces
Clustering miniature souvenirs and trinkets across a dresser top fragments an apartment layout into visual noise. In tight quarters, clusters of undersized objects scatter natural light and read as disorganization rather than curated styling. Purposeful decluttering small bedroom strategies begin with sweeping away this surface clutter so clean furniture lines can establish an orderly foundation.
Substantial statement decor pieces deliver visual calm by replacing micro-distractions with deliberate volume. A tall stoneware pitcher holding wild branches or a heavy ceramic vessel on the dresser creates an architectural anchor that steadies the eye. This shift toward intentional scale tricks the mind into perceiving generous spatial depth, making the room feel intentionally planned.

15. Leaving the Bed Entirely Unmade
When the mattress commands nearly sixty percent of the floor plan, rumpled sheets unravel the visual calm you just built. Because the mattress remains the primary focal point of any compact layout, mastering how to make a bed with crisp hospital corners resets your perspective before you pour your morning coffee. Recreating crisp hotel style bedding requires zero budget, relying instead on clean tension and tailored folds.
- Pull the flat sheet taut across the base, tuck the foot firmly beneath the mattress, and fold the corners at a neat forty-five-degree angle.
- Smooth a breathable linen or cotton duvet over the top, folding the upper third backward to expose contrasting pillow shams.
- Prop sleeping pillows upright against the wall, finishing with a single textured accent cushion centered in front.

DIY and Budget Upgrade Pitfalls
Tackling hands-on weekend updates offers a direct route toward personalizing a leased layout. Custom modifications represent the foundation of any resource-conscious DIY bedroom makeover, yet rushing through preparation often produces crooked seams and peeling finishes that look cheaper than the original builder-grade surfaces. Long-lasting apartment friendly upgrades require solid mechanics and surface-safe techniques rather than hurried cosmetic shortcuts.
- Rushing initial surface cleaning, which prevents adhesives from bonding properly to slick rental drywall.
- Relying on weak hanging strips that warp or tear wallboard under shifting seasonal room humidity.
- Selecting mismatched materials that clash with existing baseboard trim instead of complementing its undertones.
16. Botching a Peel-and-Stick Wallpaper Job
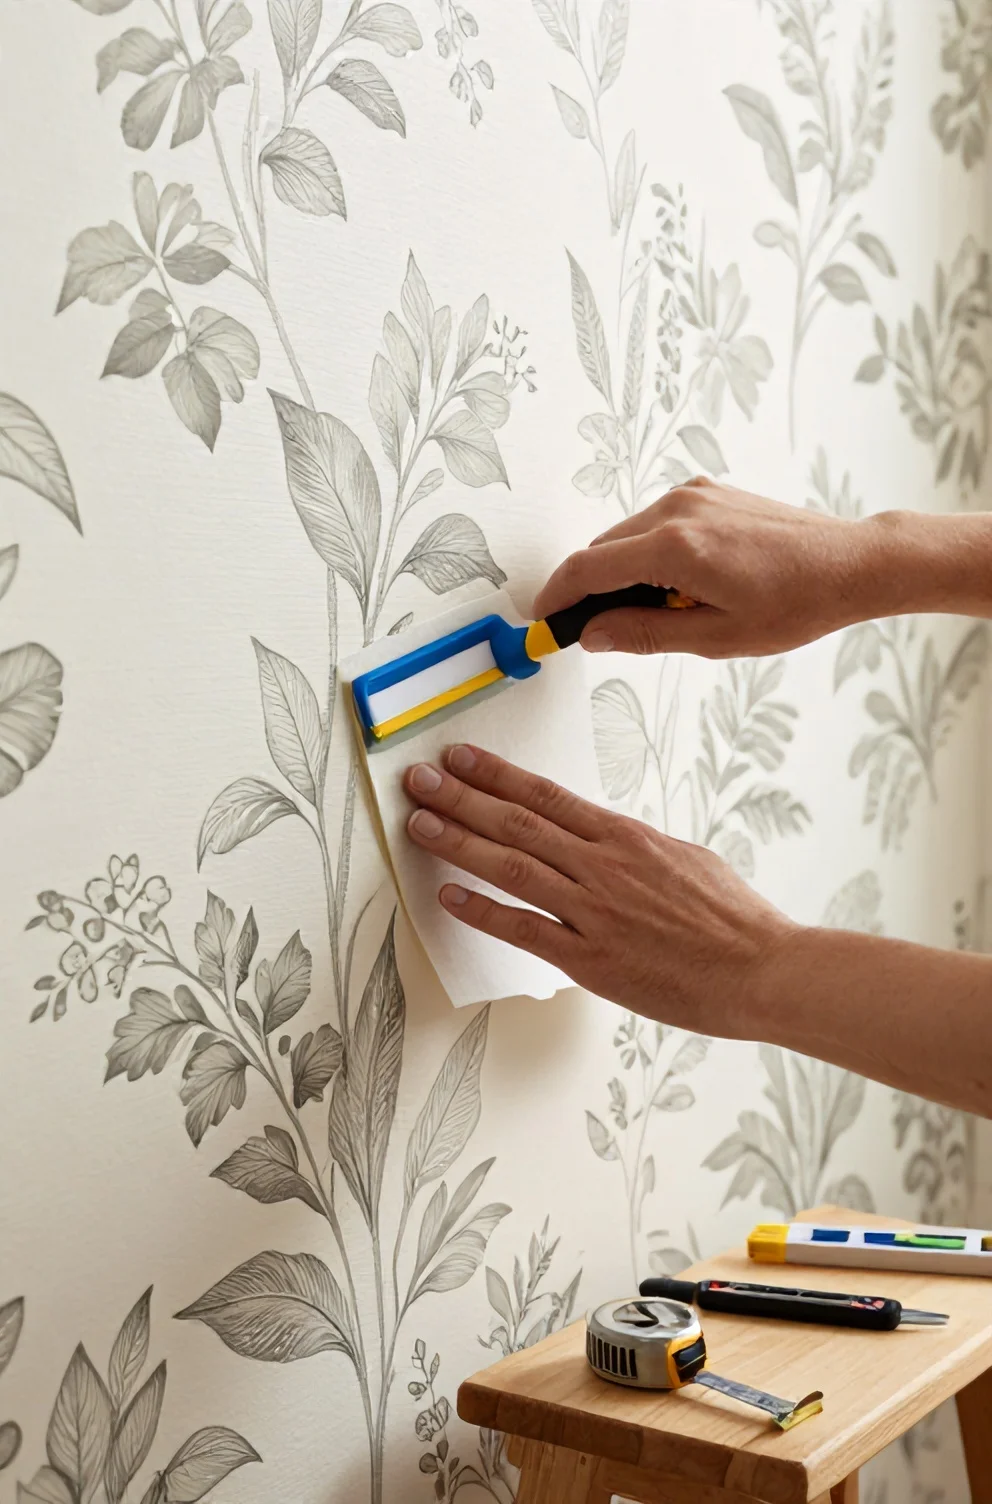
Nothing sabotages a compact layout faster than sagging panels and trapped air bubbles spanning an entire feature wall. Hanging peel and stick wallpaper requires meticulous surface preparation. Skipping an isopropyl alcohol wipe-down leaves microscopic dust that prevents adhesion, causing corners to curl within days. When you rush the initial drop, tiny pattern mismatches quickly compound across the wall, turning a tailored accent into a visual distraction.
A flawless DIY accent wall relies on plumb lines and patient seam alignment. With a thoroughly degreased drywall foundation, each vertical panel glides down flush, locking repeating motifs together into a continuous plane that mimics traditional paste paper. You get the presence of custom wallcoverings without risking your security deposit when lease renewal rolls around.
17. Leaving Ugly Rental Blinds Uncovered
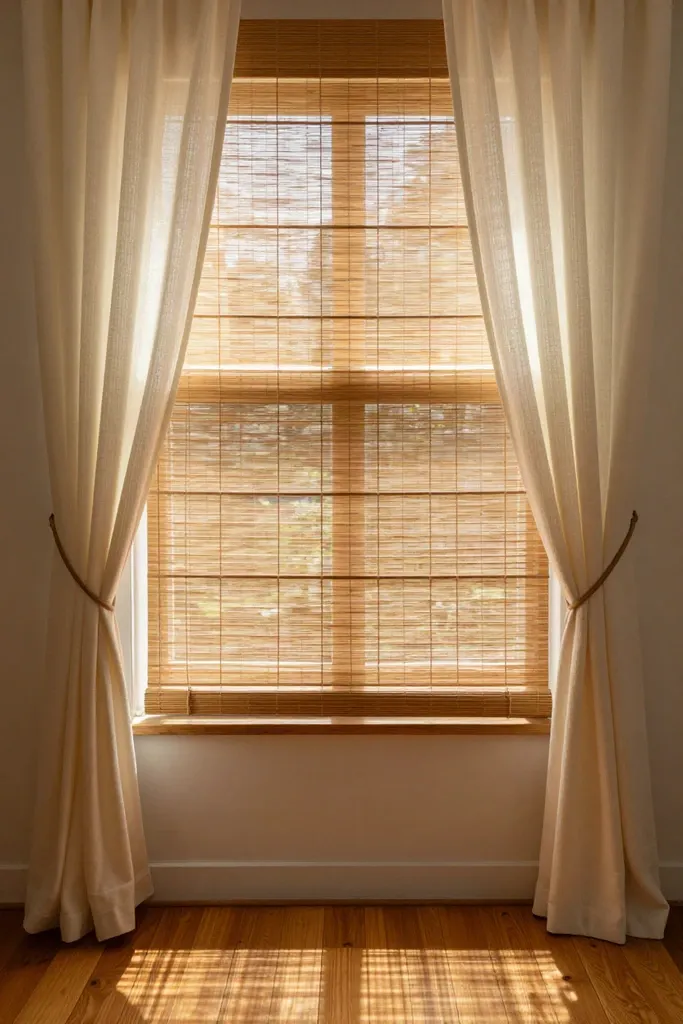
Standard slatted vinyl blinds bring an institutional chill to a cozy bedroom, especially when harsh afternoon sun casts grid-like shadows across the bedding. You can soften that stark glare and hide rental blinds without drilling a single bracket into the drywall. Mount a spring-loaded tension rod inside the window casing or snap magnetic curtain hardware directly onto metal framing, then hang floor-skimming panels in semi-sheer linen. These renter friendly curtains conceal the brittle plastic slats while letting diffused ambient daylight filter across the room. For extra depth, choose an oatmeal or muted sage drape hung slightly wider than the glass pane, which tricks the eye into reading the window frame as expansive millwork rather than standard apartment stock.
18. Skipping the Primer on Secondhand Furniture
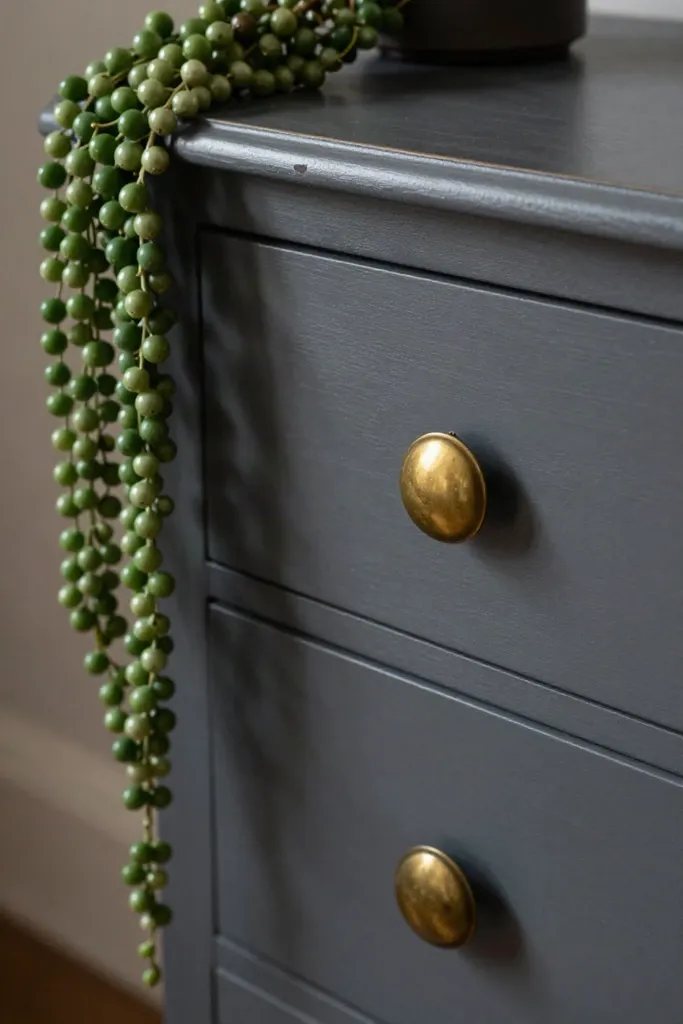
Applying latex paint directly over an old varnish finish turns a weekend project into a flaking disaster within weeks, especially on high-contact dresser drawers. A successful painted furniture DIY relies on proper foundation prep, converting scratched yard-sale finds into thrifted bedroom decor with a smooth enamel finish.
- Scuff-sand glossy surfaces with 120-grit sandpaper, wipe away fine dust with a tack cloth, and lay down a shellac-based bonding primer to seal stubborn wood tannins.
- Apply two self-leveling coats of satin mineral or acrylic-alkyd paint using a high-density foam roller, working along the natural grain to eliminate visible brush marks.
- Finish with a clear polyurethane topcoat or furniture wax on horizontal surfaces, allowing three full days of curing before setting down ceramic lamps.
19. Using Flimsy Command Hooks for Heavy Items
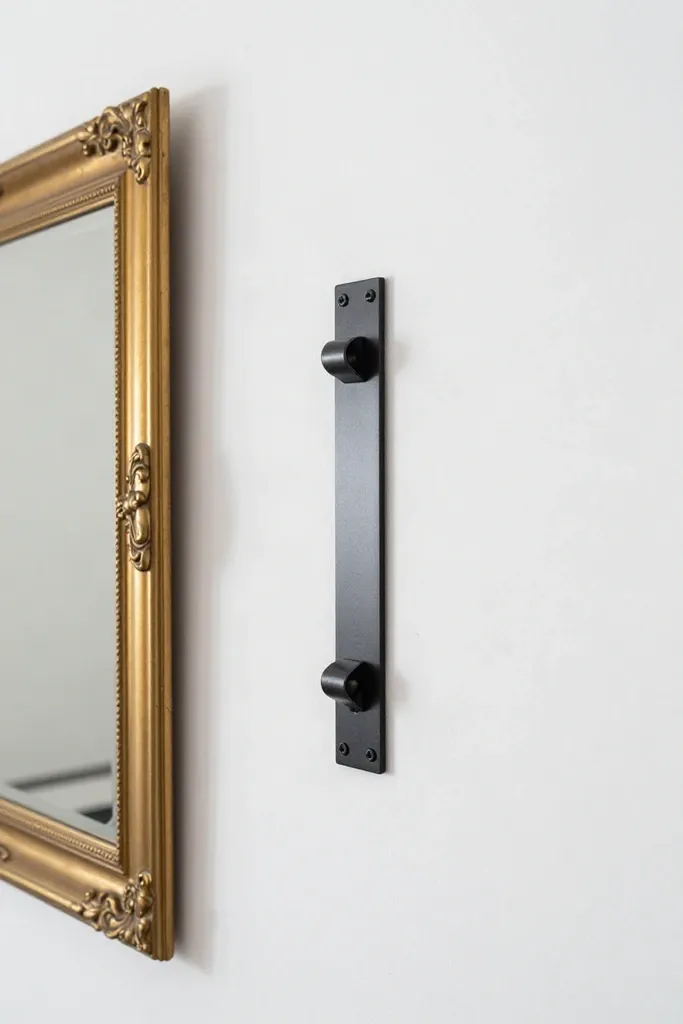
Waking up in the middle of the night to the sound of shattered glass is a common consequence when lightweight adhesive strips fail. Displaying curated renter friendly wall decor requires matching the hardware's load capacity to the frame's true weight, particularly when hanging heavy mirrors or glazed oak art prints.
- Calculate weight thresholds accurately by weighing framed pieces on a kitchen scale, and reserve adhesive strips exclusively for flat canvases or mini frames under three pounds.
- Install curved steel monkey hooks or claw drywall hangers that slip through pinhole punctures without wall stud support, bearing up to twenty pounds while leaving marks smaller than a pushpin.
- Press heavy-duty interlocking hook-and-loop strips against both the wall and frame perimeter after cleaning plaster with rubbing alcohol, waiting a full hour before securing the artwork in place.
20. Ignoring Ugly Hardware and Knobs
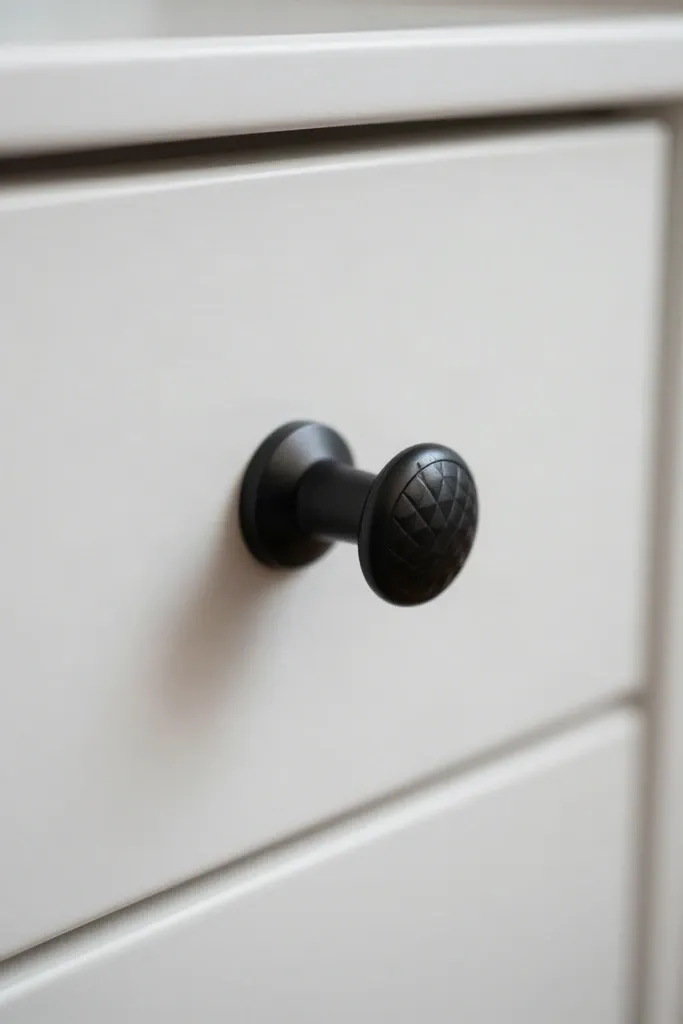
Yellowed plastic pulls that came standard on a wardrobe or nightstand cheapen a sleeping space faster than chipped wall paint. Swapping out tired builder-grade fixtures is a rewarding DIY furniture flip you can execute on a quiet afternoon, yet renters routinely overlook these tactile details. Standard dressers immediately look intentional and grounded once you ditch hollow acrylic handles for heavyweight alternatives.
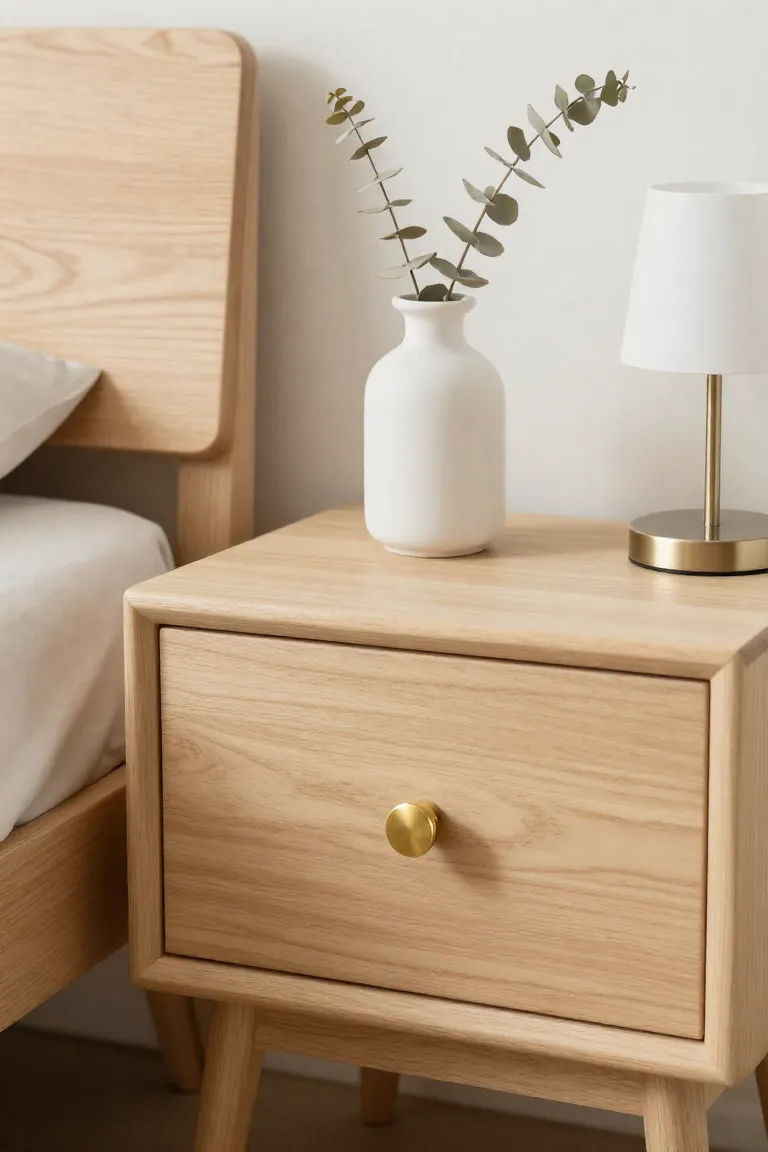
A thoughtful cabinet hardware upgrade using knurled brass rods introduces tailored contrast against neutral drawer fronts. In fifteen minutes with a basic screwdriver, you can align standard hole centers and refresh flat-pack pieces without altering the underlying wood. Remember to stash the original screws and plastic pieces inside a labeled envelope so you can reattach them on moving day without losing your deposit.
21. Over-DIYing the Entire Space at Once
Tackling too many viral crafts simultaneously turns a compact bedroom into a chaotic patchwork of competing projects. When stenciled accent floors clash with a rough pallet headboard, the eye finds nowhere to rest. A successful curated bedroom design relies on visual breathing room, where quiet surfaces balance handcrafted textures instead of shouting over each other for attention.
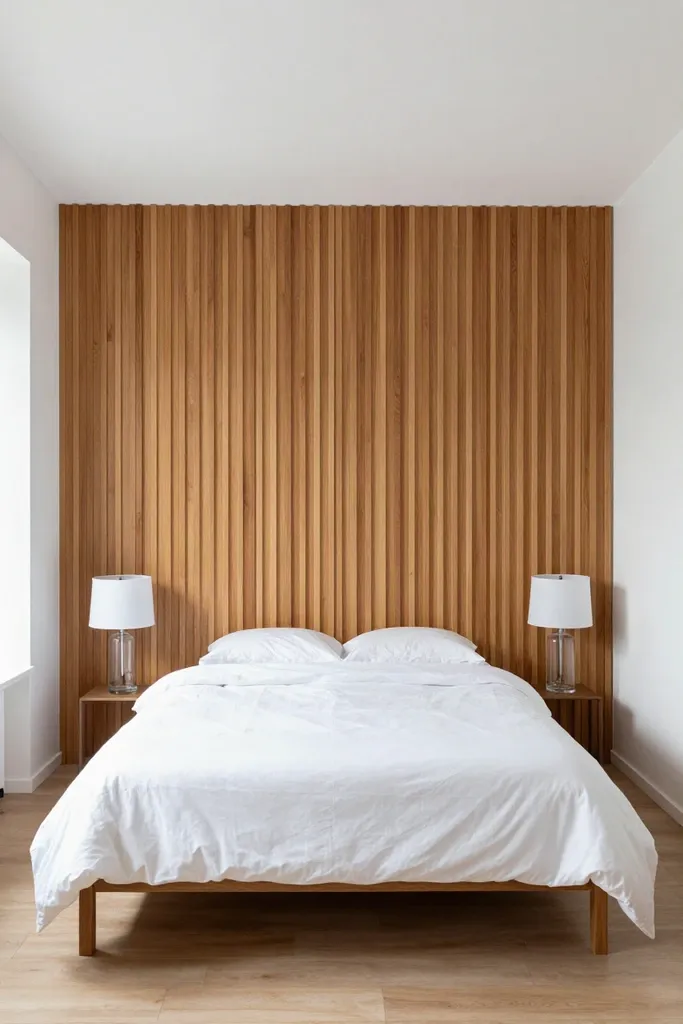
The secret to intentional styling lies in a disciplined DIY approach that prioritizes a single standout project per season. By committing to just one focal feature, like a sleek fluted wooden headboard or neatly trimmed picture-frame moulding, you give that specific piece the spotlight it deserves. Plain linen bedding and understated walls provide the calm backdrop that makes your handcrafted work look deliberate rather than impulsive.
Your Budget Bedroom Transformation Awaits
Creating a balanced retreat inside tight square footage never requires an extravagant remodel. The true art of small space living comes down to editing out daily visual clutter and choosing grounded furniture proportions. Take an upcoming weekend afternoon to tackle just one high-impact fix, whether that means clearing off crowded nightstand surfaces or swapping harsh overhead bulbs for soft ambient lamplight. Save your favorite bedroom makeover motivation moodboards to stay centered on your personal vision and execute each adjustment at your own pace.