How To Transform A Small Apartment Bedroom With Peel And Stick Wallpaper
Summary
- Introduction: The Magic Of Peel And Stick Wallpaper
- Why Peel And Stick Wallpaper Is Perfect For Renters And Small Spaces
- How To Choose The Right Wallpaper For A Small Bedroom
- Step-By-Step Guide To Installing Peel And Stick Wallpaper
- Creative Ways To Use Peel And Stick Wallpaper In A Small Bedroom
- Frequently Asked Questions
- Conclusion: Make Your Rental Feel Like Home
Introduction: The Magic Of Peel And Stick Wallpaper
Staring at plain rental walls can feel limiting when your lease strictly forbids wet paint. With high-grade temporary wallpaper, you can bring architectural depth and tailored character into a compact sleeping space while safeguarding your security deposit. These modern apartment decorating ideas turn standard builder-beige sheetrock into a curated, renter-friendly bedroom retreat in a single afternoon.
Why Peel And Stick Wallpaper Is Perfect For Renters And Small Spaces
Compact layouts present distinct design challenges, but self-adhesive patterns offer an immediate way to shift spatial perception without structural changes. Modern temporary wall coverings have become essential for smart DIY apartment upgrades because they combine low-commitment styling with serious visual impact.
- They allow you to define distinct zones, like a dedicated sleeping nook or vanity corner, without adding bulky dividers.
- The moisture-resistant vinyl substrate wipes clean with a damp microfiber cloth, handling everyday bedroom wear with ease.
- Unlike traditional rolls that require messy paste baths and table trays, these self-adhesive backings install dry right off the backing sheet.
- You can reposition panels during installation until pattern repeats align cleanly across your wall surface.
1. Renter-Friendly And Damage-Free Removal
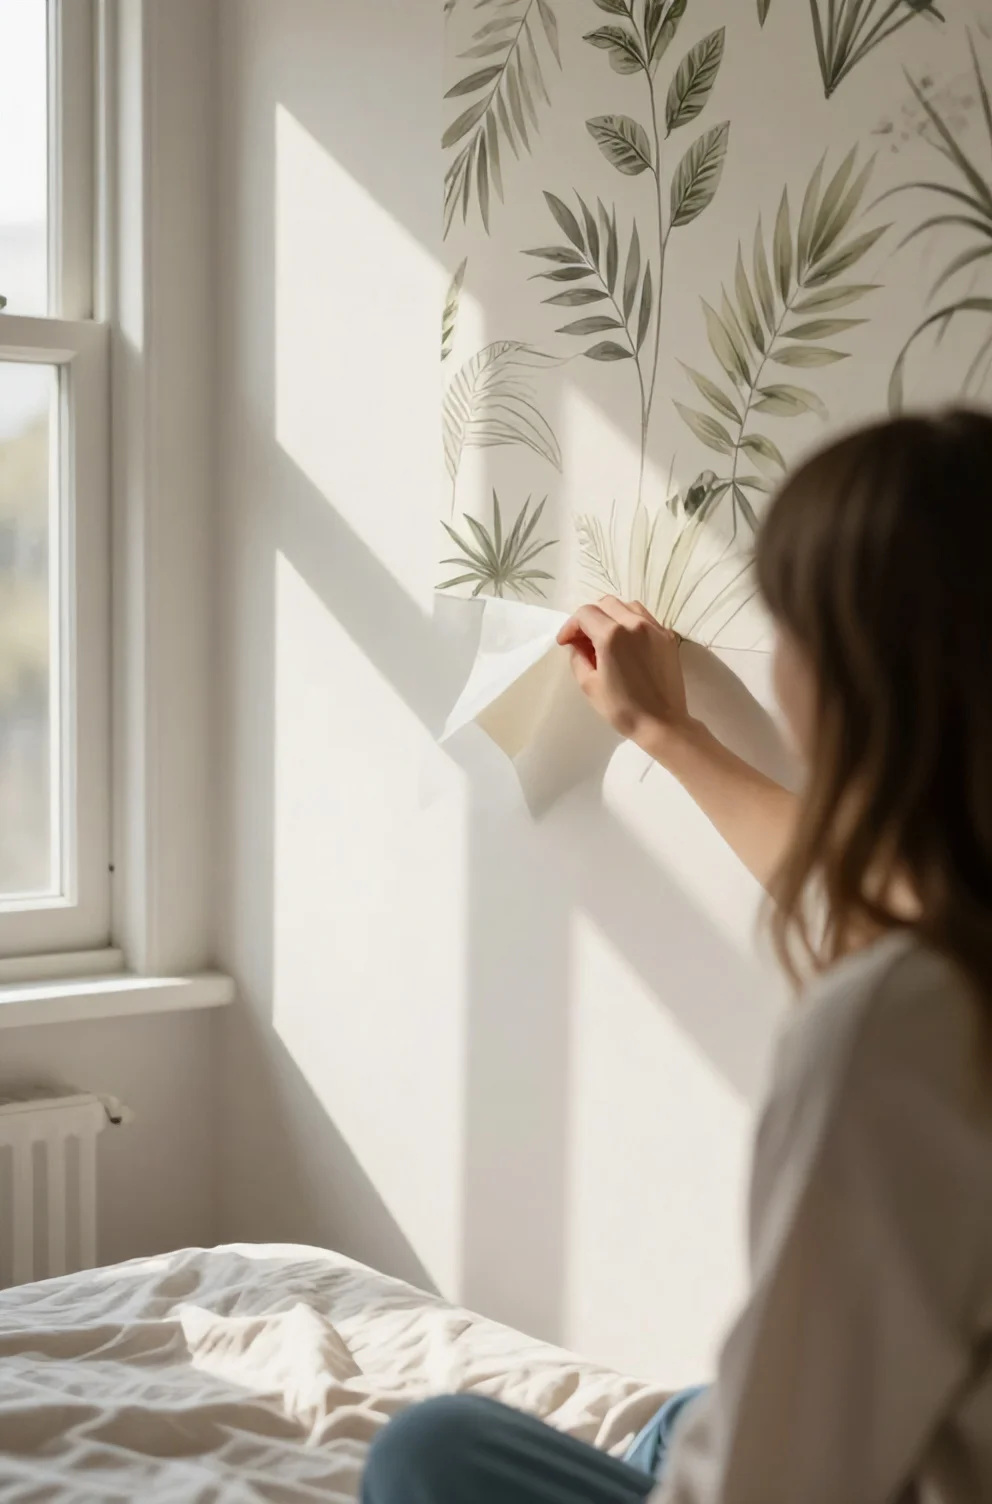
The secret behind reliable damage-free wallpaper lies in low-tack, pressure-sensitive acrylic adhesive. Unlike standard paste that bonds permanently to drywall paper, this specialized backing forms a secure grip while remaining easy to peel away when tension is applied at a steady 45-degree angle. The result is a landlord-approved transformation that leaves zero tacky residue or torn paint behind on move-out day.
Stylist Rule: Always test a small three-inch swatch behind your bedroom door for forty-eight hours before full installation, especially over builder-grade flat latex paint.
2. Cost-Effective Bedroom Makeover
Along with protecting your security deposit, self-adhesive panels keep project expenses modest compared to conventional renovations. Outfitting a focal accent wall behind a queen bed usually requires two to three standard rolls, costing roughly $70 to $110 at retailers like Target or Home Depot. In contrast, traditional unpasted rolls paired with specialty adhesive, smoothing tools, and professional labor easily push past $600. For anyone planning a budget bedroom makeover, this approach delivers the visual scale of custom millwork while remaining one of the smartest wall decor investments available.
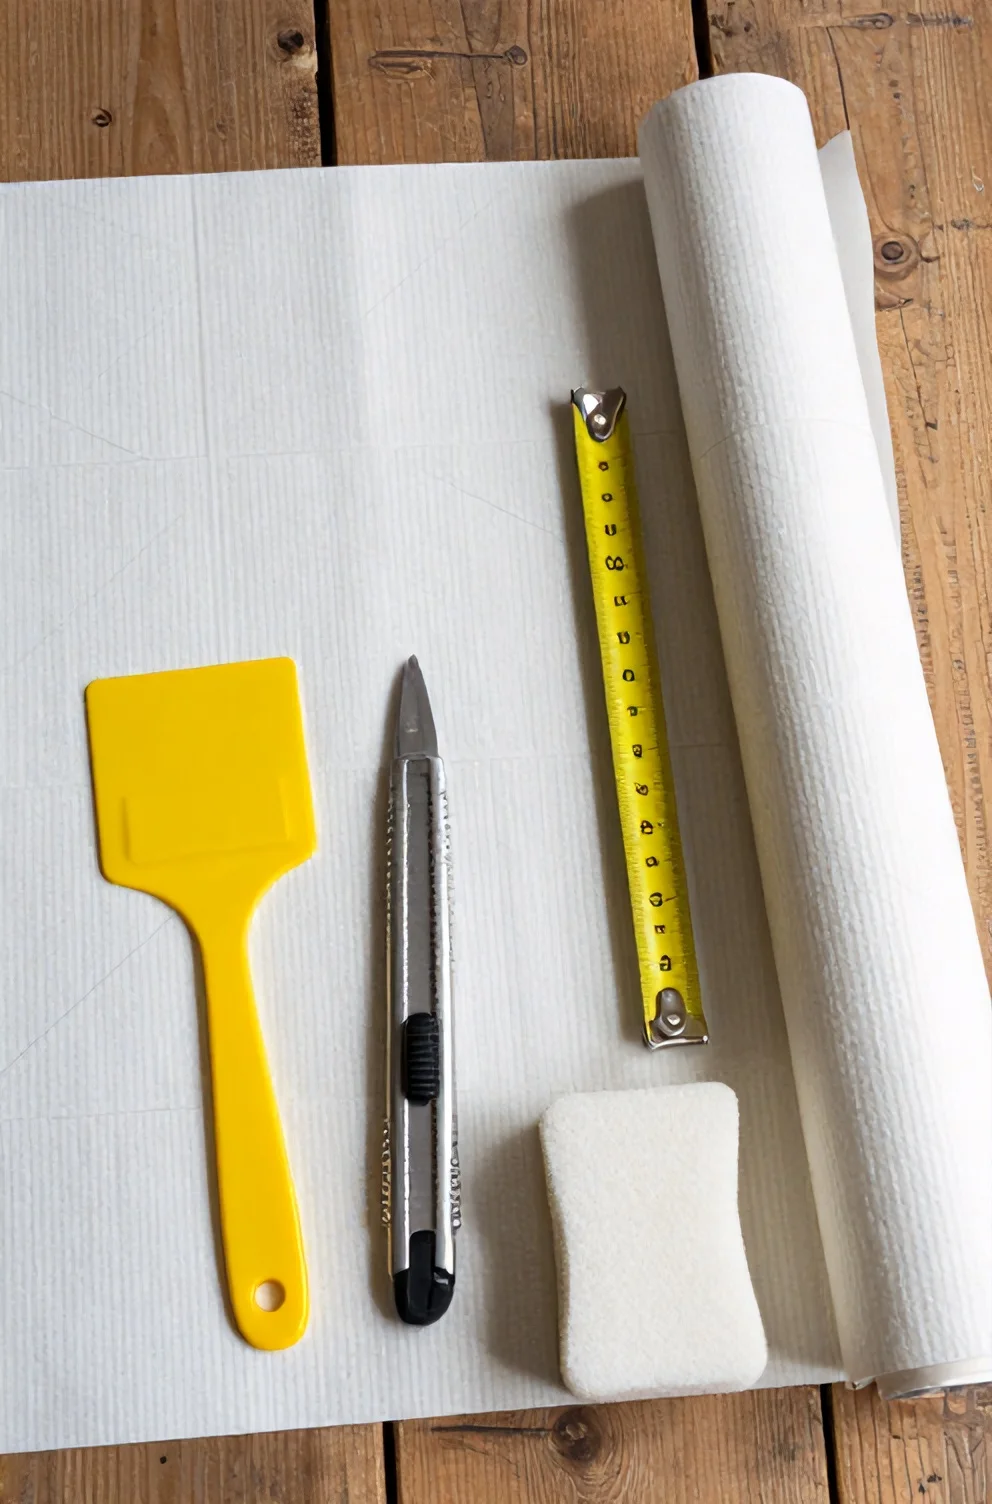
The value becomes even clearer when you factor in tool costs and wall repair expenses down the road. Traditional installations demand primer pastes, seam rollers, and messy soaking trays, followed by extensive patching when you eventually strip the glue. Self-adhesive vinyl requires only a utility blade and a felt squeegee, turning a weekend DIY room upgrade into an afternoon project with zero clean-up overhead.
How To Choose The Right Wallpaper For A Small Bedroom
Selecting the right print for tight quarters requires thinking beyond personal taste. Surface patterns, color values, and print scales act as visual tools that actively alter how your eyes perceive boundaries, ceiling heights, and corner shadows. When choosing wallpaper for a compact layout, the primary goal is pushing the walls outward visually rather than closing in the perimeter.
Scale dictates everything in tight square footage. Overly dense, micro-scale designs can read as visual clutter from across the room, while properly spaced motifs create depth and dimensional breathing room. By balancing tonal contrast with the natural light streaming from your windows, you can enhance small room aesthetics without overwhelming your sleeping area.
1. Selecting Patterns To Make A Room Look Bigger
The geometry of your print directly guides how light and perspective move across tight perimeter walls. Instead of shrinking the space, strategic motifs trick the brain into registering expanded square footage and taller drywall lines.
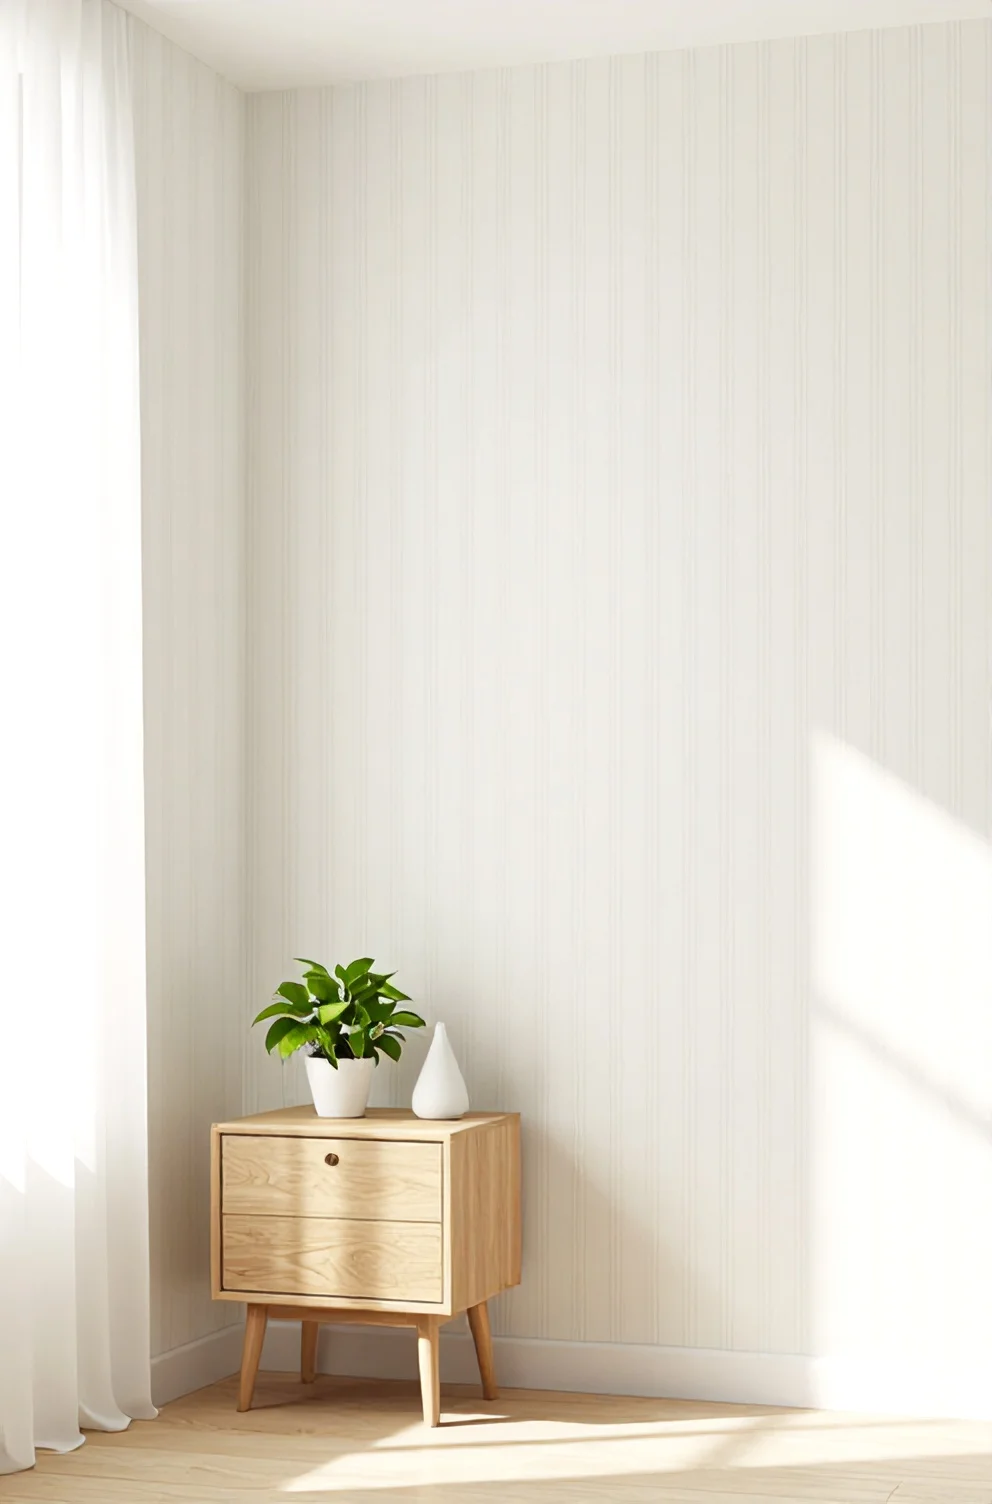
- A muted vertical stripe pattern draws the gaze upward toward the crown molding, giving low eight-foot rental ceilings an instant impression of height.
- Delicate botanical prints with generous negative white space reflect ambient daylight, keeping the perimeter open and airy rather than boxed in.
- Soft horizontal ticking or tonal abstract waves stretch narrow alcoves horizontally, functioning as effective room-enlarging patterns for tight, boxy rooms.
When curating wallpaper for small spaces, prioritize prints with soft cream, warm linen, or pale sage backdrops. Heavy, ink-saturated dark fields absorb ambient lamp glow, which can make compact headboard nooks feel noticeably smaller.
2. Choosing The Right Material Finish
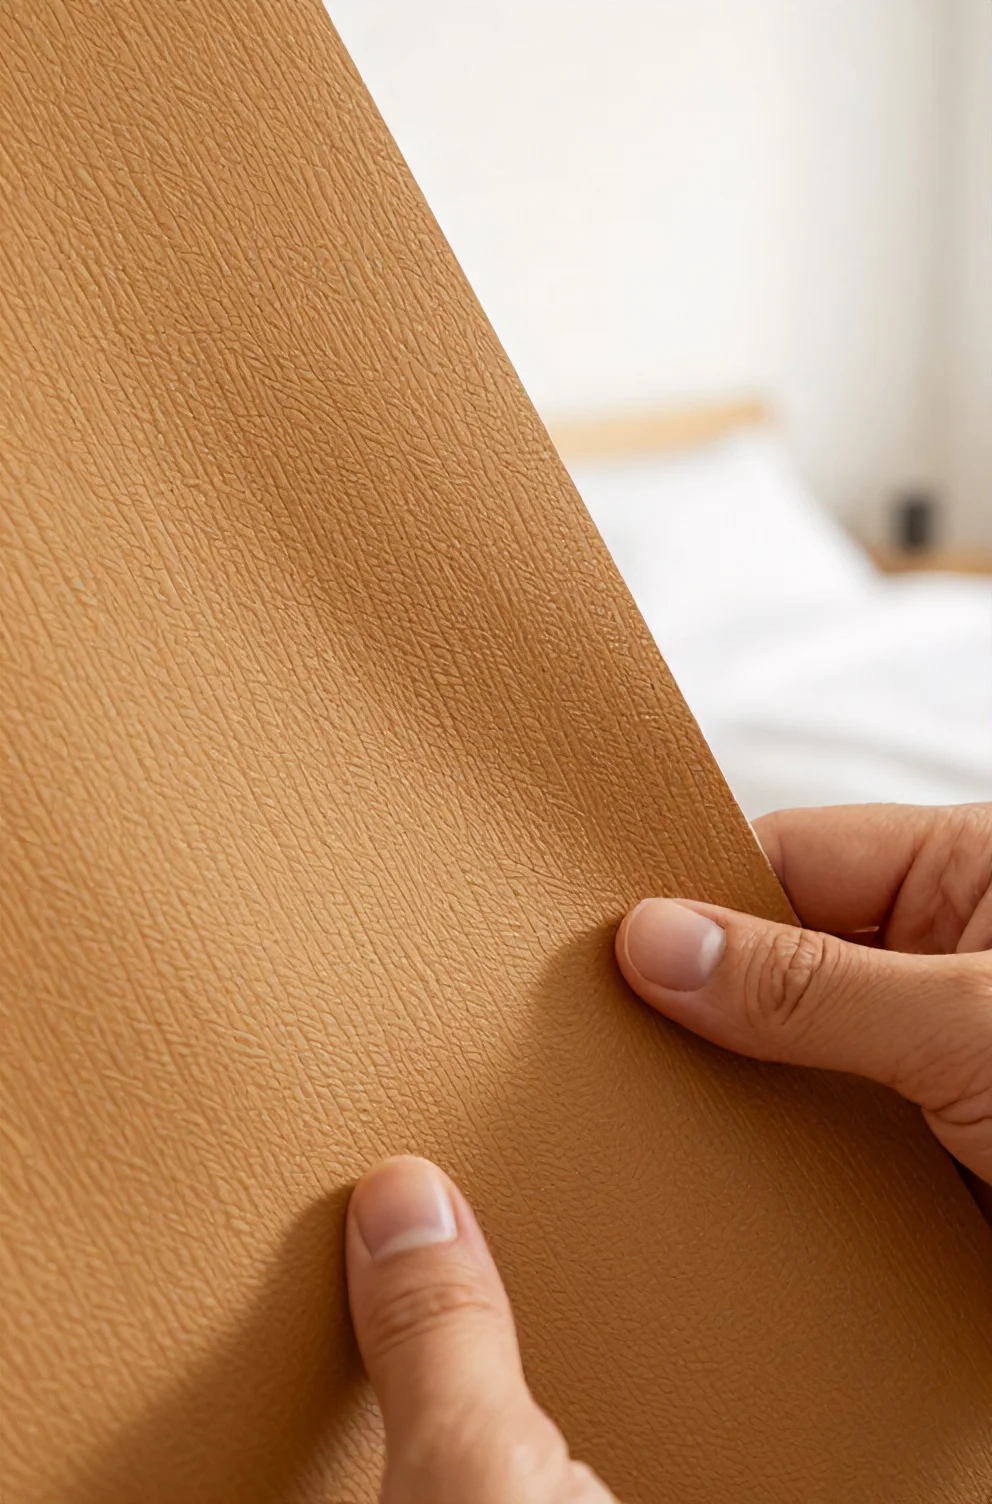
Surface sheen dictates how light interacts with drywall imperfections common in rental units. High-gloss finishes bounce glare aggressively, exposing nail pops, previous spackle patches, and uneven drywall. Instead, select a matte finish wallpaper or a durable textured vinyl wallpaper. These low-sheen surfaces diffuse light softly across the bedroom, creating an understated backdrop that feels substantive rather than synthetic.
Tactile surfaces like faux grasscloth or woven linen textures add dimensional depth without visual clutter. If your apartment features standard builder-grade flat paint, these textured finishes effectively disguise minor surface blemishes while introducing the cozy warmth of woven textiles around your bed nook.
Step-By-Step Guide To Installing Peel And Stick Wallpaper
Transforming a bare bedroom wall into an intentional design feature does not require professional contractors or messy paste trays. Learning how to apply peel and stick wallpaper comes down to methodical pacing, steady hands, and thoughtful prep work. Rushing through the alignment or pulling the backing paper off all at once creates unnecessary air pockets and crooked seams.
A smooth roll-out begins with setting up a tidy staging area and walking through the core wallpaper installation steps systematically. By tackling the project panel by panel with a felt-edged smoothing blade and a fresh utility knife from Lowe's, you maintain total control over pattern repeats while keeping your rental deposit safe.
Step 1: Prepping Your Bedroom Walls
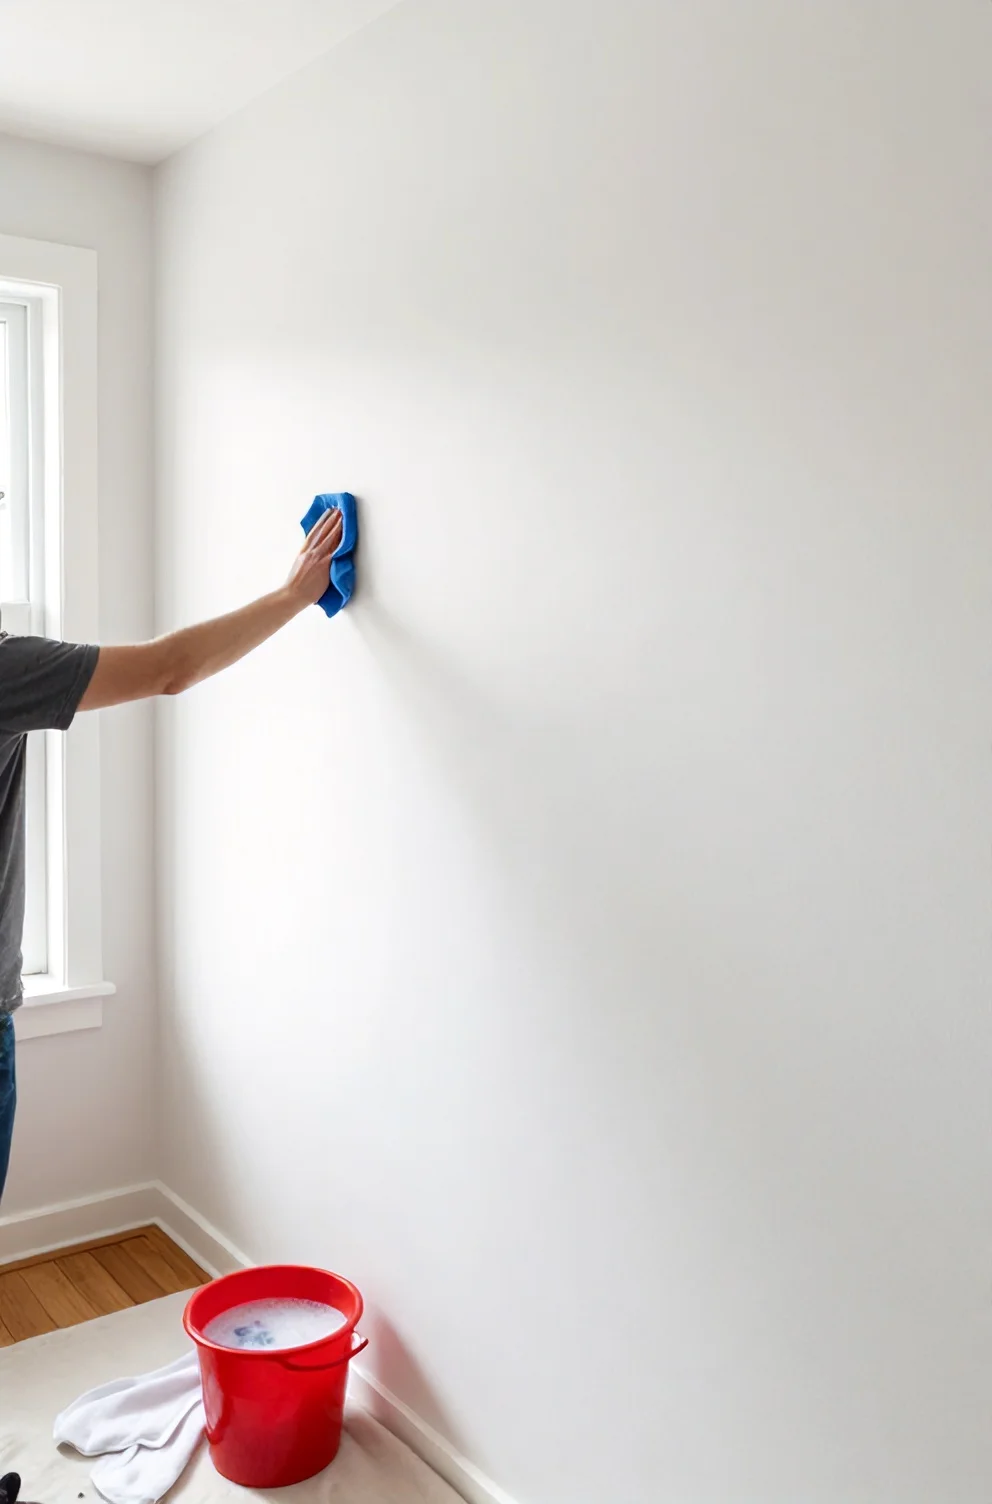
Adhesive backings require a clean, grease-free foundation to grip drywall securely over multiple seasons. Dust, skin oils, and ambient humidity create an invisible barrier that causes self-adhesive sheets to curl prematurely along baseboards. Thorough wall preparation guarantees your paper clings flat and stays firmly anchored over time.
For dependable adhesion, begin cleaning walls for wallpaper by wiping down the entire surface with warm water mixed with a few drops of mild dish soap or a gentle TSP substitute from Home Depot. Allow the drywall to dry for 24 full hours before hanging the first panel, ensuring moisture does not become trapped beneath the vinyl backing.
Step 2: Measuring And Cutting The Panels
Accurate dimensions prevent awkward gaps, especially in older rental units where drywall rarely forms true ninety-degree angles. When measuring wallpaper across your feature wall, take height readings at three separate points (the left corner, middle, and right corner) to catch any subtle slope along the crown molding or ceiling line.
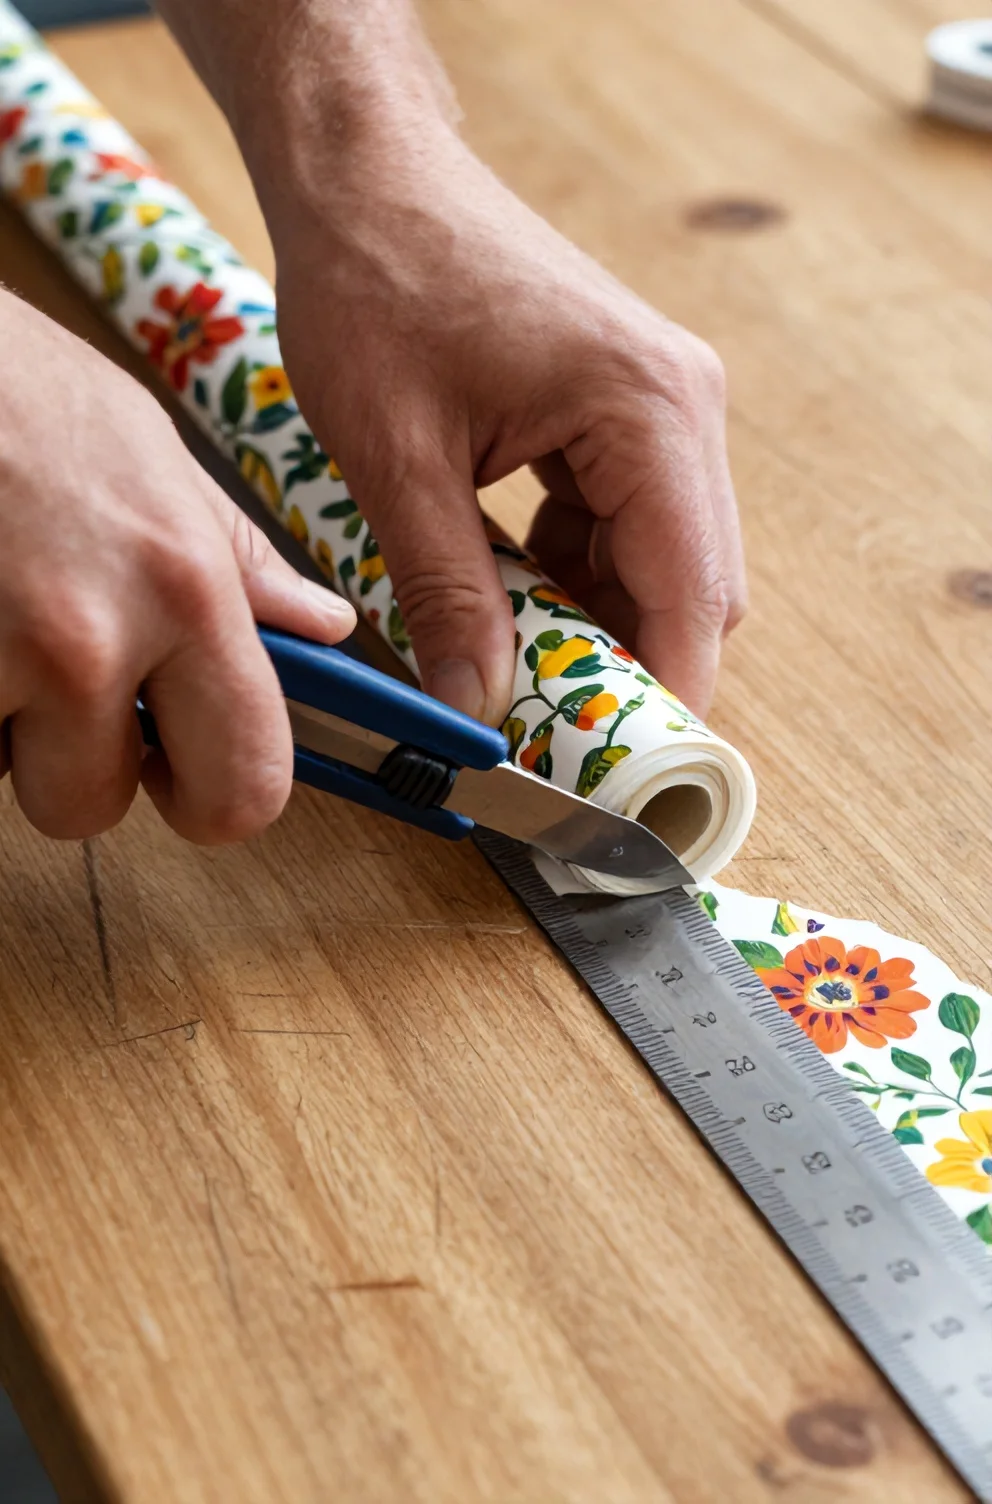
Unroll each panel across a clean work table and mark each strip with a light pencil mark on the back liner. Always add two to three inches of excess allowance at both the top and bottom before cutting wallpaper panels with a sharp utility knife blade against a rigid straightedge. That extra trim border gives you crucial wiggle room to adjust for uneven baseboards without running short midway down the wall.
Step 3: Applying The First Wallpaper Drop
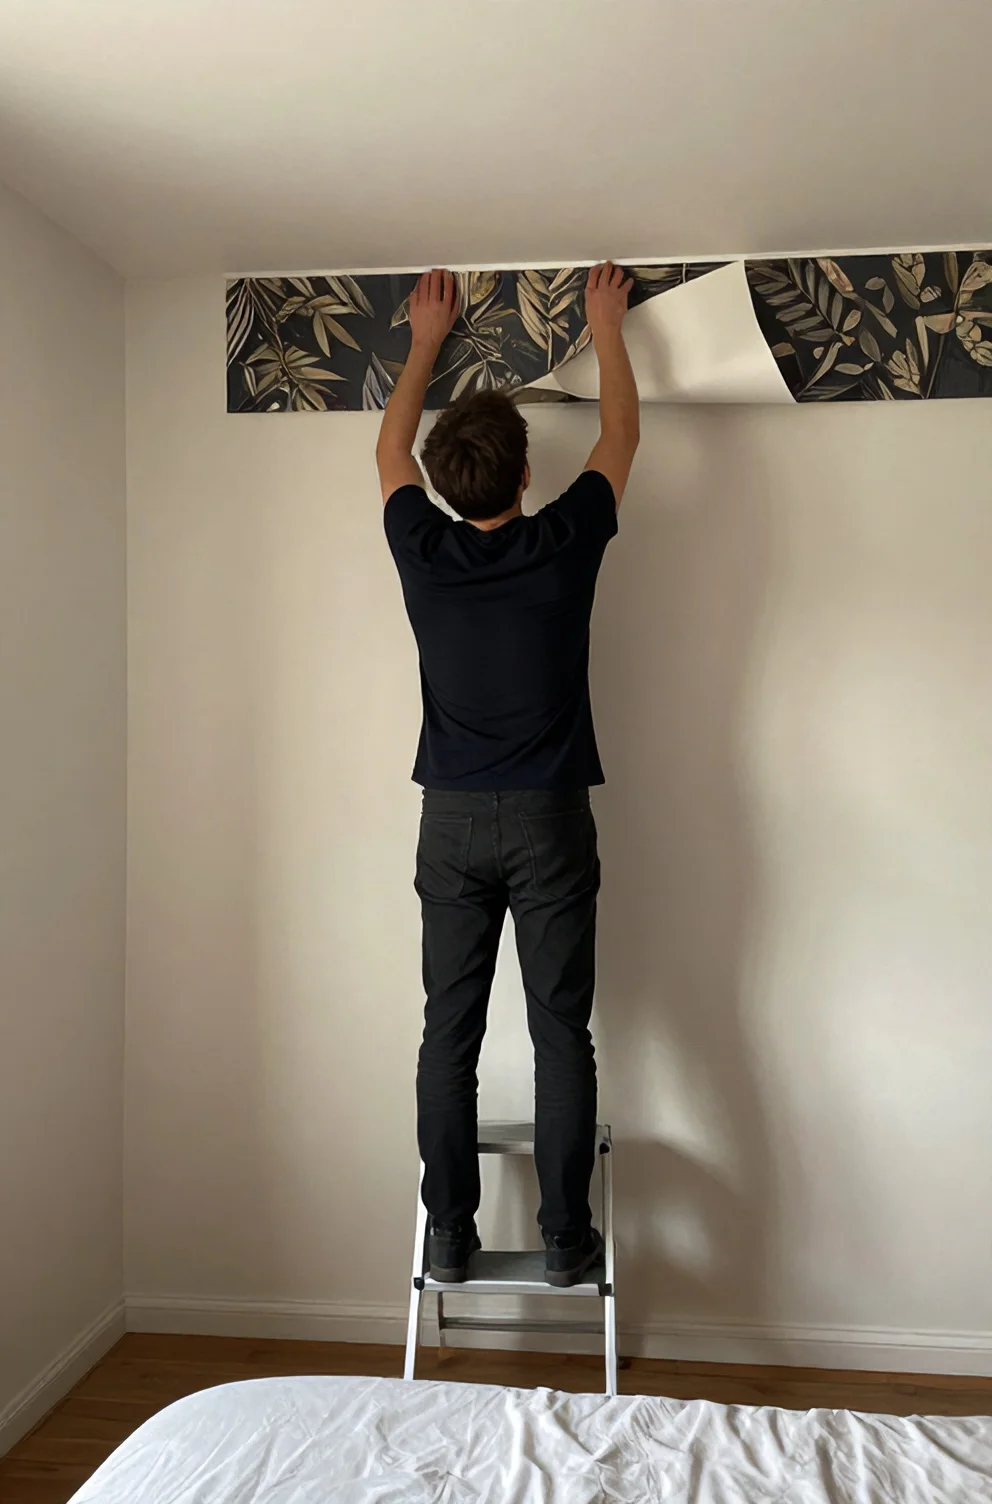
The very first vertical strip dictates alignment for the entire wall, making an accurate guide far more reliable than trusting an out-of-square corner. Use a four-foot level or laser guide from Home Depot to draw a faint vertical pencil mark down your drywall, positioned exactly one roll width minus one inch from the corner.
For a clean application, hang temporary wallpaper with steady pacing. Peel back only the top six to eight inches of the protective backing to expose the adhesive edge. Anchor the top section at the ceiling trim with your deliberate overhang, then verify that the edge runs flush with your plumb guide. Working in small downward increments keeps the vinyl manageable while aligning wallpaper seams on the initial drop.
Step 4: Smoothing Out Bubbles And Seams
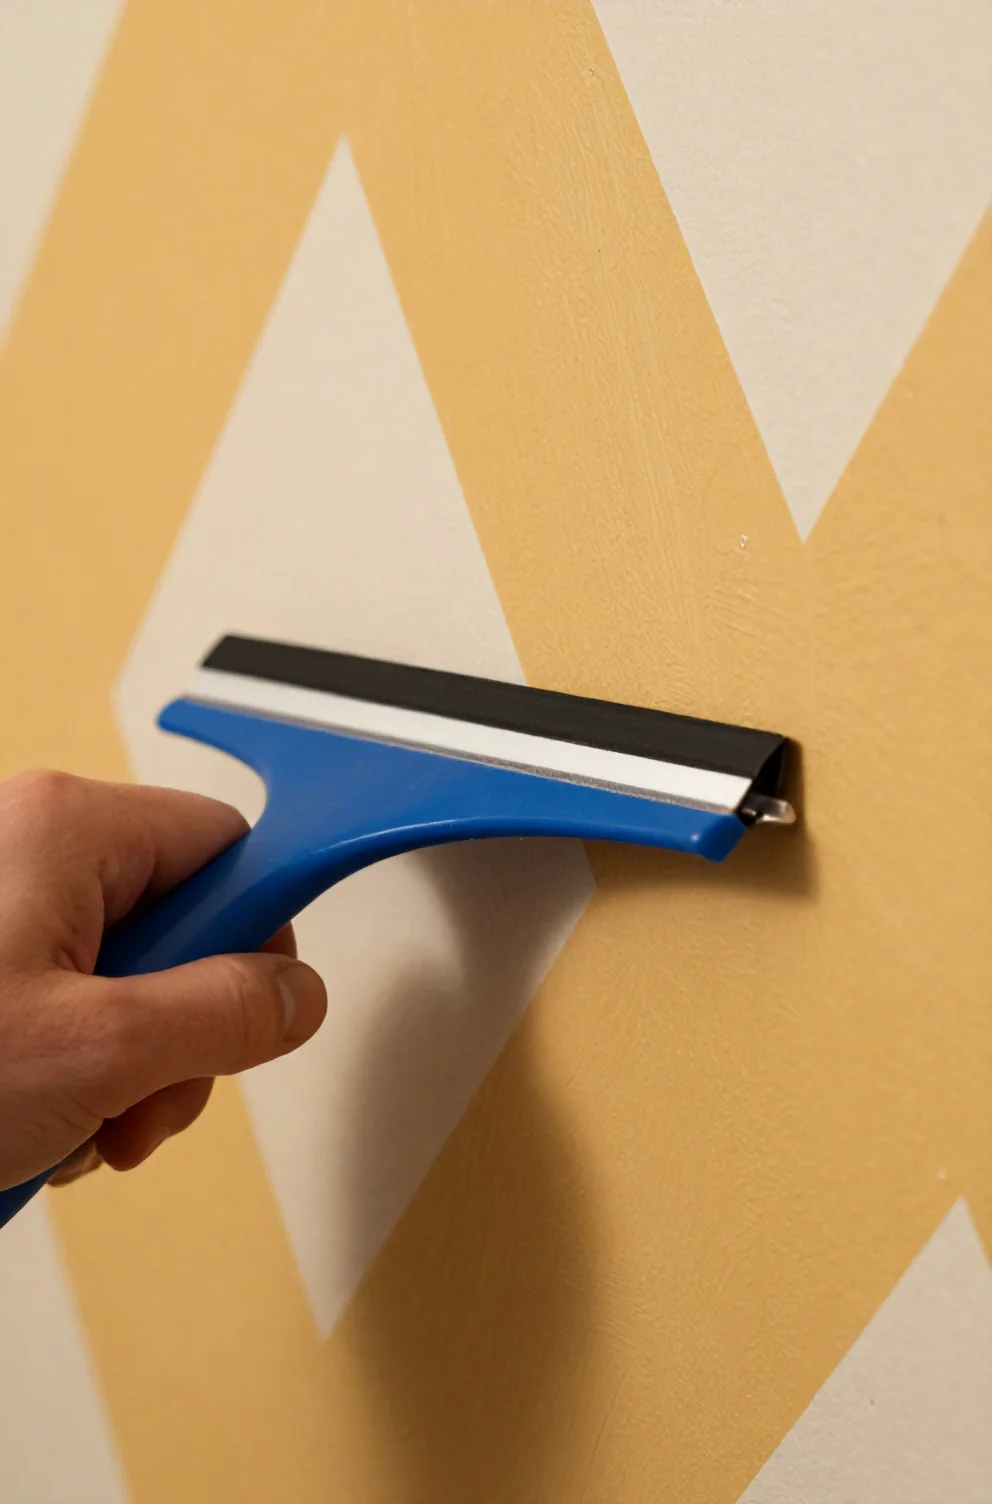
Once the panel anchors at the ceiling, glide a flexible plastic squeegee across the surface using firm, angled strokes directed downward and outward. Working from the center toward the perimeter pushes trapped air pockets out to the edges before the adhesive sets firmly against the drywall. If a stubborn crease develops, gently pull the bottom section back up and smooth it downward again rather than pressing hard against the vinyl.
Dry-fit each consecutive strip along the edge to verify visual continuity across adjacent motifs. Precision in matching wallpaper patterns creates an unbroken visual flow across the entire wall, making vertical seams virtually undetectable. Keep a fresh utility blade ready to trim away excess material along the baseboards once you finish smoothing wallpaper bubbles across the full panel.
Creative Ways To Use Peel And Stick Wallpaper In A Small Bedroom
Full-wall installations are only the beginning when you want to personalize a rental. If wrapping all four walls feels daunting or budget-restricting, exploring creative wallpaper uses allows you to inject personality into compact nooks that standard paint often misses. Small-scale applications let you experiment with rich botanical prints, warm metallics, or textured grasscloth without committing to dozens of rolls.
These unique wallpaper ideas work especially well in studio apartments where architectural zones blend together. You can frame a reading corner, define an alcove desk, or line an arched entry nook using just a single remnant roll from Target or Home Depot to establish subtle room divisions.
1. Creating A Bold Accent Wall Behind The Bed
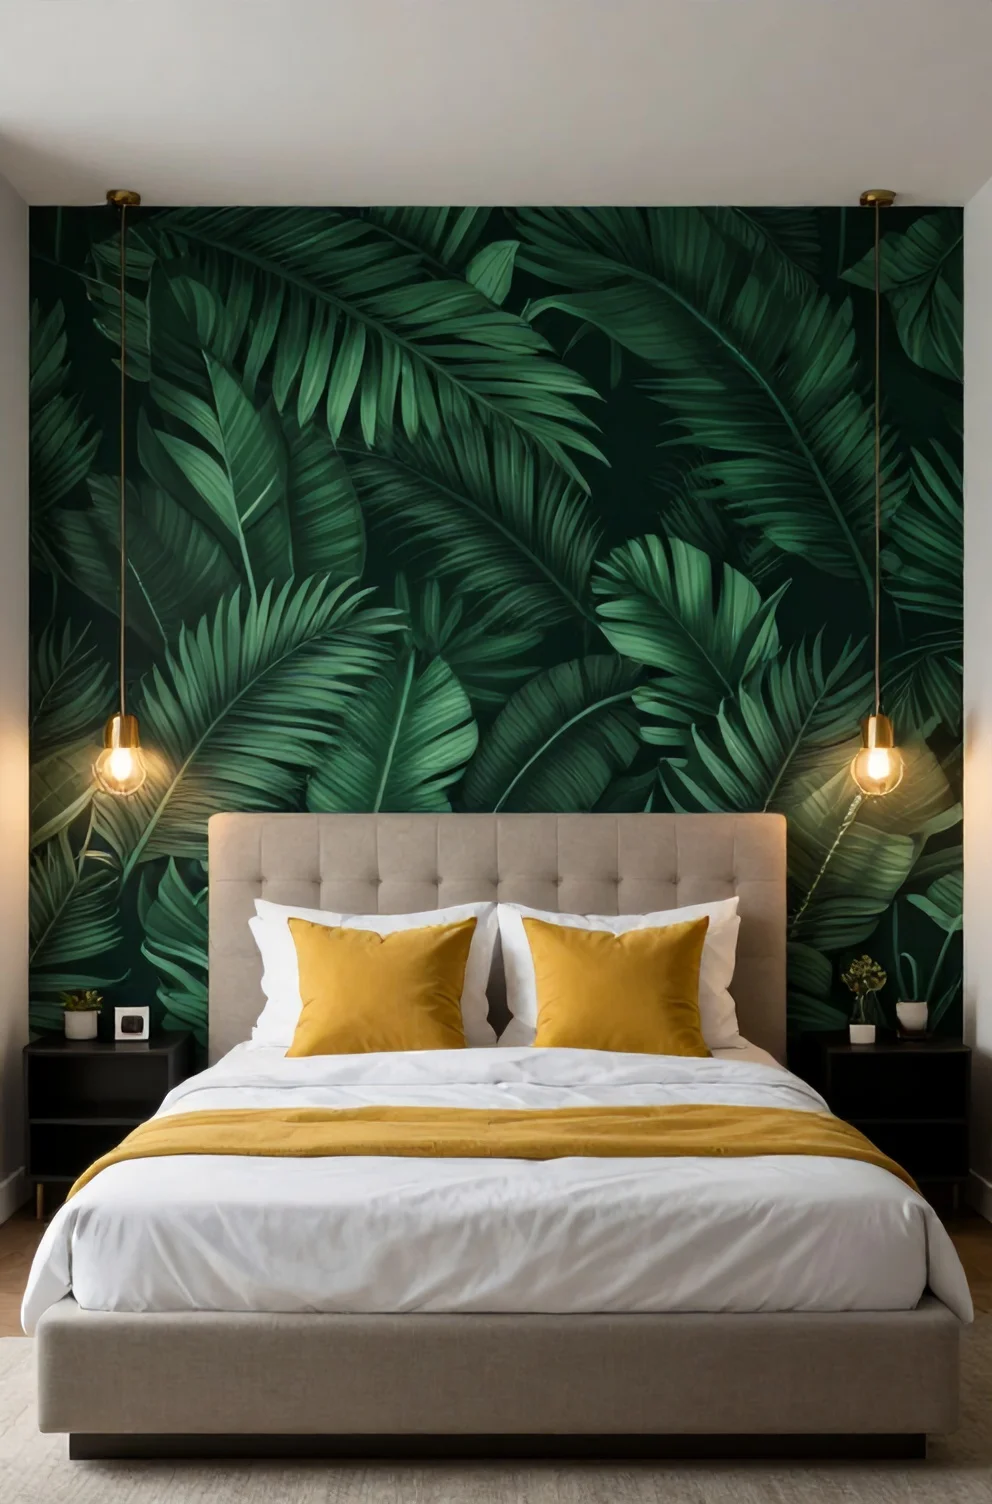
Positioning high-contrast botanical foliage or deep moody charcoal prints right behind your mattress grounds the entire sleeping zone. Installing a dramatic wallpaper accent wall establishes an immediate focal point bedroom layout that draws the eye inward, creating an illusion of architectural depth rather than highlighting tight square footage.
Among the most effective headboard wall ideas is pairing rich emerald or navy peel-and-stick prints with minimalist low-profile bed frames. When natural morning light hits the surface, the contrasting pattern gives the back wall visual weight while keeping the rest of the perimeter airy and uncluttered.
2. Upcycling Bedroom Furniture And Headboards
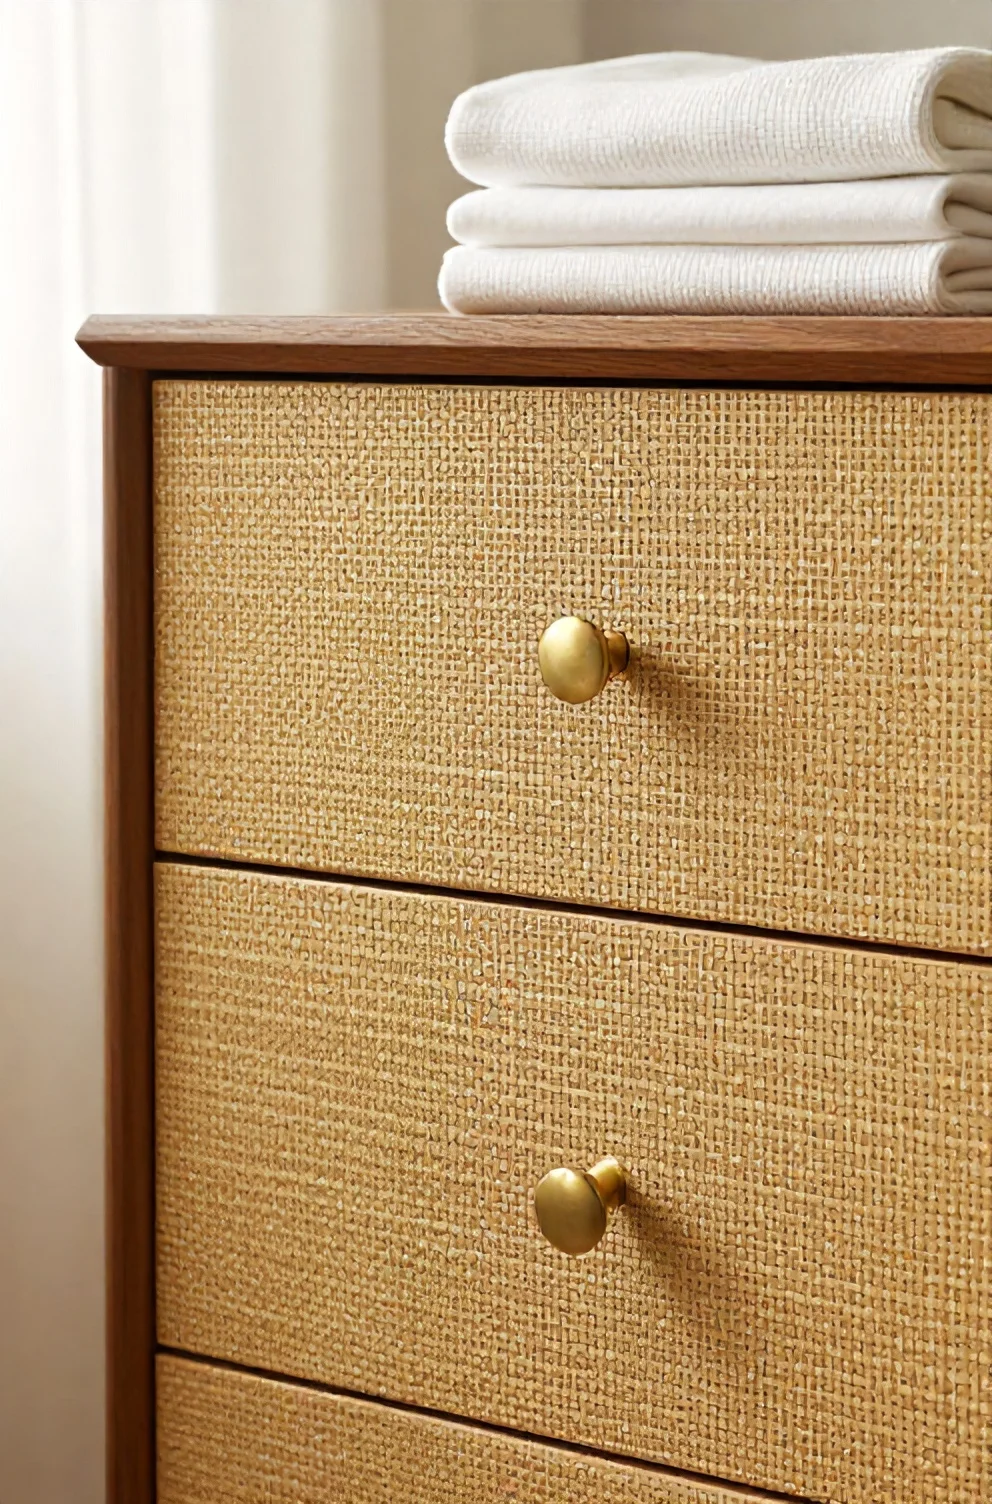
Plain laminate surfaces and dated wooden silhouettes offer an ideal foundation for leftover adhesive vinyl. Applying wallpaper on furniture transforms an inexpensive thrift store find or basic flat-panel nightstand into a custom-looking accent piece at a fraction of showroom prices.
You can execute a simple IKEA hack wallpaper project across drawer fronts or a flat headboard by following a few practical steps:
- Wipe the surface with isopropyl alcohol to remove lingering skin oils and dust.
- Align peel-and-stick sheets over the front panel, leaving a quarter-inch overhang along the edges.
- Trim clean perimeter borders using a fresh craft blade and reattach matte brass hardware for a polished upcycled dresser finish.
3. Lining Closets And Drawers
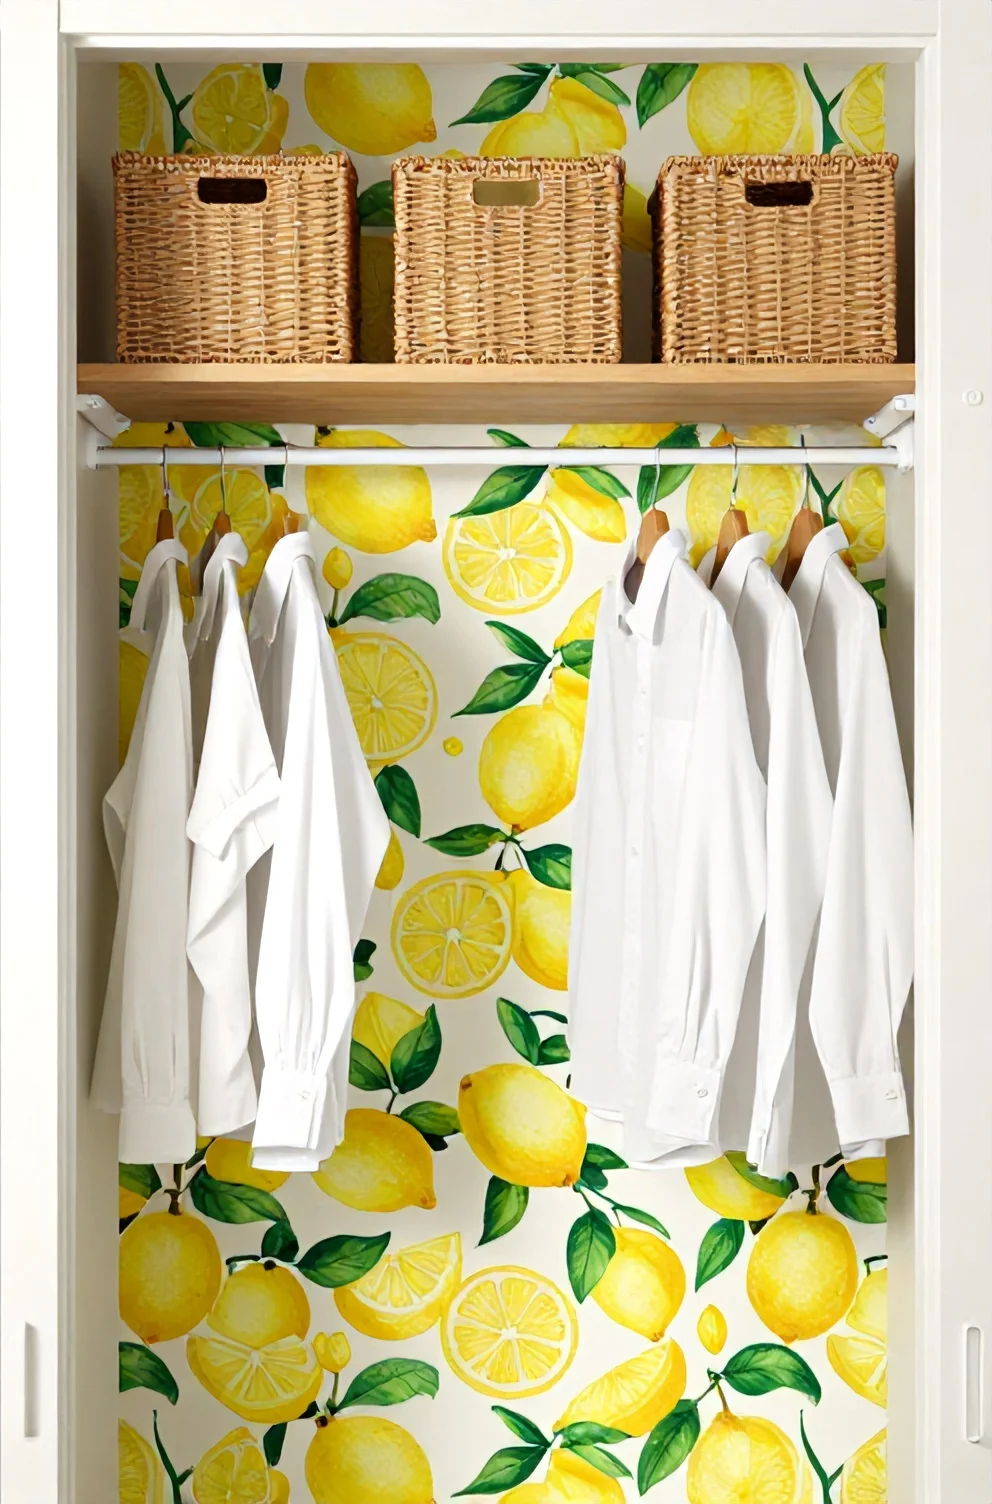
Small storage spaces often become visual dead zones in rental apartments. Applying leftover self-adhesive sheets as drawer liner wallpaper turns a mundane morning routine into a quiet sensory treat every time you pull open your dresser. Bright botanical motifs or crisp ticking stripes bring intentional charm to otherwise forgotten nooks, proving that hidden bedroom details set the tone for a thoughtful living space.
When you decide to wallpaper closet interior walls, measure between existing shelf brackets and work top to bottom. The moisture-resistant vinyl surface protects unfinished wooden shelving from cosmetic scuffs while making a compact wardrobe feel substantially brighter under standard closet lighting.
Frequently Asked Questions
Installing temporary wall coverings often brings up questions about lease security and surface compatibility. Most renter concerns center on paint safety, texture limits, and moisture exposure in compact spaces.
Whether removable wallpaper damages paint depends heavily on cured base coats. High-grade adhesives release cleanly from standard eggshell and satin finishes without leaving tacky residue, provided the original paint cured for at least three weeks prior to installation. If you are dealing with wallpaper on textured walls, heavy knockdown or orange peel surfaces create air pockets that weaken grip; testing a sample swatch overnight gives you a reliable preview before full application. Near an open ensuite bathroom, ambient steam will not compromise adhesion as long as moisture does not seep directly behind cut perimeter seams.
Conclusion: Make Your Rental Feel Like Home
Living in a leased space never means settling for sterile white drywall. A targeted DIY bedroom transformation lets you experiment with rich palettes, architectural stripes, or understated botanical prints without risking your security deposit. You gain creative freedom to tailor your surroundings to your personal routine, turning tight square footage into an inviting retreat.
Pick a roll that speaks to your style, clear a Saturday afternoon, and tackle one focal wall or closet nook with fresh utility blades. Temporary wall design gives you the freedom to evolve your layout whenever your taste shifts, creating a space that feels entirely your own.