Renter-Friendly Bedroom Makeovers: Styling Tricks For Peel And Stick Wallpaper In Tight Spaces
Summary
- The Magic of Peel and Stick Wallpaper in Small Apartments
- Why Temporary Wallpaper is the Ultimate Renter's Hack
- Selecting the Perfect Pattern to Make Your Bedroom Feel Larger
- Clever Placement Tricks for Tight Bedroom Layouts
- Foolproof Installation Steps for Beginners
- Frequently Asked Questions About Renter-Friendly Wallpaper
- Final Thoughts on Your Bedroom Transformation
The Magic of Peel and Stick Wallpaper in Small Apartments
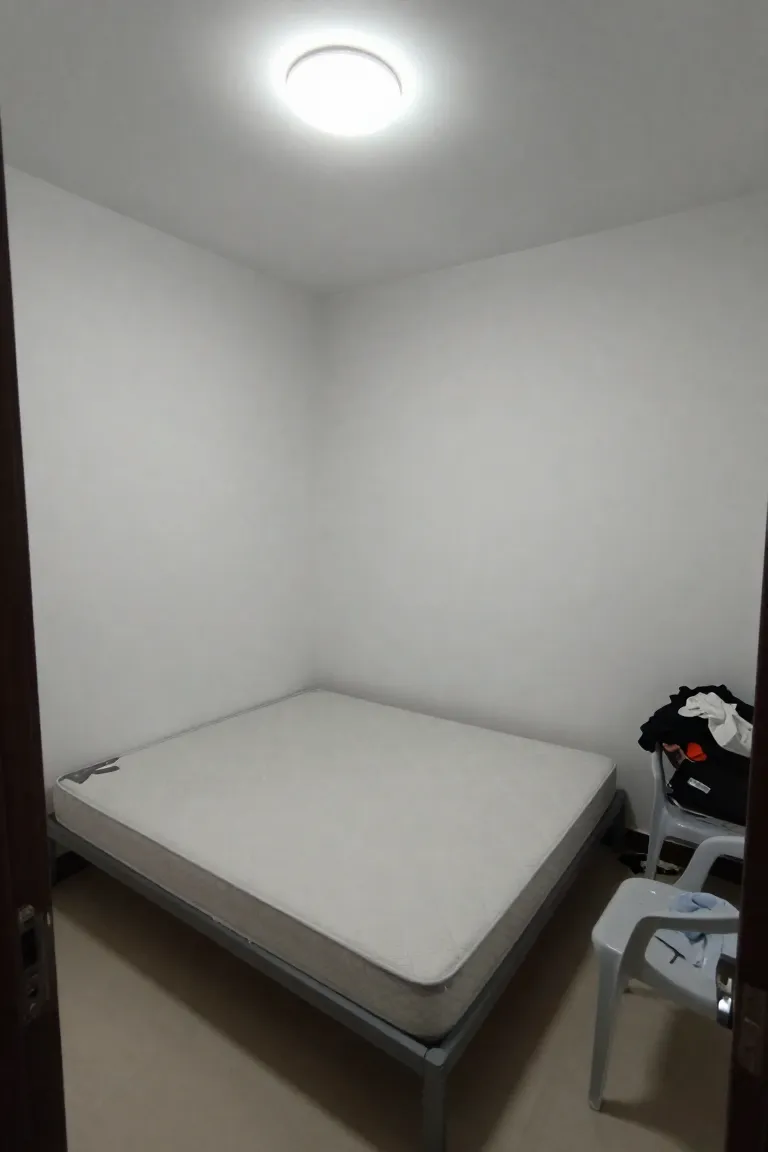
Living under rigid lease agreements often leaves your bedroom feeling sterile, defined by flat builder-beige drywall and strict penalties for unauthorized paint changes. Tackling a practical renter friendly bedroom makeover doesn't require risking your initial deposit or settling for uninspiring corners. Among practical small apartment decorating ideas, self-adhesive prints let you introduce architectural depth, tactile patterns, and rich personality right over drab surfaces, peeling away cleanly whenever move-out day arrives.
Why Temporary Wallpaper is the Ultimate Renter's Hack
Standard wall treatments demand messy paste buckets, drop cloths, and hours of sanding, turning basic room updates into logistical headaches for leaseholders. Modern self-adhesive panels bypass wet-trade hassles entirely, giving you the design agility to reshape your layout over a single Saturday morning. Integrating smart temporary wallpaper styling into your DIY bedroom decor repertoire delivers high-impact architectural texture without tethering you to permanent alterations.
- Clean repositioning flexibility during initial panel alignment
- Zero moisture damage to underlying landlord-approved drywall primer
- Instant dimensional contrast behind low-profile platform beds
- Fast teardown without scraping tools or chemical adhesive dissolvers
1. Protecting Your Security Deposit with Damage-Free Adhesives
Landlord leases rarely forgive torn paper facings or tacky gum residue left behind by low-grade hanging adhesives. Contemporary peel and stick backing relies on micro-suction acrylic formulations engineered specifically to grip smooth eggshell or satin latex without binding chemically to the underlying coat. When you source certified damage free wall decor substrates from retailers like Target or Home Depot, the material maintains its hold against seasonal bedroom temperature fluctuations while releasing under steady mechanical tension.
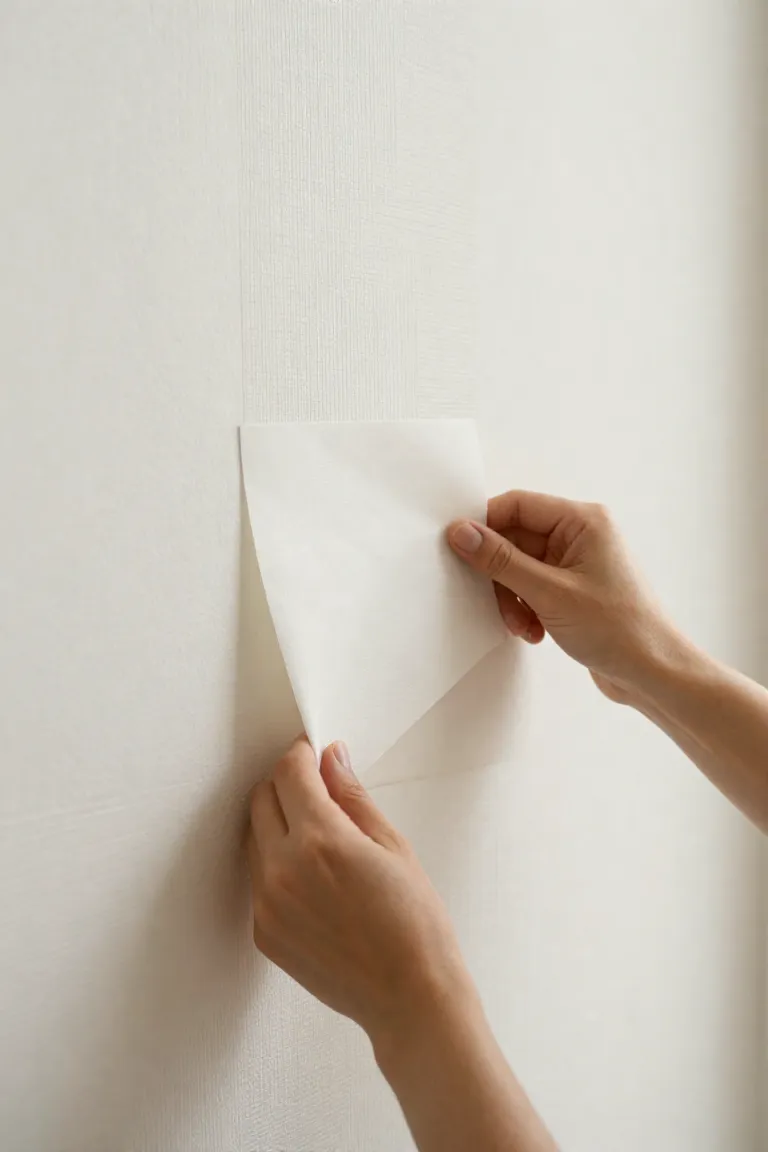
For the cleanest release at lease end, lift an upper corner at a crisp 45-degree angle rather than pulling outward away from the wall. A gentle, continuous downward draw keeps shear forces balanced across the drywall face, ensuring high-grade removable wallpaper lifts without dragging along baseline primer or triggering costly repair deductions during your final walk-through inspection.
2. Achieving High-End Aesthetics on a Tight Budget
Outfitting a rental bedroom with high-end designer pieces often demands thousands of dollars, but strategic wall coverings deliver that exact upscale finish for a fraction of the cost. Rather than hunting down an oversized upholstered headboard from West Elm or investing in gallery-scale framed art, two rolls of heavy-weight vinyl peel-and-stick paper establish architectural depth behind your bed for under eighty dollars. It transforms a sterile rental box into a bespoke suite while keeping your cheap bedroom decorating budget completely grounded.
Modern printing technologies produce tactile faux finishes, such as grasscloth weaves, limewash textures, and subtle linen embossing, that mirror bespoke trade-only textiles. When paired with thrifted brass sconces from Facebook Marketplace or crisp white percale sheets from Target, this calculated visual investment delivers a true budget friendly room makeover that rivals luxury boutique hotel rooms on an accessible budget.
Selecting the Perfect Pattern to Make Your Bedroom Feel Larger
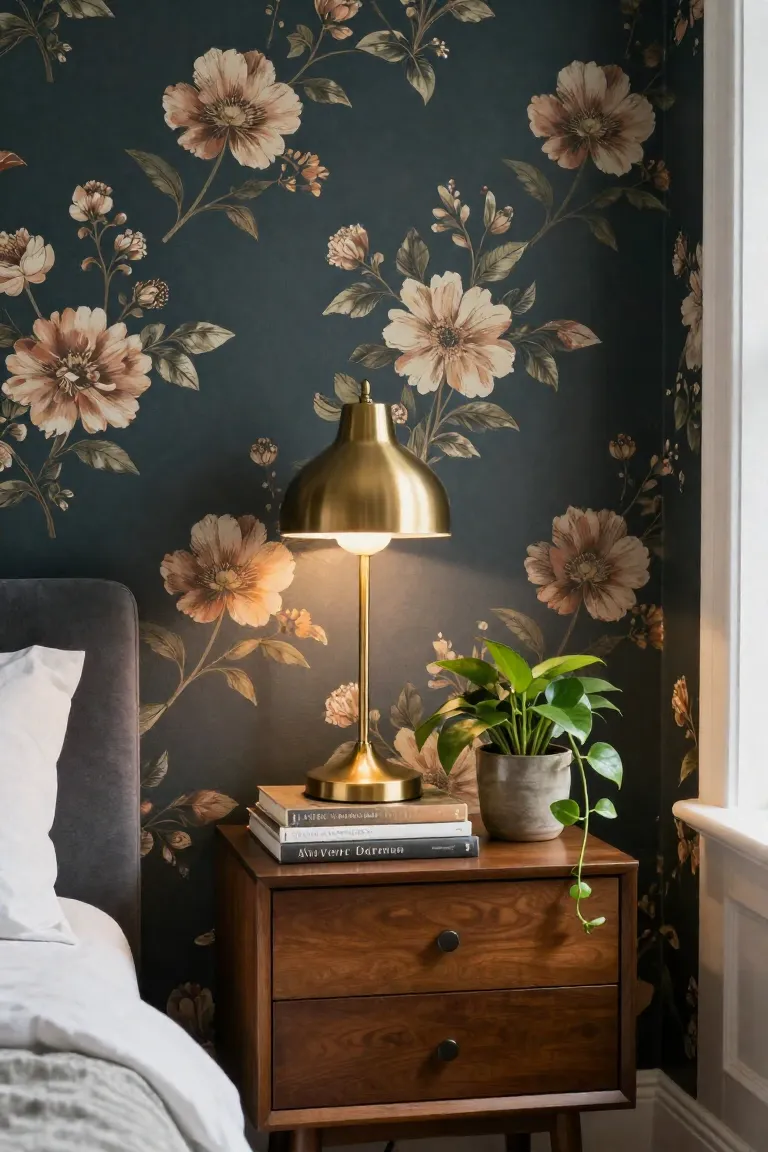
Spatial scale in compact quarters is fundamentally an optical trick dictated by line, negative space, and rhythm. While dark, dense Victorian motifs can collapse perimeter walls inward, curated wallpaper patterns for small rooms deceive the eye by blurring where wall planes terminate. Choosing fluid geometry or open botanicals nudges boundaries outward, giving standard eight-foot drywall layouts breathing room.
Stylist Rule: Scale patterns to expand perimeter sightlines rather than matching your room's square footage.
Micro-prints frequently cause visual static that closes off narrow walkways, whereas medium-scale motifs with generous breathing room invite light to bounce across the floor plan. If your primary goal is to enlarge small bedroom proportions, select motifs featuring directional movement that draws the eye upward toward the ceiling line.
1. Leveraging Light Hues and Airy Backgrounds
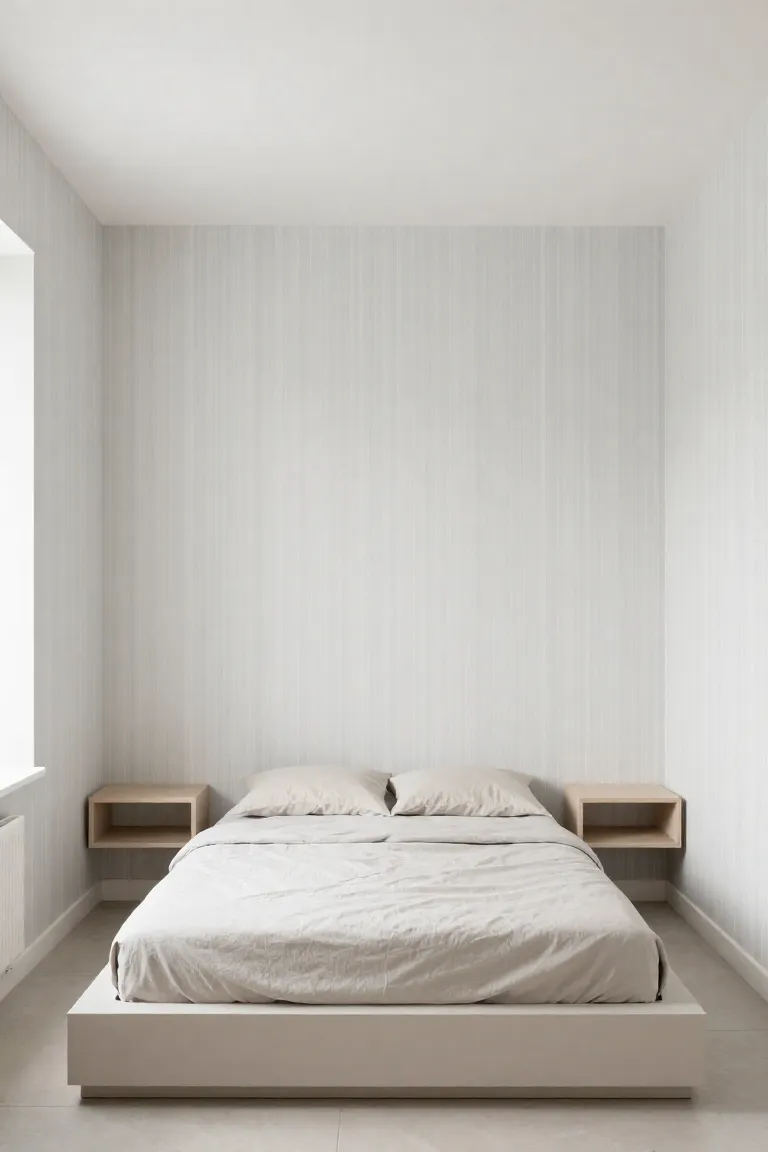
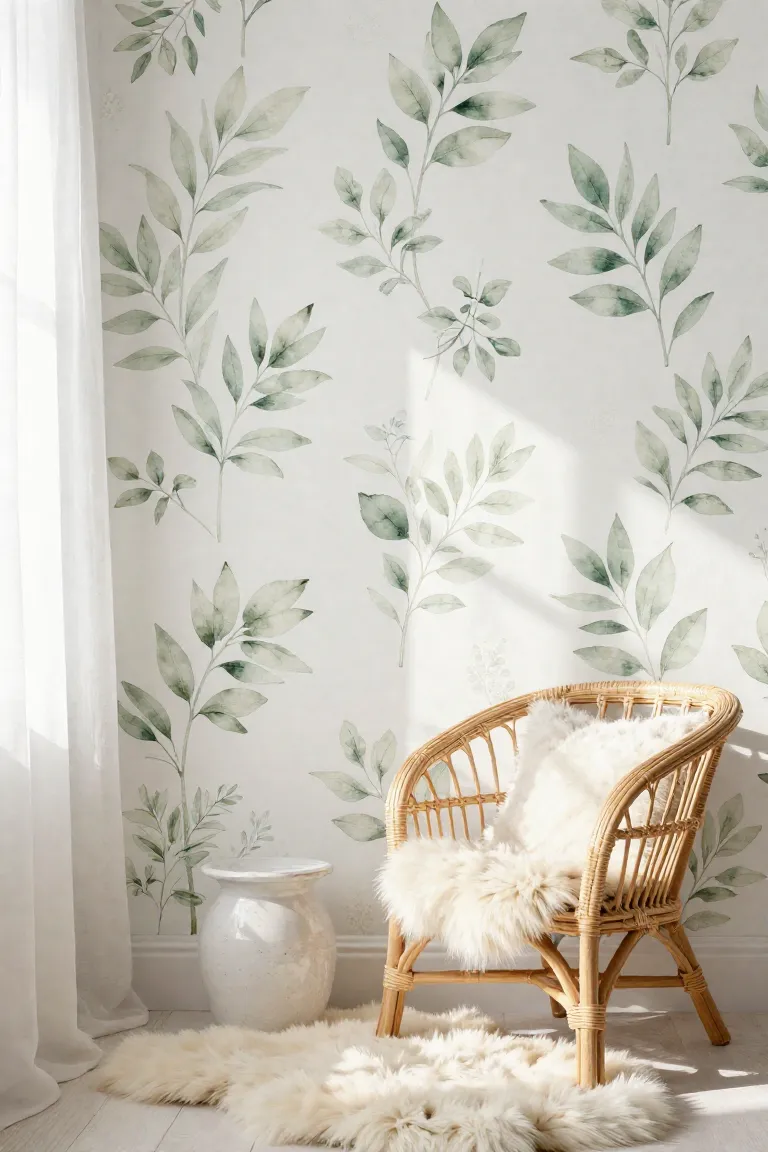
Natural daylight is your most valuable asset when dealing with modest square footage, and pale ground colors maximize every lumen filtering through your blinds. Opting for rolls anchored by warm alabaster, subtle French cream, or whisper-soft ecru prevents tight corners from reading like dark alcoves. A matte light color wallpaper catches morning sun and diffuses it across bedside tables, instantly brightening dim drywall surfaces.
- Warm linen or oat foundations soften harsh overhead rental fixtures without feeling sterile.
- Soft sage and blush undertones introduce subtle tonal dimension while maintaining broad light reflectance.
- Off-white watercolor grounds mimic airy bedroom design by letting window shadows drift naturally across the perimeter.
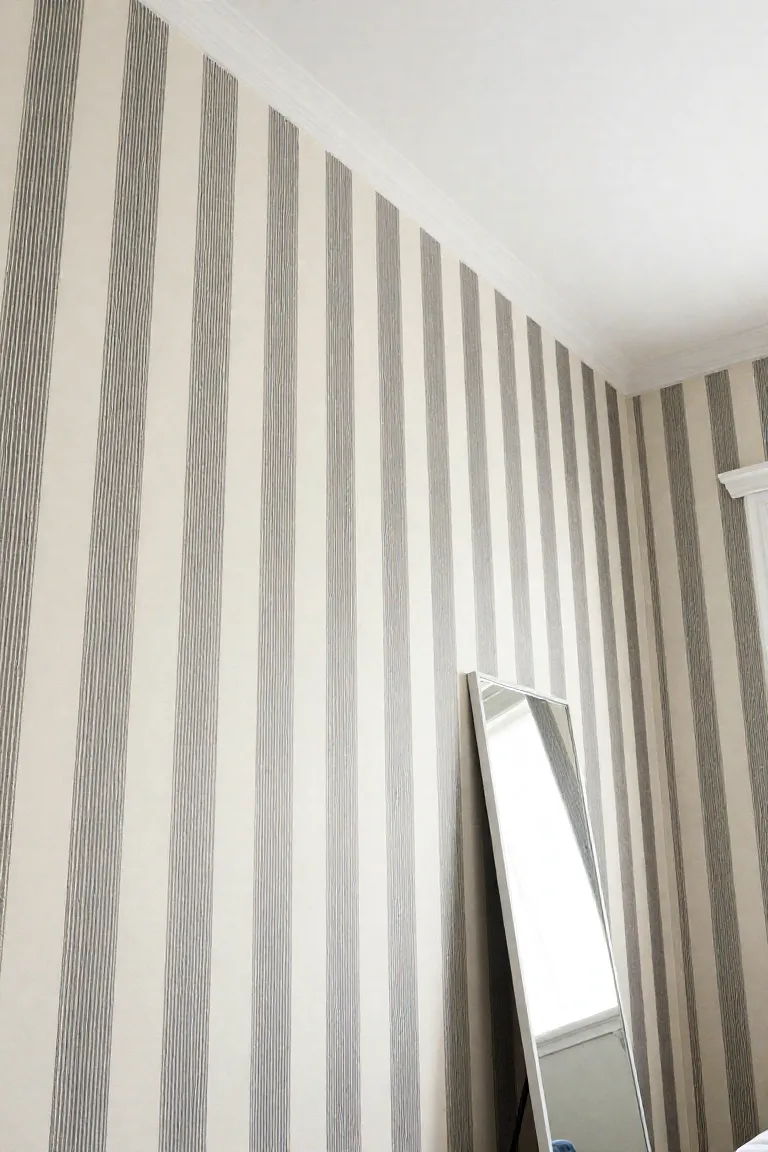
2. Using Vertical Stripes to Create the Illusion of Height
Standard eight-foot drywall ceilings in builder-grade rental units often make sleeping zones feel boxy and compressed. When floor space is at a premium, directing visual momentum toward the ceiling line alters how you perceive total room volume. Installing vertical stripe wallpaper establishes rhythmic sightlines that guide the gaze straight upward, effectively counteracting that heavy overhead feel. Crisp ticking lines or soft watercolor bands trick the eye into perceiving extra clearance, turning one of the most reliable low ceiling bedroom solutions into an immediate architectural upgrade.
For the cleanest balance, select patterns with two-inch spacing rather than hyper-dense pin stripes that create visual vibration under warm bedside lamps. Muted cream and olive tones sourced from peel-and-stick rolls at Target or Home Depot anchor the wall without clashing with your linen duvet. If your drywall has minor surface waviness, flexible vinyl backing smooths right over subtle divots, delivering crisp lines that stay plumb from baseboard to ceiling edge.
Clever Placement Tricks for Tight Bedroom Layouts
Blanketing all four perimeter surfaces in a compact rental often encloses the sleeping quarters, shrinking your usable sightlines. Restraint proves far more transformative when dealing with challenging footprints and modest square footage. Strategic wallpaper placement ideas allow you to carve out defined architectural zones, giving distinct identity to quirky angles without cluttering the floor. By targeting specific micro-zones across varied small bedroom layouts, you anchor the space with intentional visual weight while leaving surrounding walls neutral to breathe.
- Line the shallow drywall return of a recessed reading alcove to carve out a cozy retreat beside your nightstand.
- Cover the back wall between two freestanding IKEA wardrobes to simulate a custom built-in storage system.
- Frame a compact work-from-home desk zone beside your window using two vertical drops of adhesive paper.
- Highlight structural bump-outs or chimney breasts to turn awkward apartment obstacles into purposeful features.
1. Designing a Statement Faux Headboard
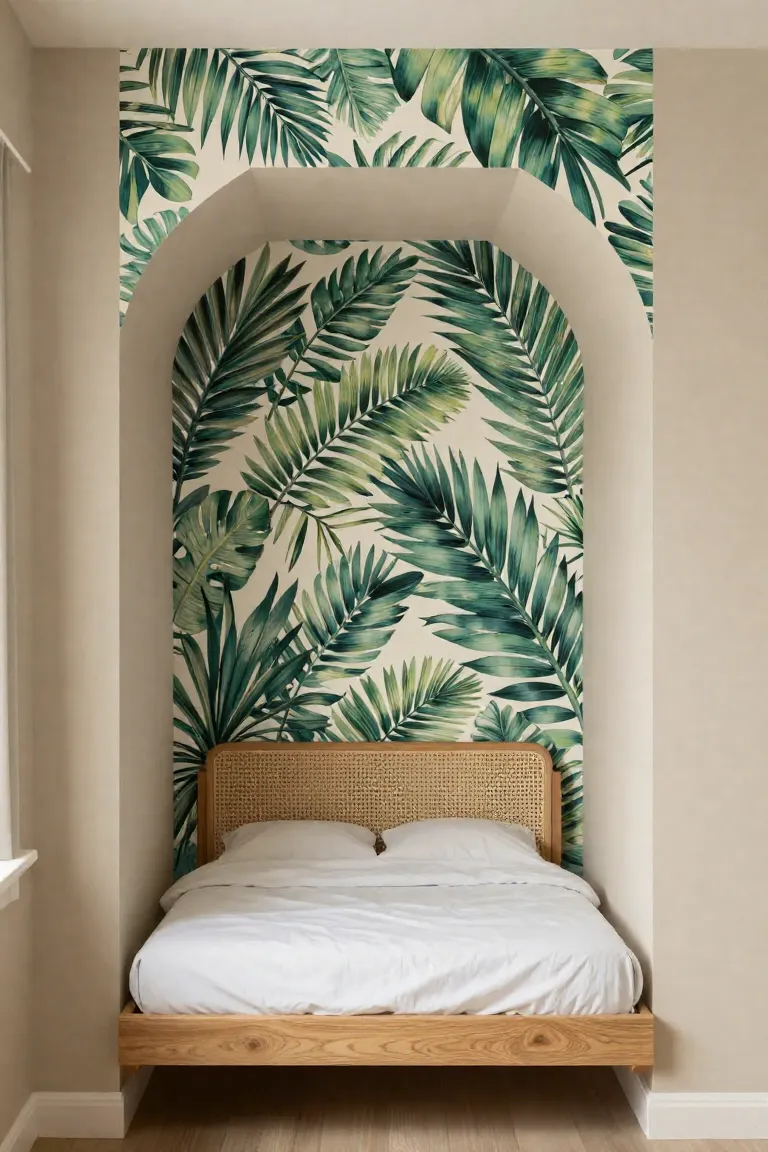
Standard upholstered frames and heavy wooden headboards consume valuable floor depth that narrow studio layouts simply cannot spare. Anchoring your mattress against a crisp graphic focal point bypasses this hurdle completely while preserving every inch of walking clearance. Installing faux headboard wallpaper directly behind your pillows delivers the visual presence of tailored furniture with zero physical footprint, proving one of the smartest space saving bedroom ideas for tight rentals.
- Map your mattress dimensions with blue painter's tape, extending the perimeter three inches beyond each side and thirty inches above the pillow line for balanced proportions.
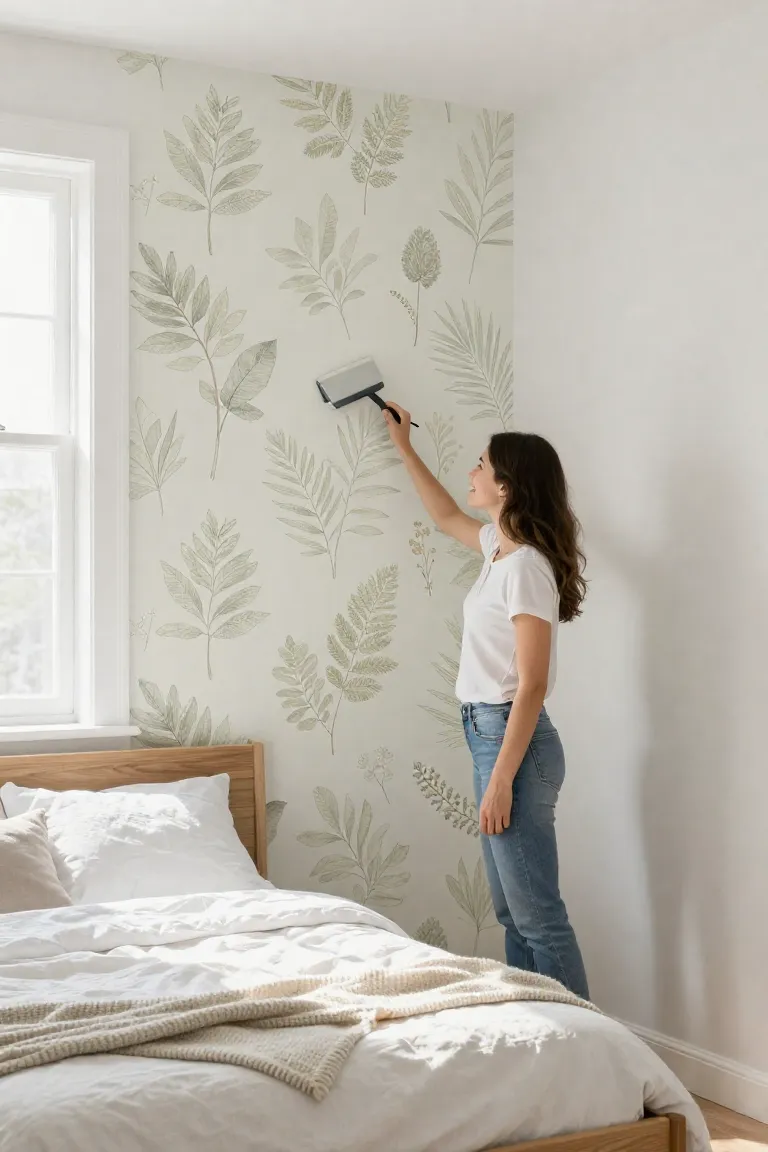
- Trim your adhesive sheets with a fresh utility blade against a steel ruler, smoothing the vinyl downward using a felt-edge squeegee to prevent trapped air pockets.
- Finish the border with a clean arch or crisp geometric rectangle, rubbing edges firmly to guarantee secure adhesion on painted drywall without leaving sticky residue later.
2. Committing to a Single Bold Accent Wall
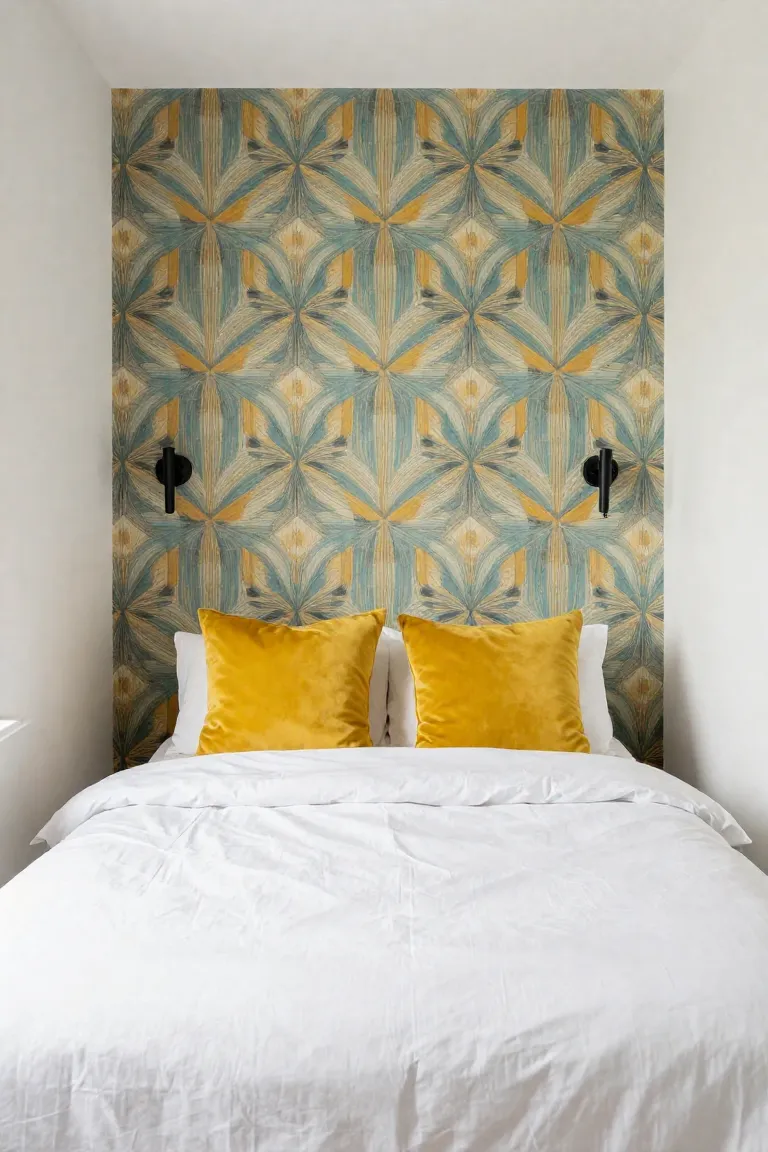
Focusing your design energy on the surface right behind the mattress gives a compact room an immediate architectural purpose. When you pick the headboard zone for a bedroom accent wall, you automatically establish an anchor that draws the eye inward, making the perimeter feel intentional rather than crowded. Leave the remaining three drywall faces dressed in warm off-white, soft taupe, or pale linen tones to let light bounce freely through the room.
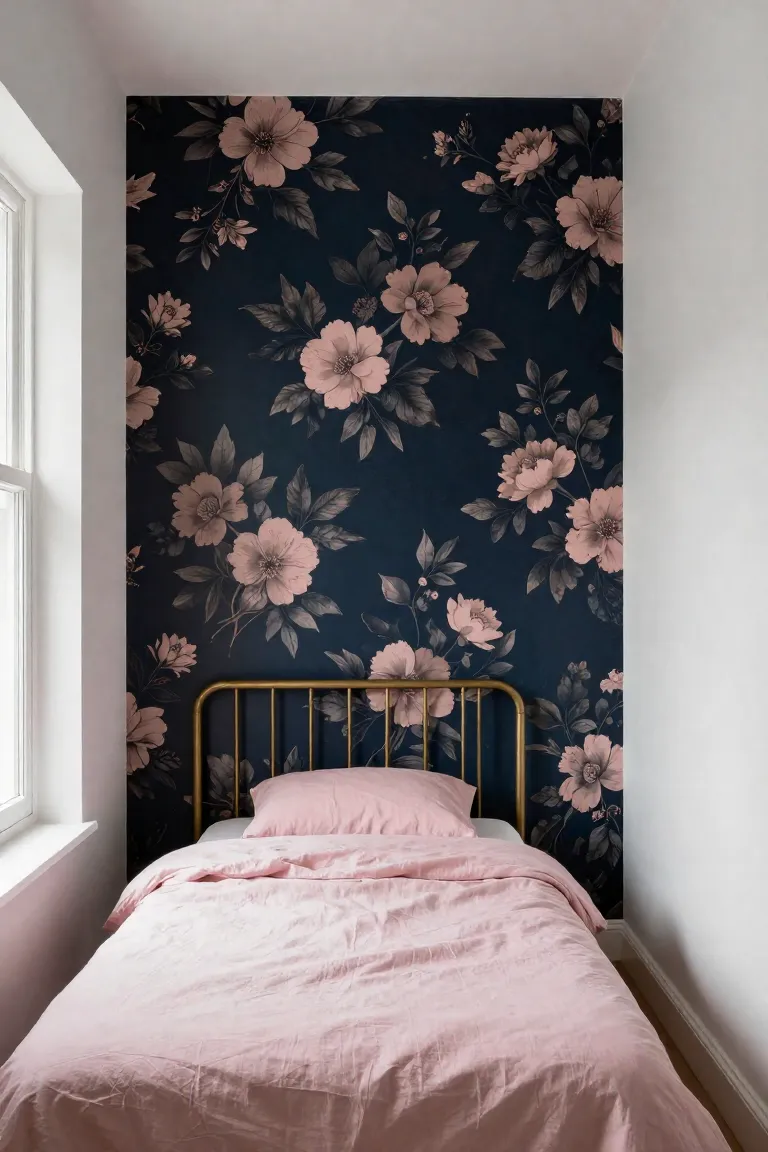
Balance the saturated print by keeping nightstand accessories grounded. Simple matte ceramic lamps, woven cane baskets from Target, and unadorned floating ledges prevent visual friction across the primary focal plane. If you install dark botanical prints or moody geometric vinyl, balance that visual weight with light cotton duvet covers and pale wood bedframes so the print commands attention without overwhelming the bedroom.
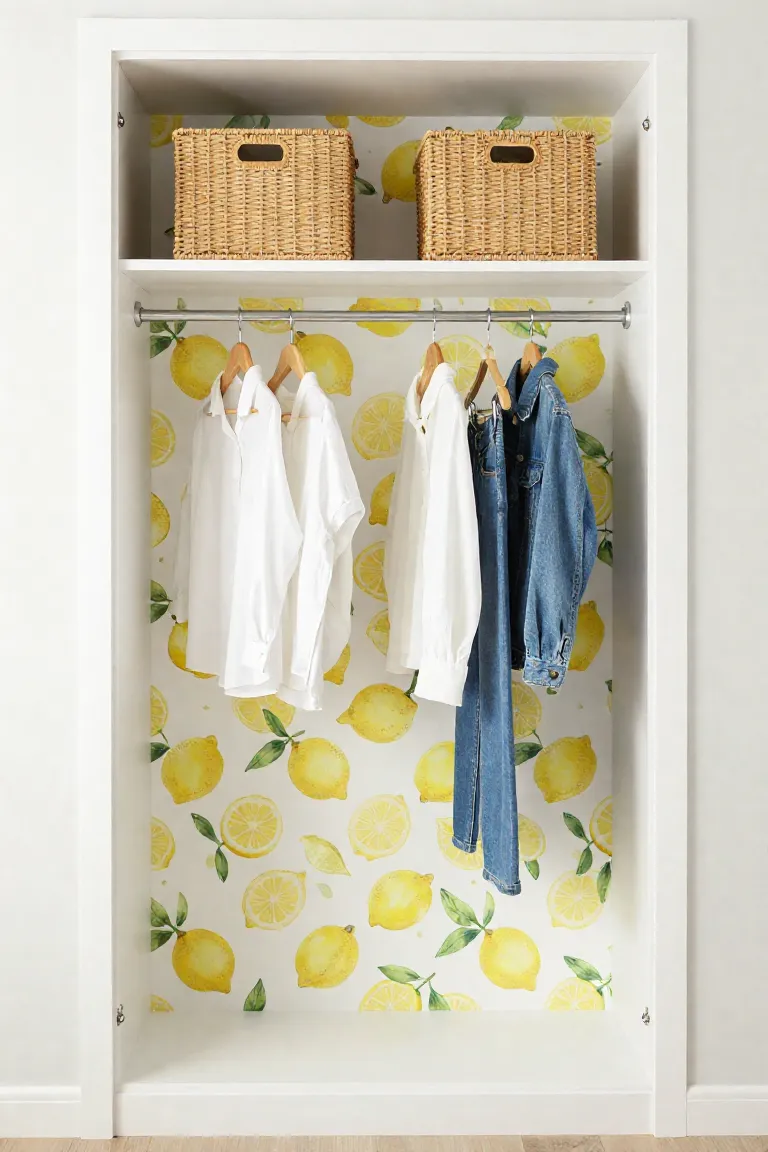
3. Adding Surprise Patterns to Closet Interiors
If covering full drywall expanses feels like too big of a leap, micro-installations let you test playful patterns with zero spatial risk. Applying playful rolls to the recessed wall behind your clothing racks turns everyday dressing into a boutique moment. The secret lies in treating concealed storage like an unexpected jewel box that surprises you every morning.
- Line reach-in closet backs behind open wire shelves to execute a chic closet makeover without moving heavy dressers.
- Back thrifted IKEA Billy bookcases with vintage ticking stripes to showcase ceramic trinkets and paperbacks.
- Slide remnants into drawer bottoms or inside sliding bifold tracks for delightful hidden wallpaper details.
- Cover exposed upper shoe cubbies with moody peel-and-stick scraps to establish curated focal accents in seconds.
Foolproof Installation Steps for Beginners
Tackling self-adhesive paper inside tight dimensions might sound intimidating, but standard bedroom angles actually work in your favor once you master basic panel mechanics. Understanding how to install peel and stick wallpaper in narrow corridors comes down to methodical prep and controlled panel drops rather than brute speed. You do not need professional paperhangers or specialized trade gear to produce crisp, showroom-quality seams.
Stylist Rule: Never pull away the entire protective backing sheet at once; peel only eight to twelve inches down as you work the vinyl onto the wall to keep tension even.
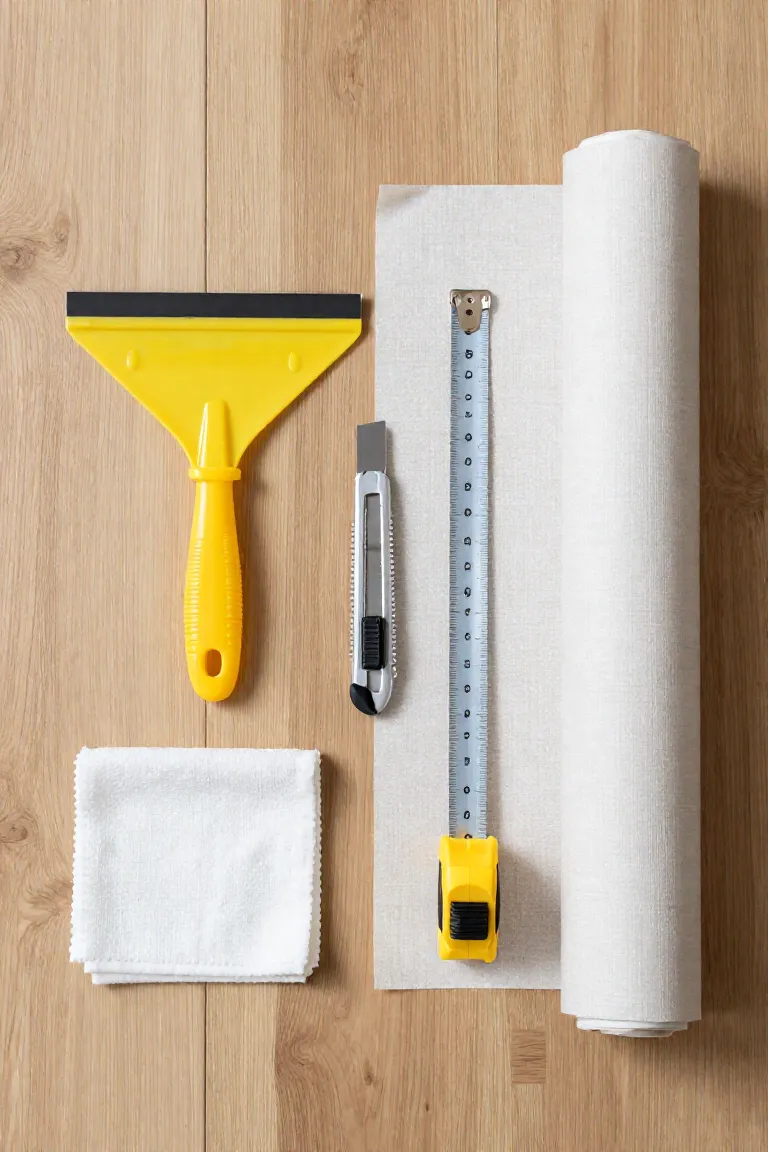
A successful DIY wallpaper application starts by assembling humble household tools: an exacto knife fitted with fresh utility blades, a laser level from Lowe's, and a simple plastic smoothing squeegee wrapped in microfiber cloth. Take your time aligning the plumb line, smooth from center outward to avoid bubbles, and trust that forgiving self-adhesive vinyl lifts away easily for realignment whenever you encounter tricky corners.
1. Prepping Walls for Optimal Adhesion
Even the highest-grade self-adhesive backing will slide right off drywall covered in airborne cooking oils, dust, or rental grime. Thorough wall preparation for wallpaper begins by scrubbing your vertical surface with a simple 1:1 mixture of isopropyl alcohol and water, or a gentle wipe of Krud Kutter on high-traffic drywall. Focus along baseboards and corner seams where settlement dust loves to hide.
- Wipe down every square foot using a lint-free microfiber mop to catch settled grit.
- Spot-clean stubborn scuffs with a mild degreaser, rinsing with clean water afterward.
- Allow the surface to dry for a full 24 hours to ensure zero residual moisture remains trapped behind the backing.
2. The Secret to Seamless Pattern Matching
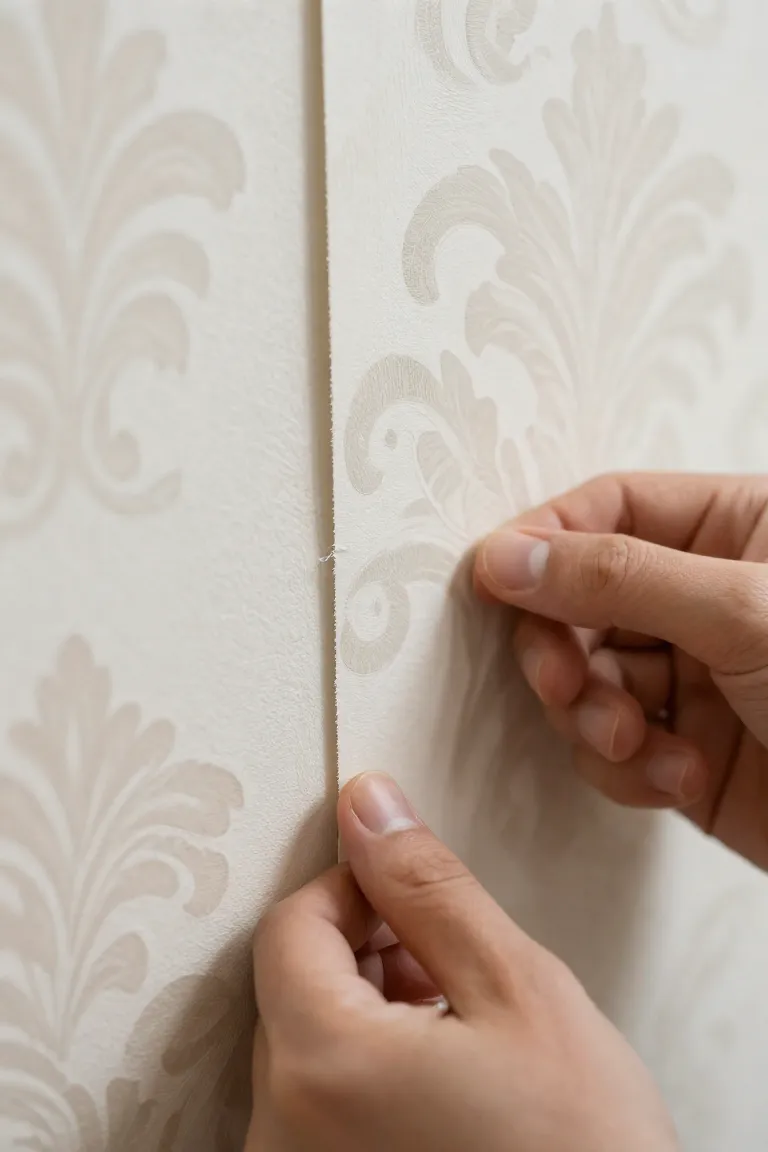
Before unrolling your second panel, check the roll label for the exact wallpaper pattern repeat distance, which typically runs anywhere from 12 to 24 inches. Matching up botanical stems or geometric grids requires lining up horizontal design marks at eye level before pressing down the edges.
Temperature swings between dry winters and humid summers cause printed vinyl sheets to expand and contract naturally. For a truly seamless wallpaper installation, allow a subtle one-sixteenth-inch overlap along adjacent vertical seams instead of butting them edge-to-edge. This small buffer prevents visible drywall hairline gaps from peeking through when indoor heating causes your vinyl panels to draw inward.
Frequently Asked Questions About Renter-Friendly Wallpaper
Before committing to rolls of adhesive decor in an apartment, walking through a quick removable wallpaper FAQ helps clarify real-world performance across different wall textures and climates.
Peel-and-stick wallpaper and textured surfaces rarely get along, as orange peel or knockdown finishes leave air pockets that weaken adhesive grip. If your rental features heavy texture, stick to smooth closet doors or apply a temporary skim coat before hanging rolls. Most pressure-sensitive adhesives pull off cleanly without lifting builders-grade latex paint, provided the underlying coat cured for at least four weeks before application. In humid spaces like bedroom nooks adjacent to en-suite baths, moisture resistance holds up well as long as you maintain consistent ventilation.
Stylist Rule: Always order a single swatch to test your bedroom paint finish for seven days before ordering multiple rolls.
Final Thoughts on Your Bedroom Transformation
Living in a rental often feels like a balancing act between making a space your own and keeping your landlord happy. Stripping away that sterile, builder-grade boxiness does not require a permanent commitment or years of lease stability. With versatile peel-and-stick prints, your apartment bedroom design can evolve whenever your aesthetic shifts, whether you want moody botanical murals behind a thrifted bedframe or subtle linen weaves to soften harsh overhead lighting.
Because these removable panels peel off cleanly without tearing drywall facings or leaving tacky residue, you have complete creative license to experiment fearlessly. Treat these temporary decor solutions as a low-stakes sandbox for your personal taste: save your favorite swatches on Pinterest, test a single accent nook, and watch how a few peel-and-stick rolls make your small sleeping quarters feel entirely bespoke.