Step-by-Step IKEA Hacks to Maximize Space in Your Small Apartment Bedroom
Summary
- Introduction: Why IKEA Hacks are the Ultimate Solution for Small Bedrooms
- Essential IKEA Furniture Pieces for Small Space Transformations
- Step-by-Step Hack 1: Building a Platform Bed with Maximum Storage
- Step-by-Step Hack 2: Creating a Custom Built-In Wardrobe Look
- Step-by-Step Hack 3: The Floating Vanity and Desk Combo
- Frequently Asked Questions (FAQ) About IKEA Hacks
- Conclusion: Transform Your Small Bedroom Today
Introduction: Why IKEA Hacks are the Ultimate Solution for Small Bedrooms
Living in tight quarters forces compromises between daily comfort and visual appeal. With the right small apartment decorating ideas, bedroom setups feel intentional rather than cramped. Transforming flat-pack staples into tailored pieces provides a budget friendly space saving approach that gives standard furniture a custom finish.
- Maximizes awkward corners and vertical height that store-bought furniture overlooks.
- Adapts modular shelving into multifunctional foundations like platform beds and room dividers.
- Allows quick updates using fresh paint, timber tops, and brass hardware.
Essential IKEA Furniture Pieces for Small Space Transformations
Successful compact transformations rely on standard catalog staples that adapt easily to custom woodwork and modular stacking. Modular units like the KALLAX grid, slimline TRONES shoe cabinets, and floating EKBY drawers form the backbone of practical IKEA bedroom furniture. These clean-lined silhouettes double as architectural room dividers, low-profile bed frames, and compact vanities while slipping neatly into tight footprints. By selecting flat-pack items with uniform depths and sturdy laminate surfaces, you create versatile storage solutions that keep floor areas clear and maintain crisp sightlines. They adapt easily whenever your layout needs to shift.
1. The Mighty KALLAX: More Than Just a Bookshelf
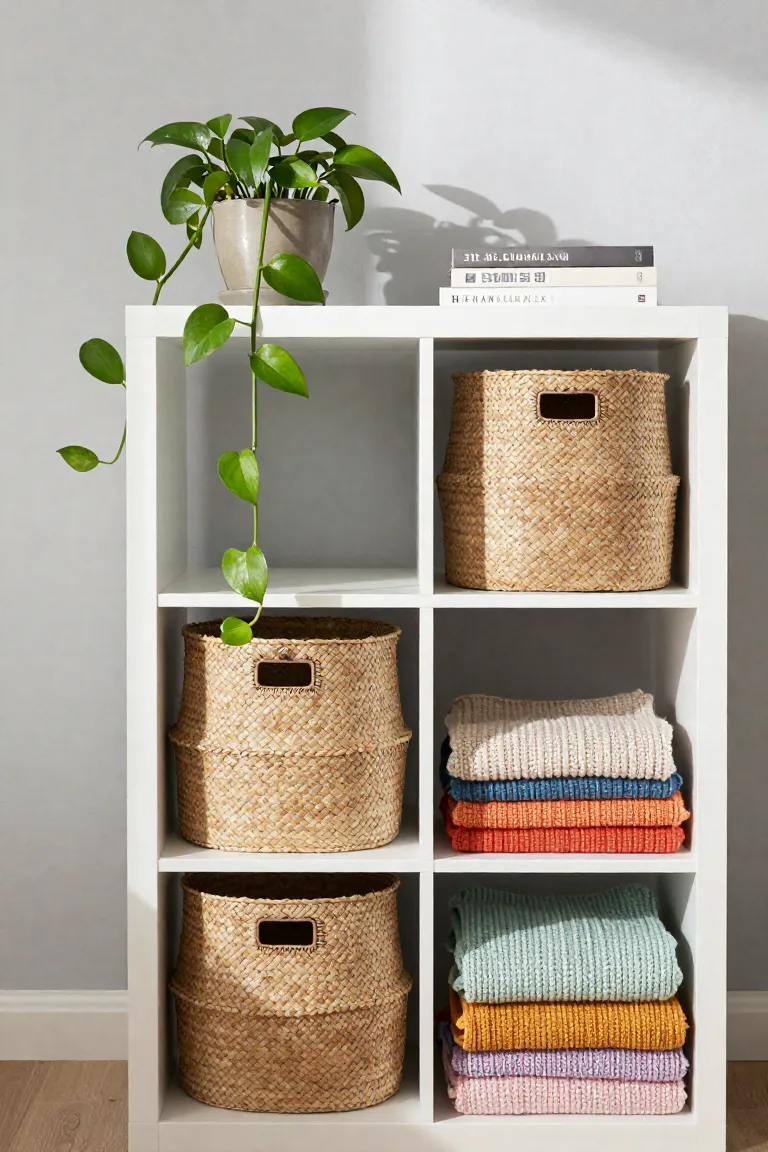
Square proportions and symmetrical cubbies make this classic shelving unit highly adaptable for DIY home design. When arranged horizontally along an open studio floor, the grid acts as a subtle partition to separate your sleeping zone from living areas while maintaining natural window light. Modern KALLAX hacks frequently take advantage of this rigid perimeter by pairing two or three low units together to form a raised bed foundation packed with perimeter storage. Inserting textured rattan bins, birch plywood drawer inserts, and stained timber tops transforms standard cube storage ideas into a tactile architectural accent that adds functional structure to the space.
2. TRONES Shoe Cabinets: The Ultimate Slim Storage
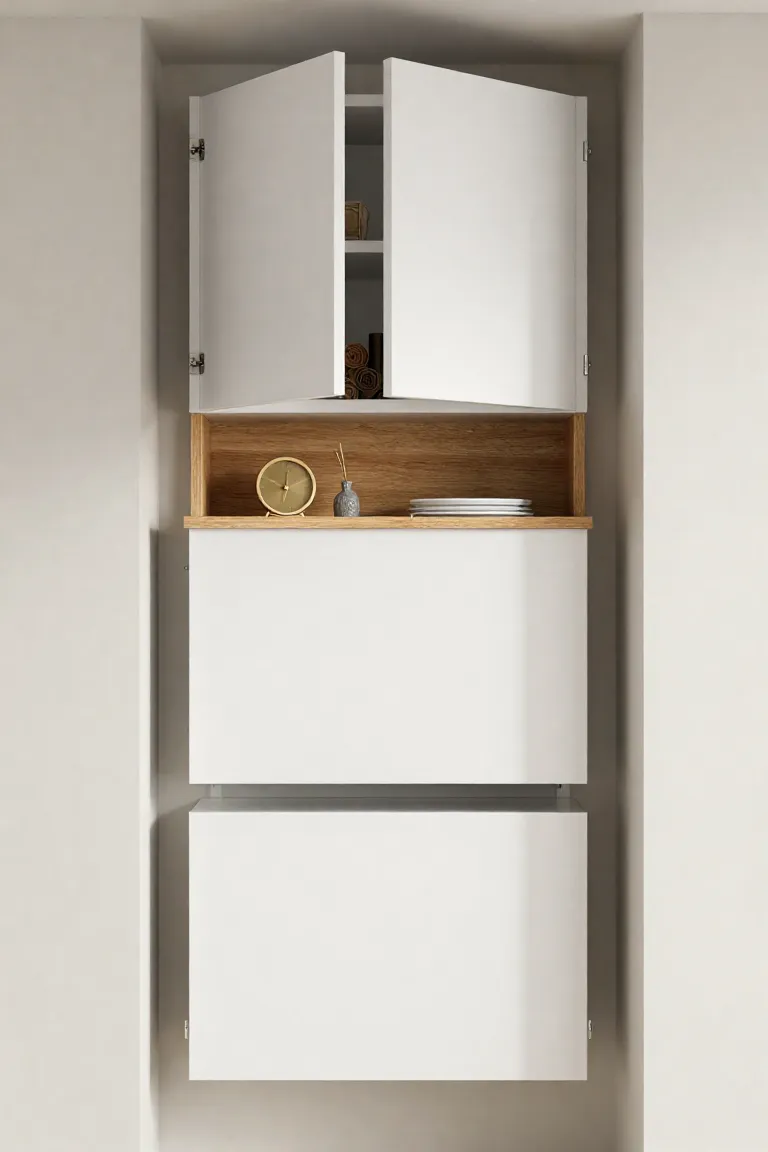
When floor real estate feels virtually non-existent along narrow bedroom pathways, wall-mounted polypropylene flip-out bins offer an ingenious solution. While originally conceived for footwear, a creative TRONES storage hack turns these six-inch-deep modules into streamlined organizers for everyday essentials. It provides a clean way to stash rolled activewear, knit beanies, and charging cables right behind a bedroom door without interrupting walkway clearance.
A custom timber topper affixed across several horizontally mounted units gives the installation a tailored floating console appearance. In tight entryway nooks or beside a nightstand, this ultra slim wall storage frees up precious walking clearance. It keeps daily paperwork and bedtime reading materials organized and completely out of sight.
Step-by-Step Hack 1: Building a Platform Bed with Maximum Storage
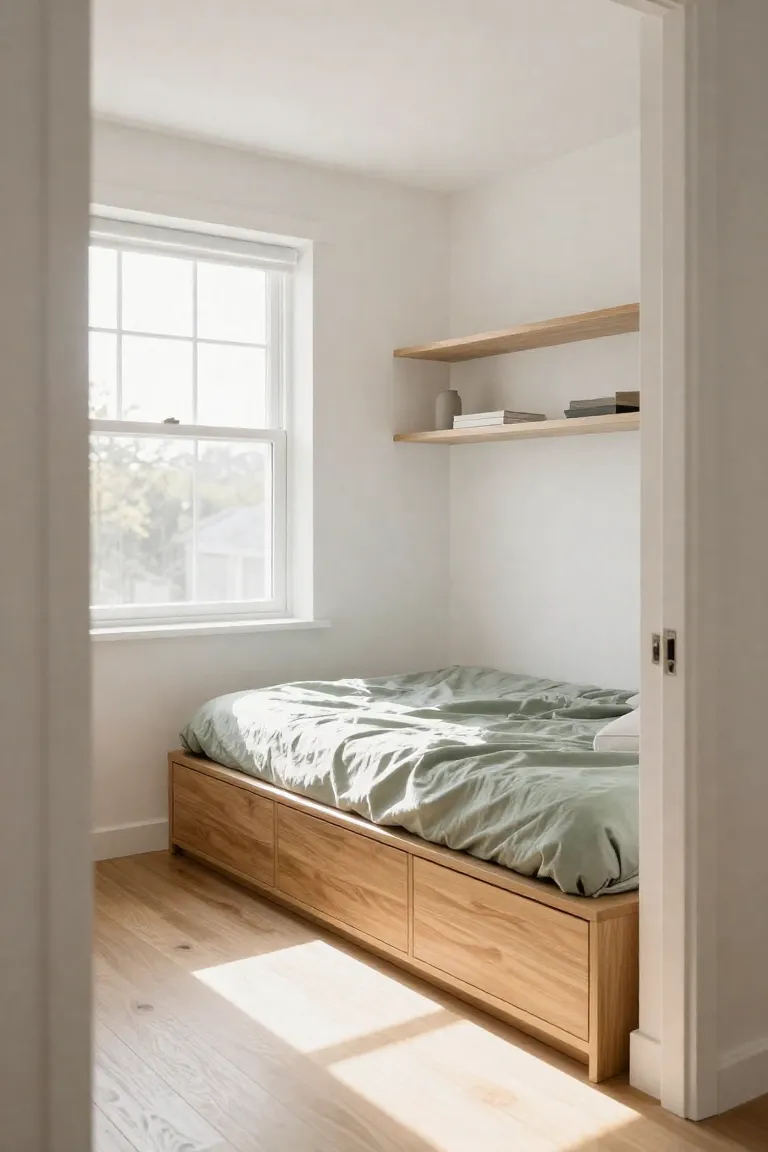
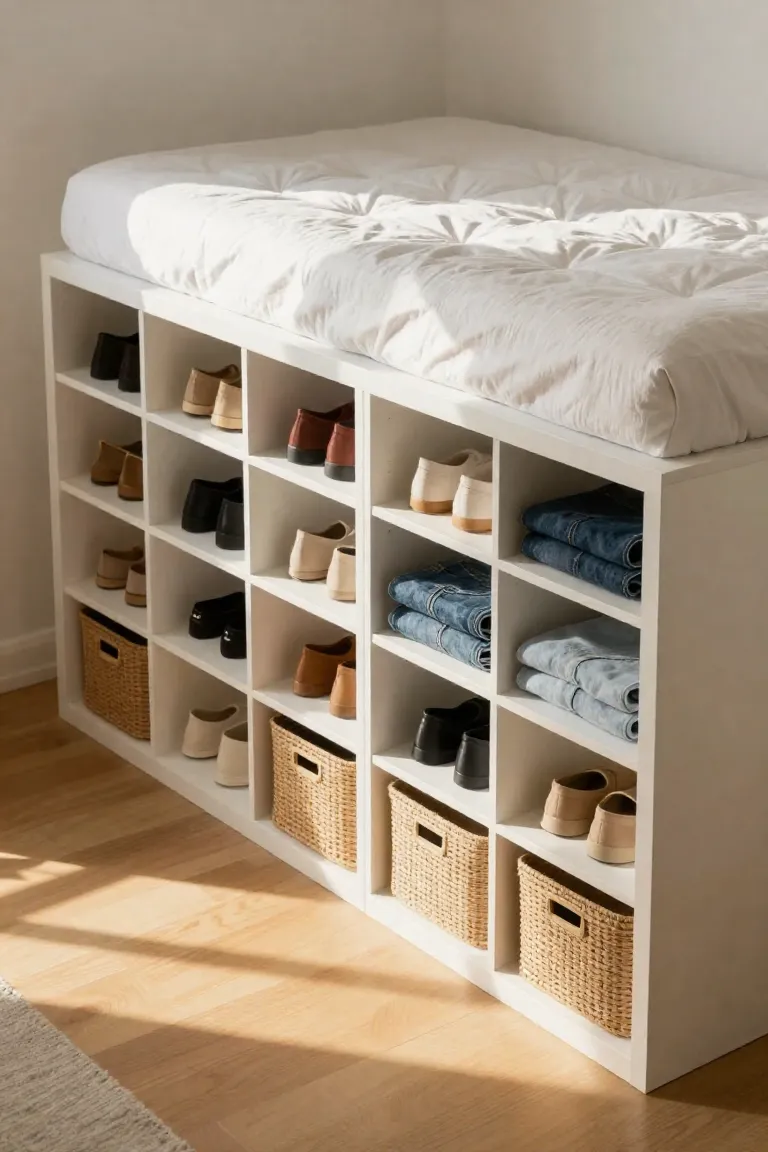
Standard bed frames routinely squander several cubic feet of prime bedroom volume, leaving dead space that collects dust rather than offering real utility. Constructing a DIY platform bed by anchoring sturdy low shelving units beneath a custom plywood subfloor unlocks an impressive perimeter of accessible cabinetry right below your mattress. This raised foundation transforms awkward dead zones into organized compartments for bulky bedding, seasonal knitwear, and travel bags, surpassing traditional under bed storage ideas. You gain the organizational capacity of a secondary dresser without occupying an extra inch of valuable floor area, keeping your overall bedroom silhouette clean and uncluttered.
Step 1: Gathering and Measuring Your Base Units
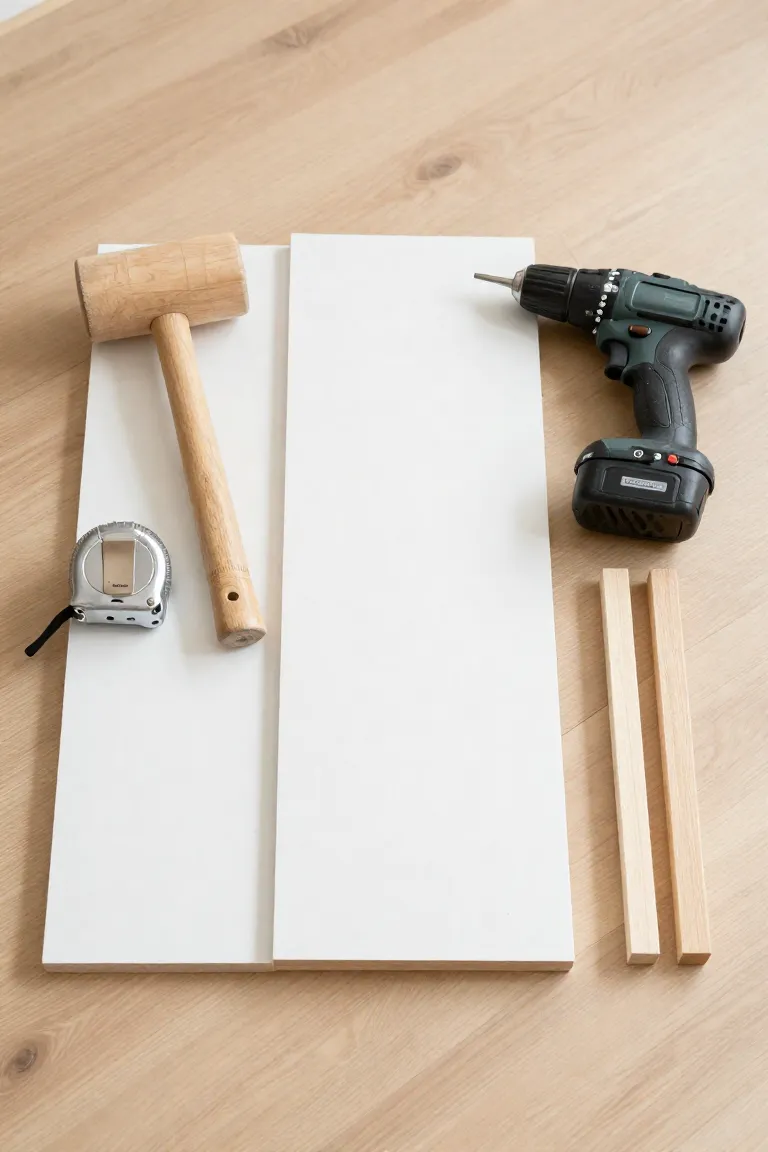
Before ordering hardware or assembling flat-pack boxes, map out your floor perimeter with painter's tape to accurately measure bedroom space and visualize real-world walking margins. Selecting reliable base foundations, such as two-by-two cube organizers or smooth three-drawer dressers, depends on whether you need open display cubbies or concealed sliding drawers. These modular pieces serve as sturdy bed frame alternatives that support everyday weight once tied together with solid cross-bracing and a rigid plywood surface.
Ventilation remains an essential priority during the layout phase, particularly around mattress perimeters. A three-inch clearance between your perimeter cabinets and adjacent exterior walls prevents stagnant air buildup. Drilling systematic breather holes into the top plywood deck keeps constant airflow circulating under the mattress core.
Step 2: Securing the Frame and Adding a Slatted Base
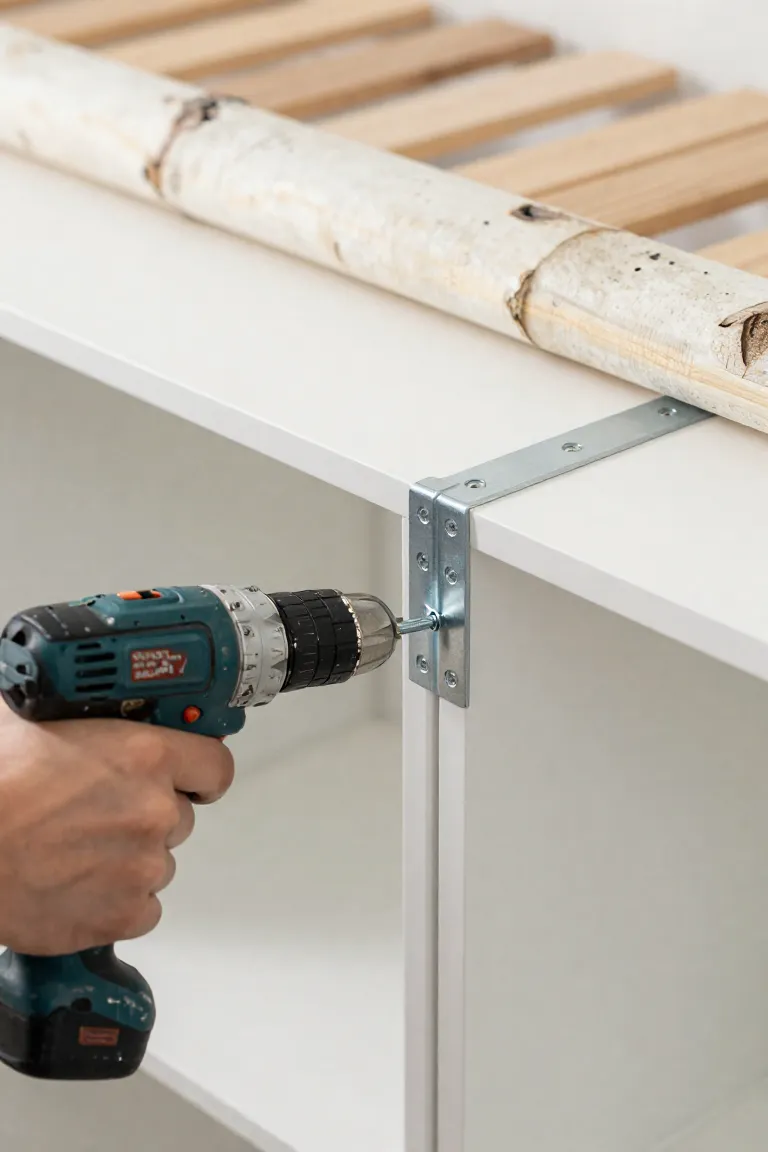
Anchor the modular cabinets together from the inside using flat metal mending plates and steel corner braces. Driving one-inch wood screws directly through adjacent side panels pulls the individual units into a flush, rigid platform. Anchoring the entire assembly to wall studs with secure furniture brackets eliminates creaking or shifting when you climb into bed.
Across the central recessed span, an unrolled set of LURÖY slats provides the necessary mattress slat support without adding unnecessary bulk to your room. Fastening the fabric straps along interior ledger rails keeps every curved wooden bar evenly spaced. This open slatted design lets air circulate underneath every night, keeping humidity from condensing into hidden mold.
Step-by-Step Hack 2: Creating a Custom Built-In Wardrobe Look
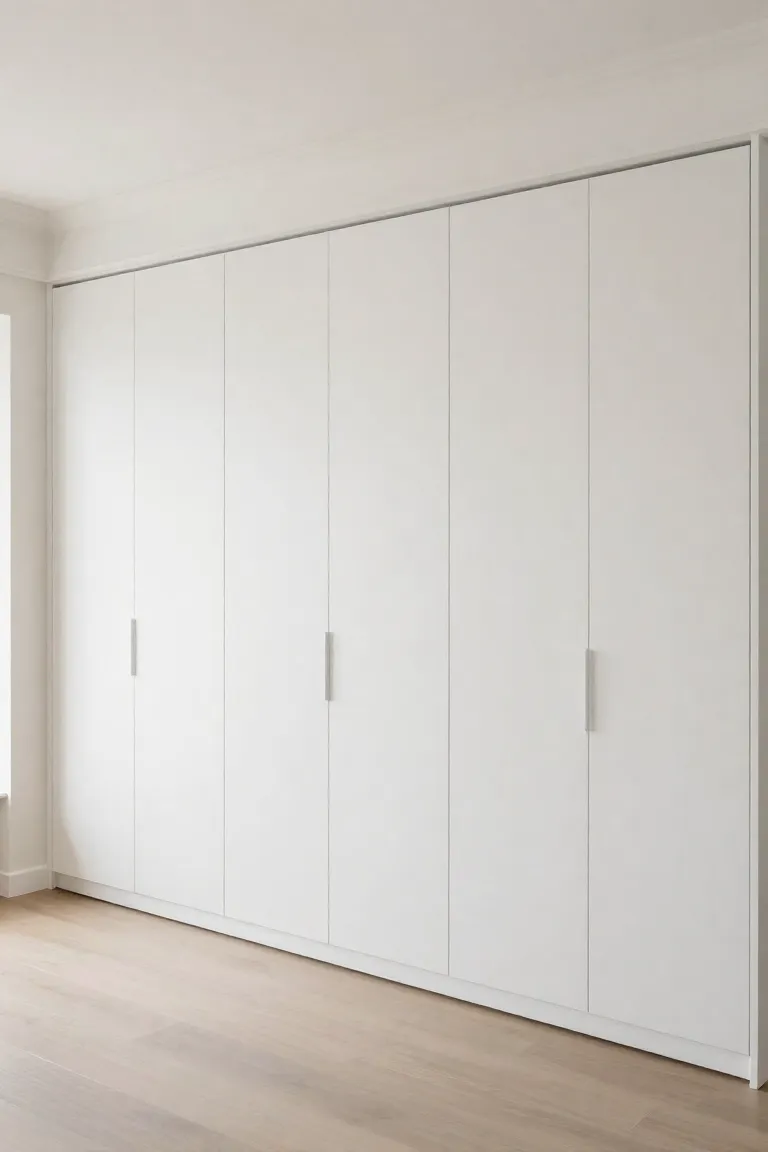
Standard flat-pack storage often feels temporary, but a well-planned PAX wardrobe hack transforms modular carcasses into floor-to-ceiling architectural millwork. By bridging gaps with custom filler strips and wrapping the perimeter in matching molding, this built-in closet DIY project gives your bedroom a bespoke finish that mimics tailored luxury carpentry for a fraction of the cost.
- Closing the ceiling gap with MDF fascia boards and crown molding to establish an uninterrupted floor-to-ceiling silhouette.
- Scribing side filler strips flush against adjacent plaster walls to eliminate dead space and awkward dust corners.
- Running continuous baseboards along the cabinet bottoms so the frames look permanently tied into your bedroom architecture.
Step 1: Planning the Interior Layout for Small Wardrobes
When bedroom clearance is tight, choosing shallower thirteen-inch cabinet frames keeps your main walking paths open while still capturing full vertical wall capacity. Effective wardrobe layout planning starts with taking stock of your clothing lengths, dedicating a narrow vertical bay for long coats and dividing the remaining sections into dual-tier hanging rails for shirts and folded knitwear.
Inside these compact frames, specialized pull-out organizers handle the heavy lifting for streamlined small closet organization. A sliding pants rack keeps multiple pairs of trousers pressed and wrinkle-free within a shallow profile. Slim velvet multi-use hangers prevent silk shirts and dresses from slipping into tangled piles. Setting shallow fabric drawers beneath your hanging zone provides a tidy home for watches, belts, and other daily accessories.
Step 2: Adding Trim and Painting for a Seamless Finish
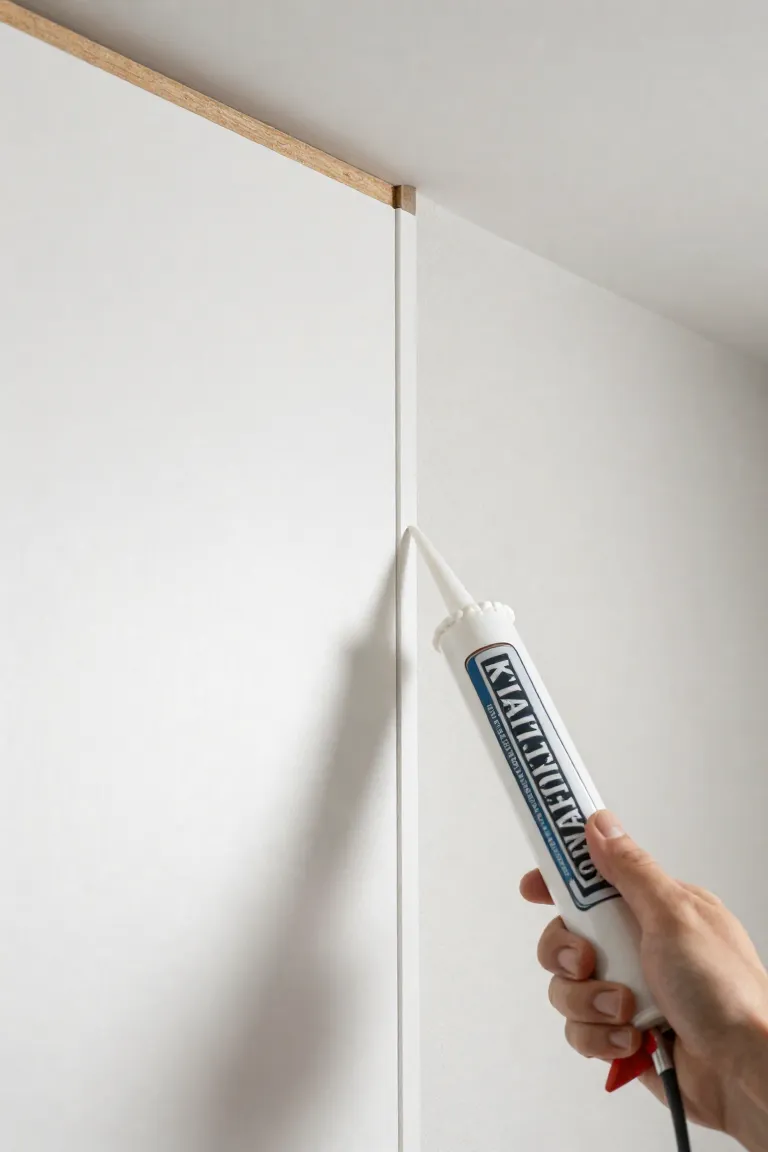
Once your wardrobe carcasses are aligned and anchored securely, closing the negative space along the ceiling and side walls bridges the gap between freestanding units and bespoke cabinetry. Cut strips of smooth MDF or primed pine to bridge any awkward recesses, securing them directly to adjacent studs or wood backing blocks. A tidy closet trim installation conceals irregular wall lines and seals off dust traps that gather above tall bedroom furniture. Run a steady bead of paintable acrylic latex caulk along every interior corner and seam where timber meets drywall, then smooth the bead with a damp sponge for flush joint lines.
Proper surface preparation makes all the difference when painting laminate furniture that carries a slick factory glaze. Lightly scuff every exterior surface with 120-grit sandpaper to break the non-porous sheen before applying a shellac-based bonding primer. Two thin coats of durable cabinet enamel in the exact shade of your surrounding bedroom walls will unify the structure with your architecture, visually erasing bulky cabinet edges.
Step-by-Step Hack 3: The Floating Vanity and Desk Combo
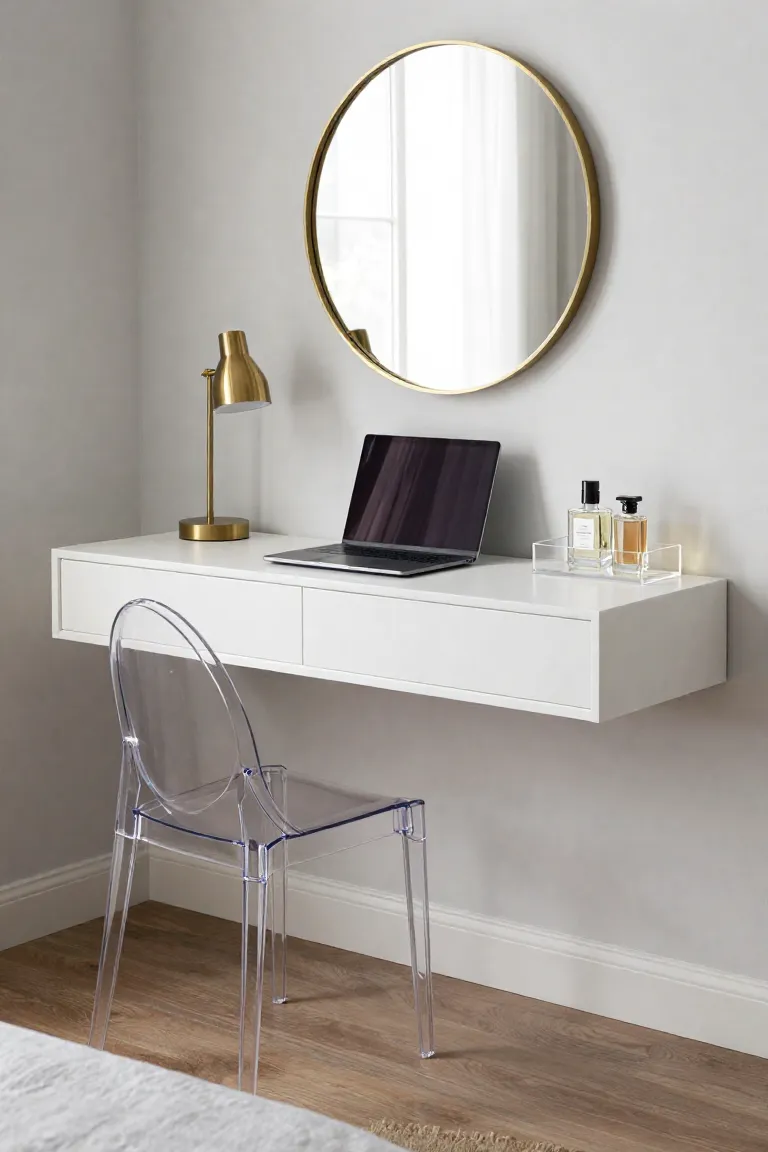
Tight floor plans rarely have room for both a dedicated beauty station and a functional workspace, making cantilevered surfaces a smart dual-purpose compromise. Mounting sleek drawer units straight to your drywall frees up floor space that four bulky table legs normally clutter. This hybrid setup operates as an unobtrusive small bedroom desk during workday mornings, holding your laptop and notebook with ease. Come evening, the enclosed shallow drawers neatly tuck away charging cords to expose makeup palettes and cosmetic brushes without cluttering your room.
In compact layouts, floating vanity ideas succeed by maintaining an unbroken sightline across the baseboards to make narrow bedrooms feel wider. An armless upholstered stool or curved wooden chair slips completely underneath the suspended ledge when not in use, keeping primary walkways clear. You get the practical storage of a full-scale dressing table while preserving the light, open footprint essential for restful sleeping quarters.
Step 1: Mounting the EKBY ALEX Drawer Shelf
Before securing any hardware, run a reliable magnetic or electronic stud finder across your chosen wall space to locate solid framing members. A successful EKBY ALEX hack relies on a dependable foundation, especially when converting floating drawers into a functional wall mounted desk that bears daily downward pressure from resting forearms. Hold your mounting brackets at a comfortable seated height, typically 28 to 30 inches from the floor, and set a 24-inch torpedo level across the top edges to mark precise pilot holes with a pencil. If your layout falls between studs, skip lightweight plastic drywall plugs and install heavy-duty toggle bolts rated for at least fifty pounds per anchor point. Drive your structural screws firmly into the wall brackets before sliding the shelf into position, testing for zero wobble so your work surface stays rock solid over years of daily use.
Step 2: Incorporating Lighting and Mirrors
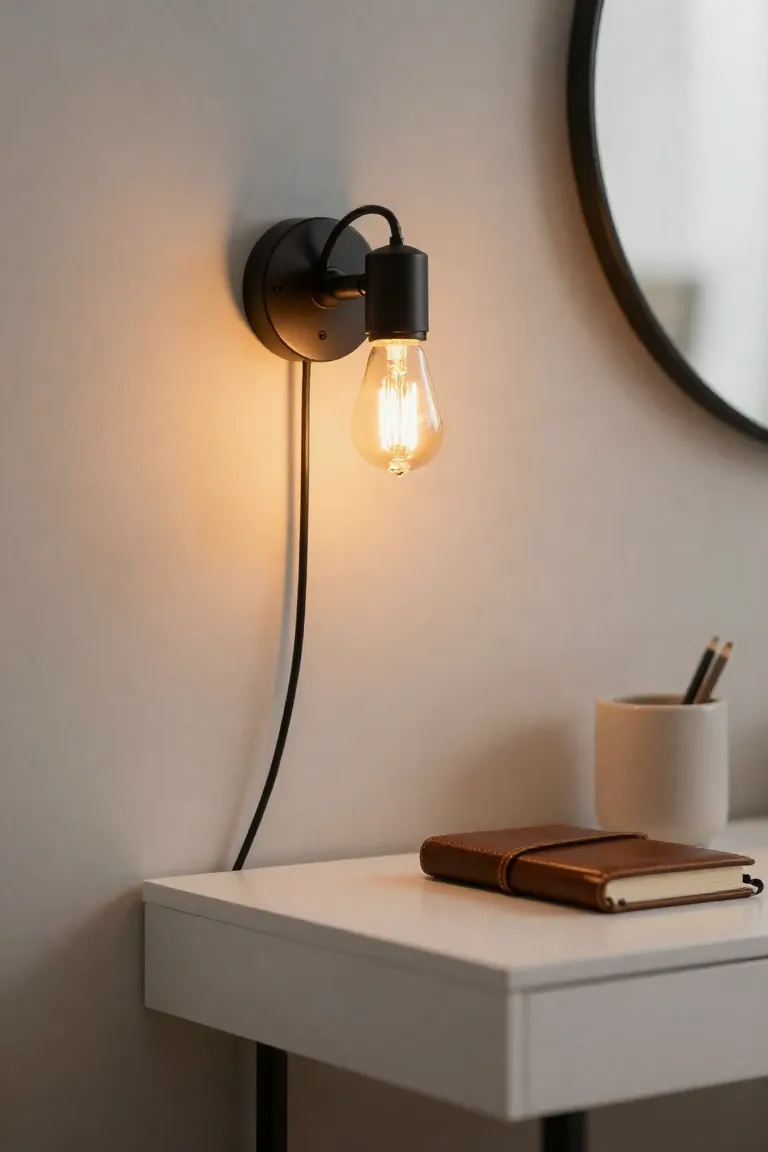
Now that the ledge is securely anchored, mounting an arched or round frameless mirror roughly eight inches above the wood surface anchors a dedicated grooming zone. Instead of calling an electrician to run fresh wiring through your drywall, mount a sleek swing-arm sconce with an exposed fabric cord right beside the glass, or stick touch-sensitive LED puck lights underneath the bottom shelf corners. This arrangement supplies soft, shadow-free illumination right at eye level while keeping your bedroom vanity setup clean and fully modular.
Adhesive cord channels painted to match your wall trim camouflage any hanging cables down to the baseboard outlet. This provides the crisp look of renter friendly wall lighting without risking your security deposit. A warm 2700K bulb or rechargeable magnetic light bar ensures you get bright, even clarity for morning routines or evening reading without harsh overhead glare bouncing off the glass.
Frequently Asked Questions (FAQ) About IKEA Hacks
Modifying flat-pack pieces for tight floor plans brings up genuine worries about structural integrity, weight limits, and lease agreements. Most beginners wonder whether hollow-core particleboard can support daily wear, how to handle landlord restrictions on wall anchors, or if expensive power equipment is mandatory for basic customizations. Getting straightforward answers to these common DIY furniture questions helps you pick the right hardware for your wall type. It also allows you to follow proven IKEA modification tips that protect your security deposit before you drill your first pilot hole.
Are IKEA hacks difficult for beginners to attempt?
Customizing standard flat-pack pieces is highly approachable, even if your current toolkit stops at a handheld screwdriver and a tape measure. You do not need specialized carpentry skills to tackle beginner DIY furniture projects when the underlying boxes already supply square corners, pre-drilled holes, and solid foundations ready for simple upgrades.
- Basic assembly methods rely on simple hand tools, peel-and-stick architectural mouldings, and standard drywall anchors rather than noisy workshop machinery.
- Standardized modular dimensions make measuring and planning intuitive, letting you map out layouts on paper before making any permanent changes.
- Surface updates like swapping factory handles, adhering peel-and-stick contact paper, or adding corner braces produce easy apartment upgrades with very little physical effort.
Can I undo these modifications if I move out?
Most lease agreements grant flexibility to modify furniture layouts as long as you preserve the drywall surfaces and trim. Implementing clever renter friendly hacks comes down to distinguishing between reversible surface updates and invasive structural mounting. This approach keeps your security deposit secure when moving day rolls around.
- Surface treatments: Rely on peel-and-stick vinyl film or self-adhesive backplates for temporary apartment decor that peels clean away without pulling up paint or laminate finish.
- Modular connections: Fasten adjacent shelving units together using connector bolts through existing manufacturer shelf-pin holes rather than drilling new punctures into the unit exterior.
- Lightweight mounting: Anchor shallow wall items using removable picture-hanging strips or minimal gauge pins that patch with a dab of spackle in under two minutes.
- Hardware preservation: Swap out standard knobs and drawer pulls for vintage or brass handles, keeping the original factory parts in labeled bags for quick reinstallation later.
Conclusion: Transform Your Small Bedroom Today
Tailoring standard modular storage to the exact dimensions of an awkward alcove or sleeping zone bridges the gap between mass-produced furniture and bespoke craftsmanship. When you rethink basic flat-pack components as architectural building blocks, you unlock hidden vertical volume and balanced proportions that streamline your morning routine. A thoughtful bedroom transformation does not require professional carpentry credentials or an excessive budget. It simply demands accurate floor measurements, basic hand tools, and a clear plan to adapt modular pieces to your daily habits. Approaching your layout through functional small space interior design allows even the tightest floor plan to stay organized and visually balanced. Gather your hardware, pick an initial base cabinet to customize, and start your first custom layout to maximize your space.