15 Costly Security Deposit Mistakes to Avoid in Your Small Apartment Bedroom
Why Your Renter-Friendly Bedroom Needs a Strategy
Turning a leased bedroom into a personalized retreat often tempts you to hang heavy frames and swap hardware immediately. Without a thoughtful plan, diving into creative small apartment decorating ideas bedroom setups can lead to unexpected repair bills that forfeit your hard-earned security deposit.
A tactical approach allows you to achieve intentional interior aesthetics through damage-free styling methods and removable accents. Careful preparation helps you avoid common mistakes, keeping your space curated and your lease agreement completely intact.
Wall and Paint Disasters
Vertical surfaces usually show the first signs of wear, making them a common focus during move-out inspections. Property managers inspect apartment walls closely, hunting for torn drywall paper and mismatched patch jobs that require professional repainting.
Under strict lease agreements, even minor adhesive tears or rushed spackle jobs can trigger full-room repainting charges. Thoughtful renter friendly decor focuses on respecting delicate contractor-grade finishes so your decorative choices keep original surfaces intact until your lease ends.
1. Skipping the Patch Test Before Painting
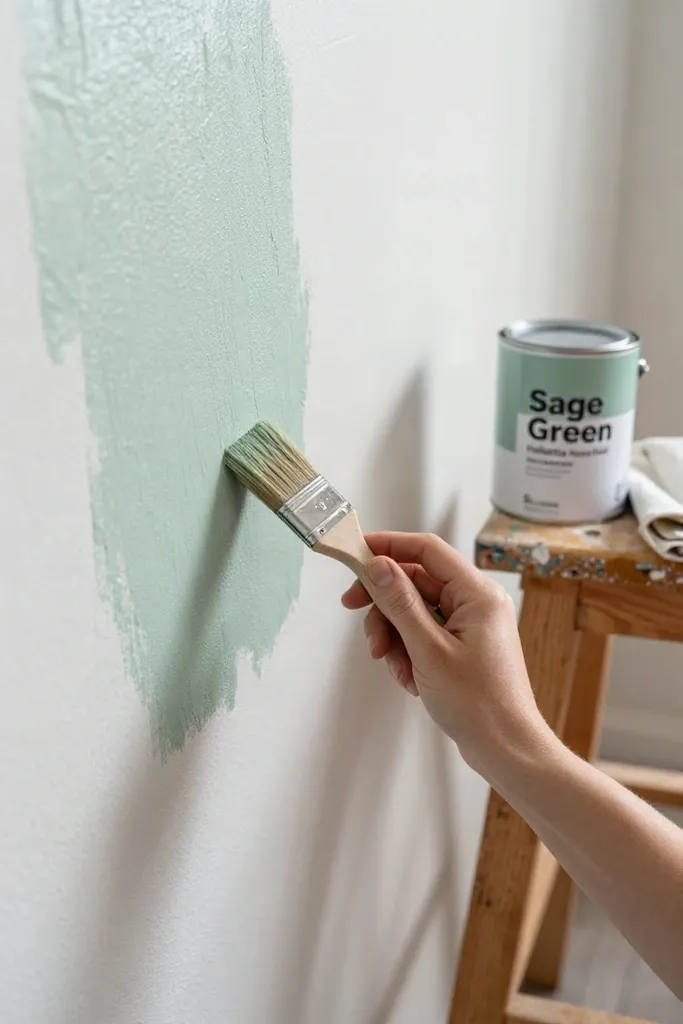
Rolling a fresh coat across an entire room without performing a discreet patch test risks chemical peeling or bubbling over mystery landlord paint. Untested formulas can react poorly with cheap commercial latex, creating sticky textures that refuse to cure or settle smoothly.
Behind a bedroom door or low along the baseboard, apply both your chosen shade and a swatch of primer before committing to the whole room. Safe execution of painting apartment walls always depends on verifying that the underlying finish will not peel and that your new shade covers cleanly when moving day arrives.
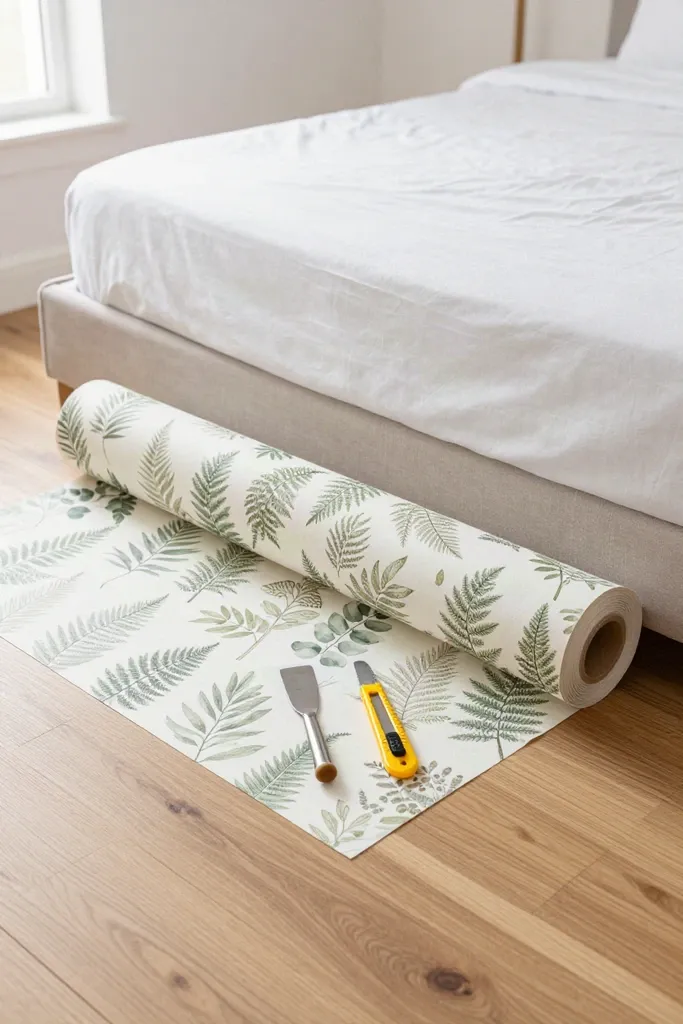
2. Using Traditional Wallpaper Instead of Peel-and-Stick
Paste-activated backing creates a permanent mechanical bond with builder-grade wallboard that causes expensive damage at move-out time. While paste-the-wall rolls look appealing in design catalogs, the thick wheat or methylcellulose adhesives soak straight through fragile apartment primer. When you try to steam or scrape those soaked paper layers down at the end of your lease, the underlying drywall paper inevitably tears away, leaving gouges that guarantee deposit deductions.
Modern peel and stick wallpaper gives you that graphic statement wall without threatening your security deposit. High-grade vinyl rolls feature gentle acrylic adhesive backings designed specifically to peel away cleanly from primed surfaces without water or scraping tools. Investing in quality renter friendly wallpaper lets you wrap your entire bedroom accent wall in moody florals or mid-century stripes, knowing you can pull each panel down quickly when you decide to pack up.
3. Leaving Large Nail Holes Unfilled
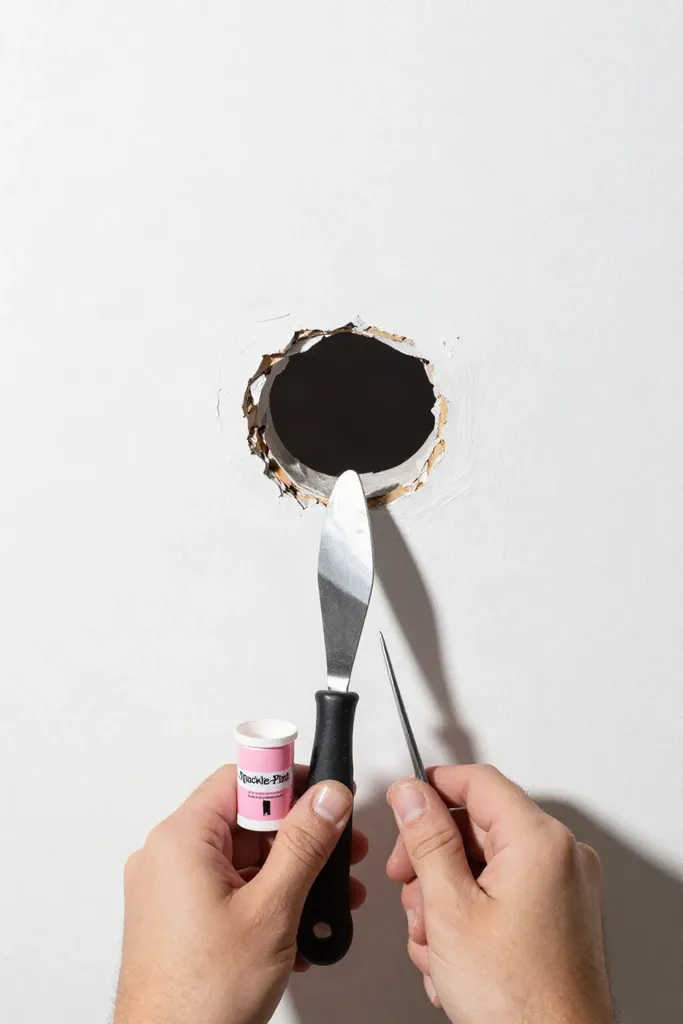
Driving heavy-duty anchors or thick carpenter nails into your bedroom walls might feel secure for an oversized canvas, but damaged drywall is a common reason for deposit deductions. Proper planning when hanging art in apartment spaces requires respecting wall integrity so you avoid an emergency patching marathon during moving week.
- Choose acrylic glass or engineered canvas prints rather than heavy timber framing to reduce hanging weight.
- Use interlocking foam picture strips to keep lightweight frames snug against the drywall without punching holes.
- Fill small brad-nail punctures with lightweight compound and smoothly spackle nail holes flush before painting over them.
4. Ripping Drywall with Heavy Duty Adhesives
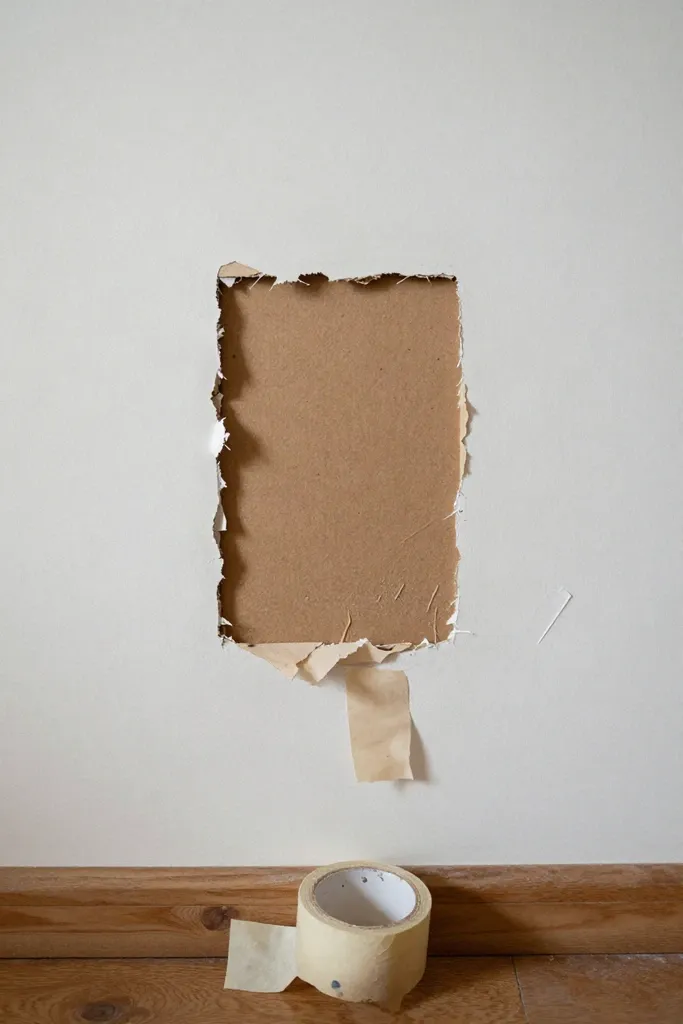
Industrial mounting tapes and generic double-sided foam squares seem like harmless shortcuts for securing acoustic panels or vanity mirrors, but their aggressive chemical bonding turns destructive when peeled. Standard interior walls rely on a paper face over a gypsum core, and commercial adhesive foam bonds far tighter to that paper than the paper clings to the plaster beneath. Ripping a strip forward pulls off the paint skin along with the outer paper layer, resulting in cratered drywall damage that spackle alone cannot easily disguise.
Genuine pull-tab command strips release cleanly only when handled with proper technique. When removing these specialized fasteners, stretch the tab straight downward flush against the wall rather than pulling outward toward your chest. This slow stretching action releases the elastomeric bond smoothly, letting the hook pop free without tearing surface fibers or leaving gooey adhesive residue behind.
Flooring Fails
Ground-level blunders often drain security deposits faster than chipped paint spots. Whether your rental bedroom features builder-grade synthetic carpet or decades-old oak planks, apartment flooring ranks among the most expensive line items landlords inspect during checkout. A single deep gouge or neglected spill can easily justify withholding a large portion of your security deposit for full-room replacement rather than a simple spot fix. Taking a proactive approach to protecting floors from day one shields both your design vision and your wallet from costly move-out disputes.
5. Damaging Hardwood with Bed Frame Scratches
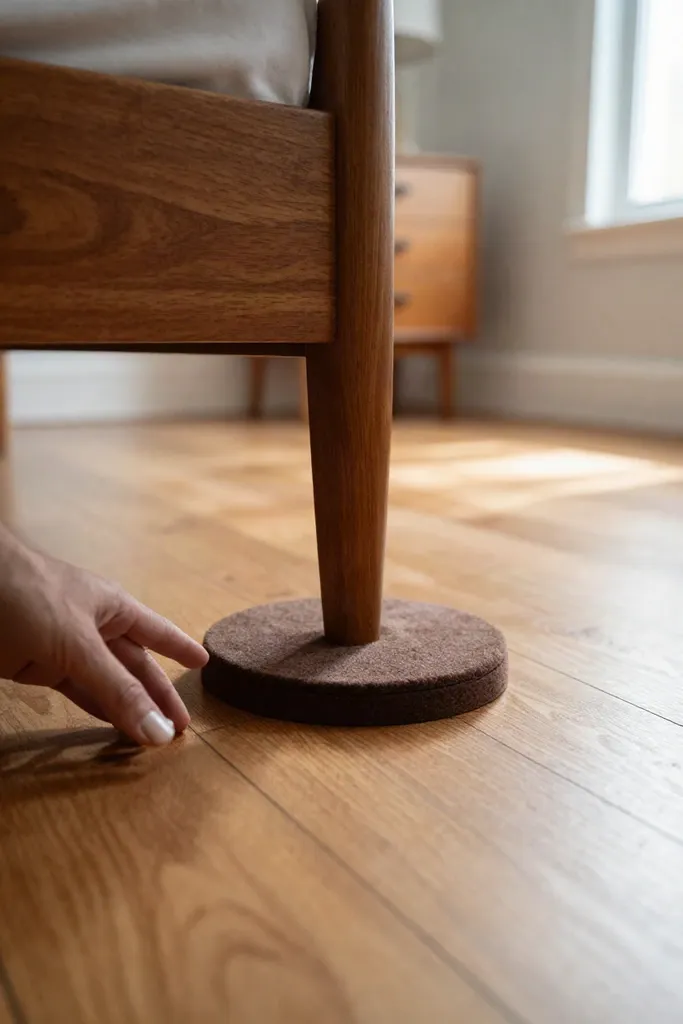
Dragging a heavy bed frame or vintage dresser across bare wood during moving day creates deep gouges that polyurethane buffing cannot hide. Metal casters and unpadded wooden feet concentrate immense pressure onto tiny contact points, stripping clear finishes and crushing timber grain with every accidental nudge.
Dense felt furniture pads provide an immediate physical buffer between weighted posts and vulnerable planks, making them essential as soon as your moving boxes arrive. For optimal durability, swap out paper-thin adhesive dots for thick wool cups under each leg to protect hardwood floors throughout your entire lease term.
6. Staining Carpets with Improper Rug Pads
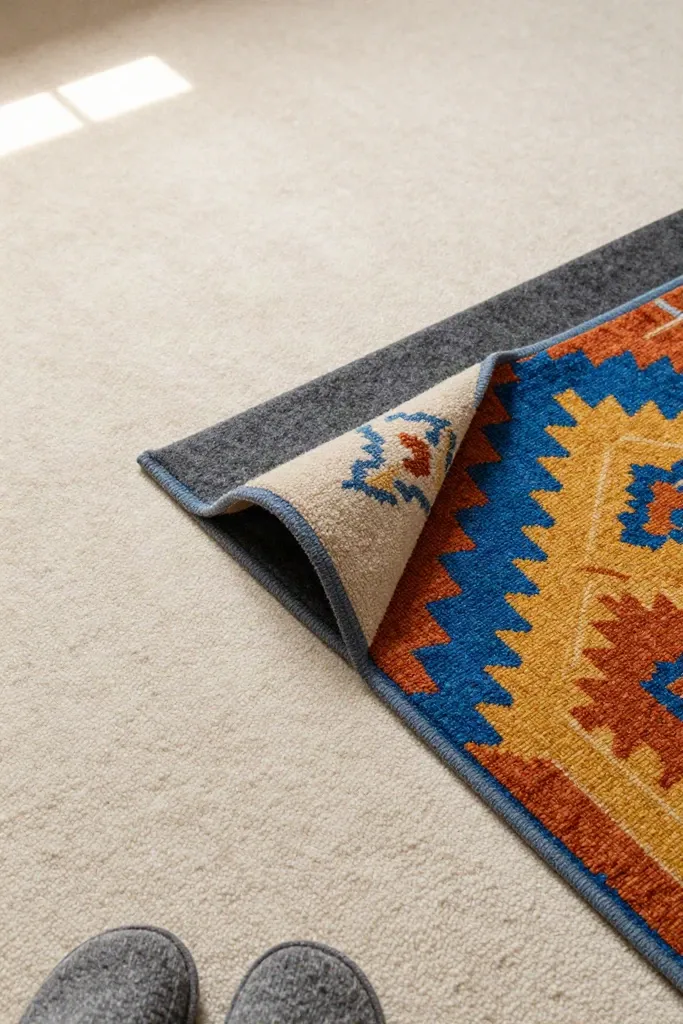
Layering an accent runner over existing apartment carpet adds visual texture, yet slipping a bargain synthetic underlay underneath can cause chemical staining. Inexpensive polyvinyl chloride grid liners degrade over time, off-gassing plasticizers that chemically bond with synthetic carpet fibers and leave stubborn, discolored yellow waffle prints behind.
- Natural rubber underlays maintain reliable grip on hard surfaces without leaching sticky compounds or causing chemical discoloration.
- Needle-punched felt rug pads offer dense cushioning that prevents runner bunching while protecting the delicate pile underneath.
- Dual-surface felt and rubber combinations deliver steady traction on hard subfloors while keeping synthetic fibers breathable.
7. Using Harsh Chemical Cleaners on Original Floors
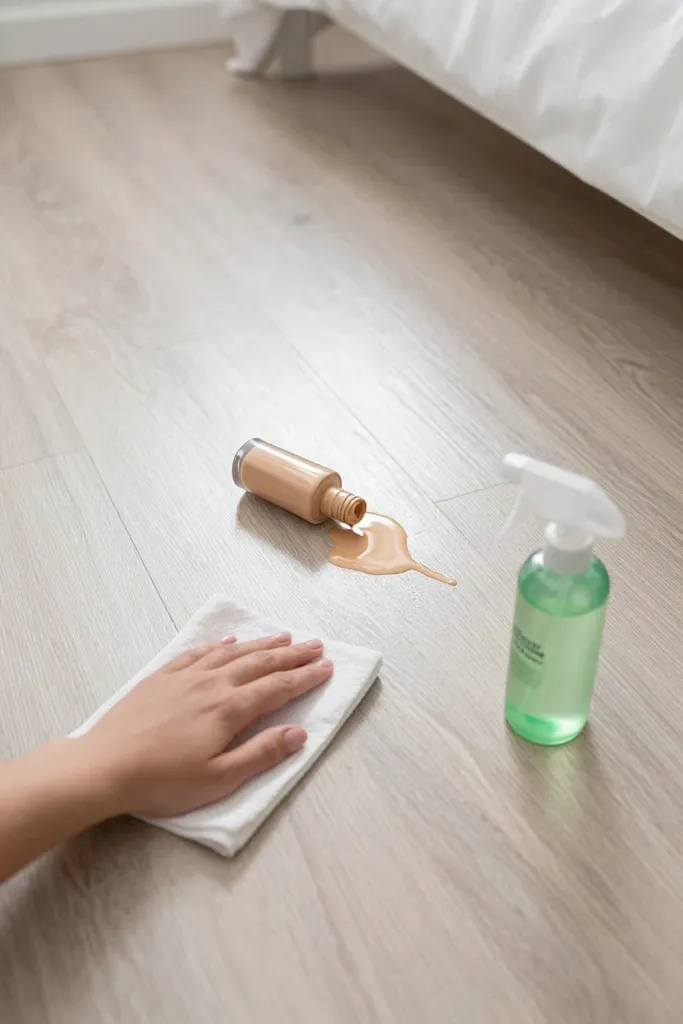
An accidental spill of liquid foundation or pigmented night oil beside your vanity requires careful cleaning to protect the floor. Reaching for bleach or abrasive scouring pastes will strip the clear factory sealant, leaving cloudy spots and raw timber exposed to moisture. For safe stain removal without risking severe move-out penalties, stick to a pH-neutral cleaner formulated specifically for cleaning hardwood finishes. You can gently blot fresh cosmetic spills with a barely damp microfiber cloth and a drop of mild dish soap, lifting oily pigments before they penetrate open grain lines. Working in small circles with light pressure preserves the underlying shine, protecting the floor from permanent damage.
Lighting and Fixture Mistakes
Upgrading overhead illumination presents specific challenges for apartment design. Swapping harsh, contractor-grade flush mounts with renter friendly lighting changes the feel of a bedroom, yet rushed installations often cause problems during weekend swaps. Disassembling dated apartment fixtures without a clear preservation strategy risks stripped wiring and lost mounting screws when your lease wraps up.
- Photograph the original junction box wiring before disconnecting any wire nuts to guarantee an accurate reconnection later.
- Store delicate glass globes and tiny mounting brackets together in clearly marked storage bins.
- Turn off electricity at the main breaker box rather than relying solely on the bedroom wall toggle switch.
8. Throwing Away the Original Light Fixtures
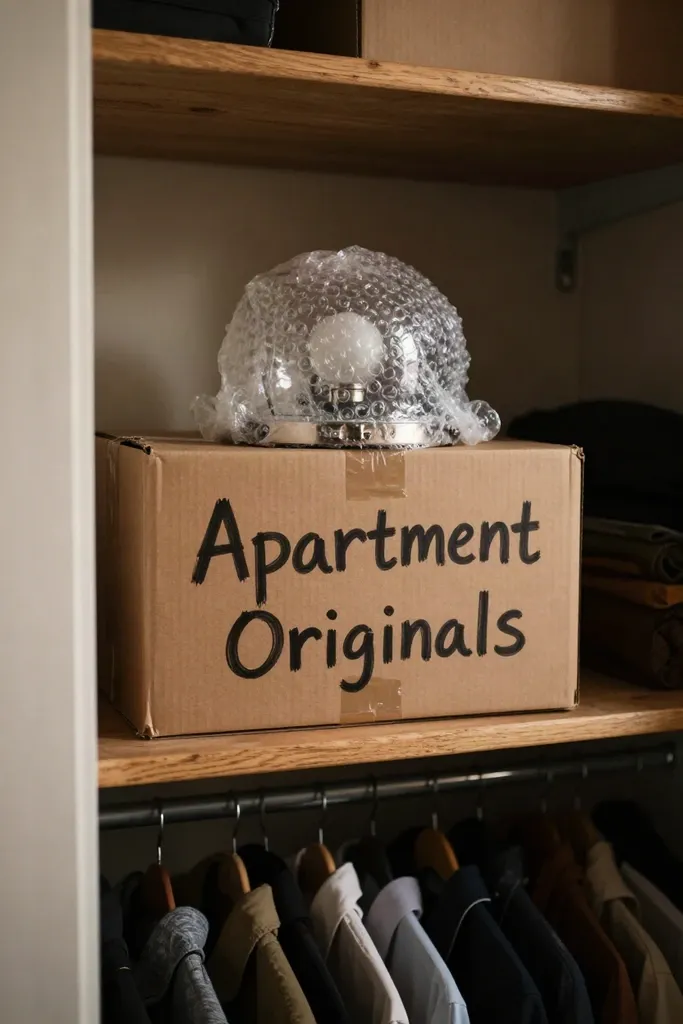
While tossing an outdated frosted glass bowl right after replacing ceiling light pendants seems convenient, discarding standard apartment hardware guarantees a steep deduction from your final security deposit. Property managers catalog stock fittings down to the basic bracket, and tossing that fixture means paying contractor markups and installation fees upon moving out. A disciplined system for storing apartment fixtures protects your budget from avoidable penalties. Wrap the original frosted bowl and mounting screws in thick protective bubble wrap, then stash the bundle safely inside a labeled closet tote or underbed organizer. Keeping all original components bundled together allows a quick reinstallation before your final walk-through inspection.
9. Drilling New Holes for Heavy Ceiling Medallions
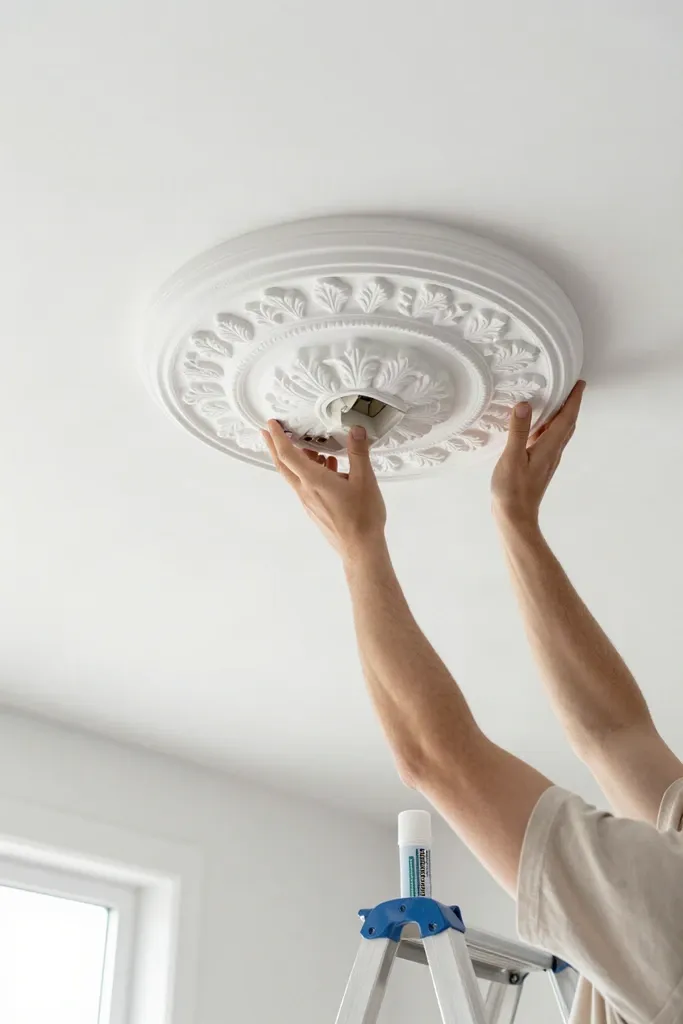
Overhead lighting often looks bare against plain drywall, tempting renters to anchor heavy plaster moldings directly into the plasterboard. Patching overhead anchor holes during move-out is an awkward, powdery mess that frequently causes a deduction from your security deposit. You can build a custom renter friendly ceiling by swapping out dense plaster for a hollow polyurethane ceiling medallion that weighs only a few ounces.
- Choose lightweight polyurethane casts that mimic vintage plasterwork without the structural weight.
- Secure the ring using heavy-duty removable mounting strips pressed firmly around the inner lip.
- Opt for split medallions designed to snap cleanly around your existing light canopy without rewiring.
10. Improperly Anchoring Heavy Wall Sconces
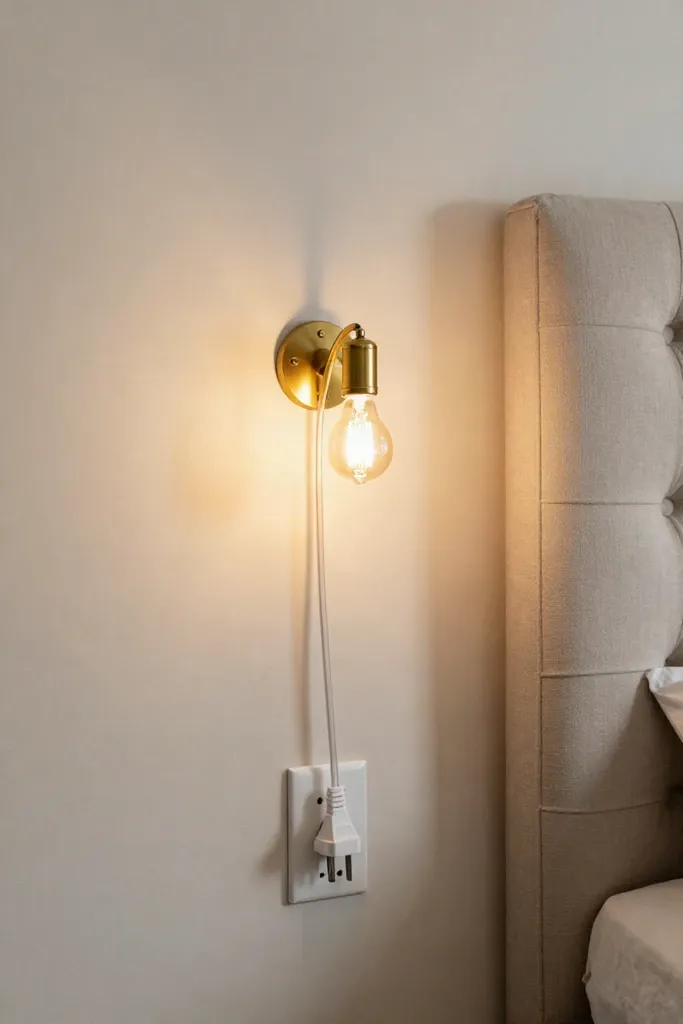
Mounting bedside fixtures with heavy-gauge toggle bolts leaves gaping wall cavities that require extensive spackling and color-matched paint before you hand back your keys. If you want layered bedroom lighting without opening up drywall or altering internal electrical wires, streamlined plug-in designs offer a strong visual appeal. A well-designed plug in wall sconce anchors securely with just a single slim picture nail or a clean bracket mount that slips off quickly.
- Look for fixtures with built-in cord switches and fabric-wrapped cables that double as intentional design accents.
- Anchor backplates using brass picture hangers that leave behind only needle-sized pinholes.
- Pair swing-arm silhouettes with rechargeable smart LED bulbs to eliminate visible dangling cords completely.
Window Treatment Blunders
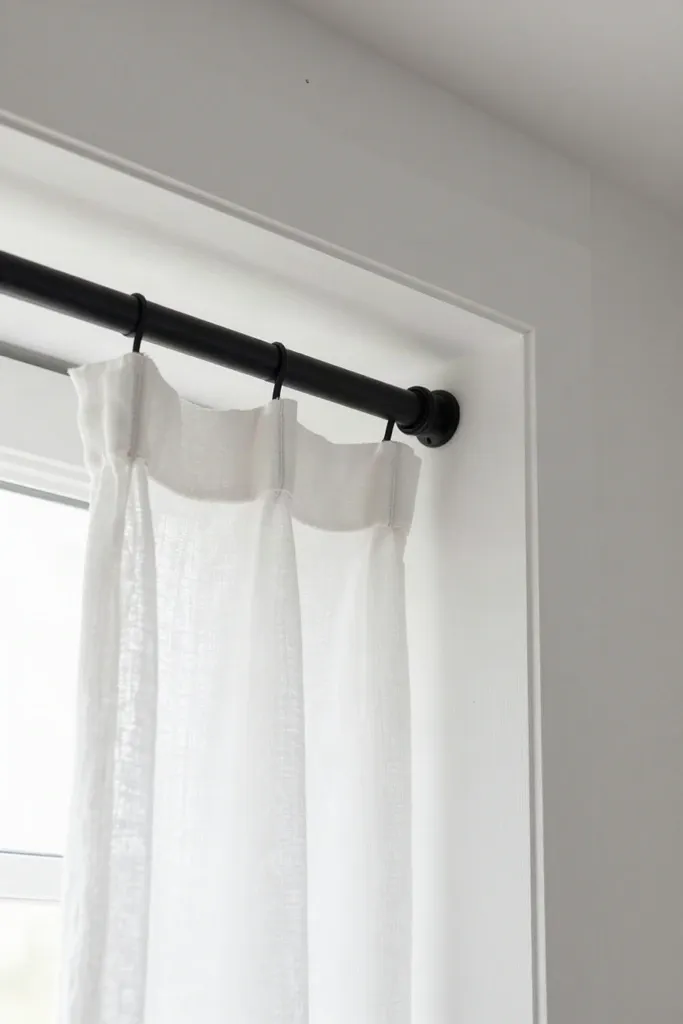
Flimsy aluminum mini-blinds and clunky plastic vertical slats installed in rental units do little to block street lamps, yet attempting a hasty replacement often leads to costly deposit penalties. Renters sometimes ruin casing trim by drilling heavy brackets straight into vinyl jambs or pulling drywall anchors out while hanging curtains with thick blackout linings. Modern apartment window treatments require a reversible approach. Clip-on brackets slide right over existing blind headrails to support curtain rods without a single screw, and non-invasive tension rods tuck cleanly inside the window recess. Choosing lightweight linen weaves or dual-layer fabric panels preserves delicate window casings and keeps light control flexible.
11. Drilling Directly into Window Frames
Screwing bracket hardware into painted sill trim or vinyl molding permanently scars the structural trim, leading to charges for custom carpentry replacements. You can bypass this issue by hanging tension rod curtains inside the recessed depth of the frame, which uses internal spring pressure to hold sheer fabric or breezy cotton panels securely without a single puncture. For wider spans or heavier blackout drapes that require exterior clearance, modern no drill curtain rods engineered with bracket clips lock over the top lip of the trim using set-screw grips. If your moldings are too shallow for pressure mounts, heavy-duty adhesive hooks paired with lightweight brass conduits support tailored window dressings cleanly, peeling away with warm hairdryer air when you pack up.
12. Leaving Sticky Residue on Glass from Privacy Films
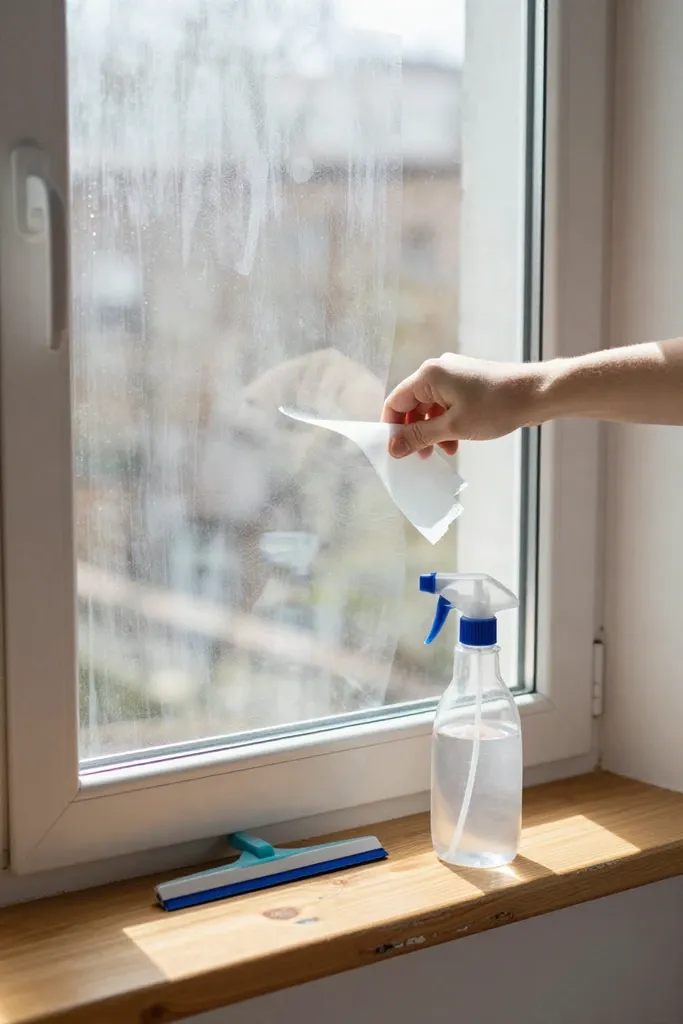
Sticky frosted contact paper might seem like a fast route to ground-floor privacy, but pressure-sensitive glue bakes under intense solar heat, curing into a hardened haze across the pane. When move-out week arrives, stripping those bargain sheets demands hours of scraping with razor blades and harsh chemical solvents. You end up trading one afternoon of convenience for a restoration process that puts your security deposit at risk.
A quality static cling window film provides dependable apartment privacy without relying on sticky chemical binders. Modern vinyl sheets adhere using plain tap water and surface tension, allowing you to reposition the pattern easily during installation and peel each corner away cleanly when you vacate. Warm soapy water removes any lingering mineral marks, leaving the original glass completely spotless for your final walkthrough.
Hardware and Door Damages
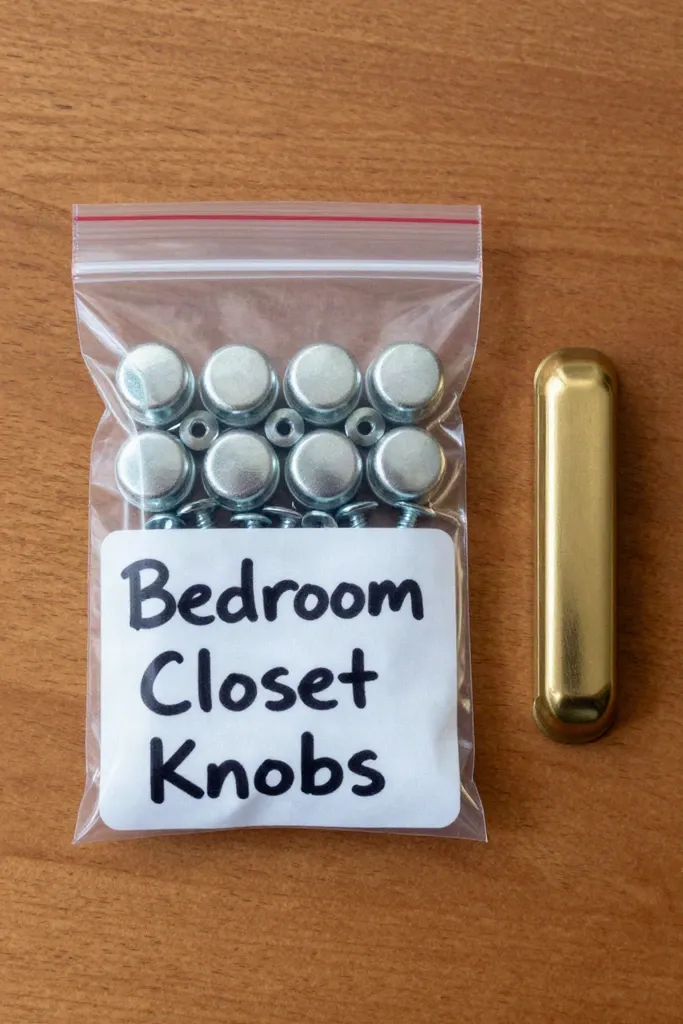
Swapping out builder-grade brass pulls and generic closet handles for matte black or brushed nickel fixtures remains an effective method for upgrading bedroom aesthetics. Problems emerge when the original screws and hinges get tossed into random drawers or stripped by cordless drill drivers. Hollow-core interior doors split easily around pre-drilled mortise holes when oversized screws get forced into soft composite wood, triggering replacement penalties on your move-out ledger. Stashing the original apartment hardware in labeled zip-top bags inside a bedroom drawer protects your security deposit, while turning replacement screws by hand guarantees threads stay crisp and door edges remain intact until packing day.
13. Losing Original Cabinet Knobs and Hinges
Swapping out generic builder-grade pulls for brushed brass or matte ceramic handles instantly personalizes a bedroom wardrobe. While replacing cabinet knobs offers an easy aesthetic upgrade, property managers notice missing factory pieces during move-out walkthroughs and will deduct a fee to replace full matching sets. Even if the old handles look outdated or worn, those pieces remain the landlord's property.
A dedicated system for storing hardware prevents misplaced pieces when your lease ends. Drop every original screw and hinge into a clear freezer bag marked with a permanent marker, then tape it flat against the bottom of a dresser drawer or wardrobe shelf. When move-out day arrives, you can reverse the process quickly without hunting down odd screw lengths at the local hardware store.
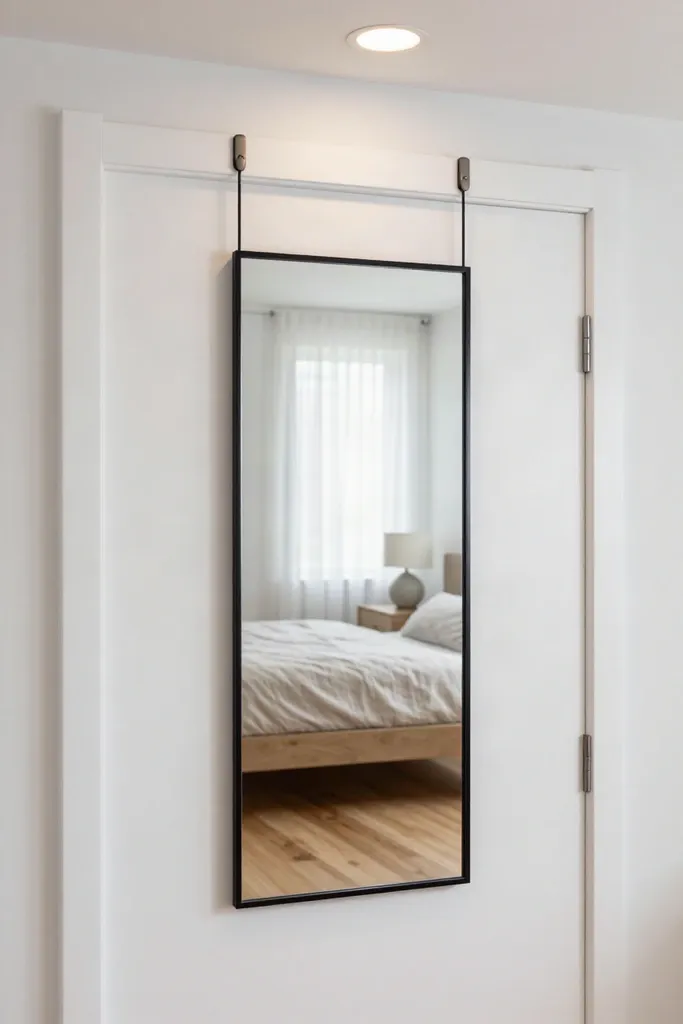
14. Hanging Heavy Mirrors on Hollow Core Doors
Standard apartment bedroom doors look solid from the outside, but their internal structure consists of thin veneer skins bonded over cardboard honeycombs. Driving standard screws or mounting brackets directly into a hollow core door causes fast structural failure, tearing jagged holes through the thin outer veneer as soon as the weight pulls downward. Once split, these doors cannot be patched cleanly, forcing you to pay for an entire door slab replacement. Opting for a padded over the door mirror bypasses this risk completely. Metal brackets slip cleanly over the top door ledge, distributing weight across the frame while foam bumper pads stop annoying rattles whenever the bedroom door swings open or shut.
15. Stripping Screws While Replacing Hardware
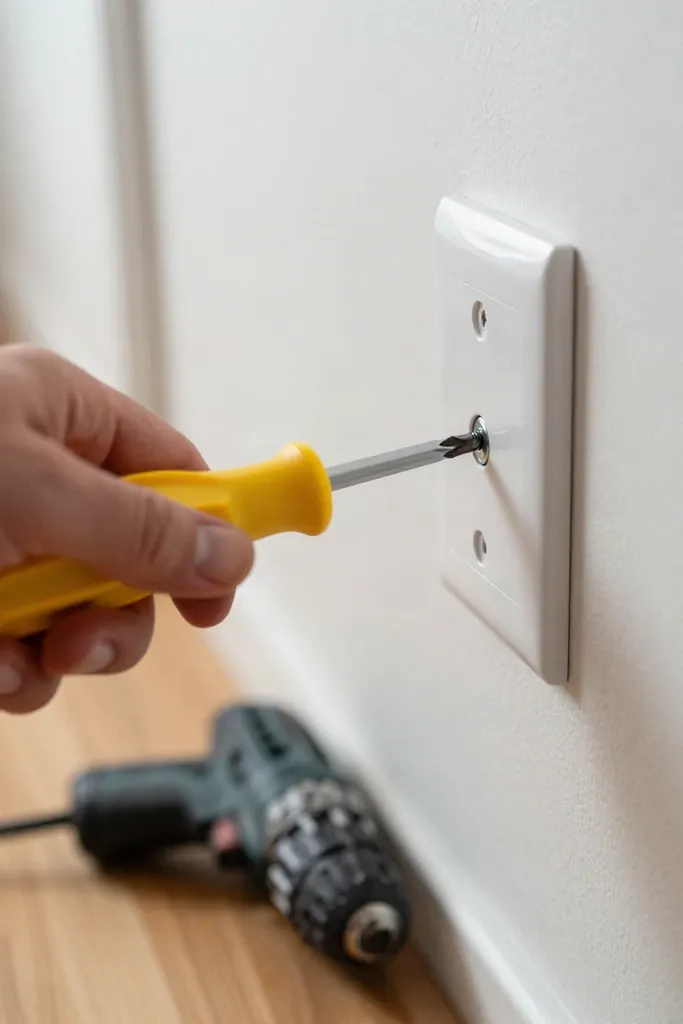
Power tools speed through furniture builds, but bringing an electric drill near delicate bedroom electrical boxes or decorative latch plates invites damage. High-torque drill bits instantly grind down shallow screw heads and crack brittle plastic faceplates before you can release the trigger. When replacing switch plates or swapping door latches, slowing down and using a manual screwdriver protects the underlying wall junctions from costly repairs.
- Choose the exact drive size to maintain firm traction against shallow screw heads without chewing up the metal slots.
- Tighten fasteners only until the faceplate sits flush against the wall, preventing brittle plastic covers from snapping under pressure.
- Work loose painted screws slowly by applying steady palm pressure to break the dried paint bond without jumping the groove.
Conclusion: Securing Your Deposit and Your Style
A practical design approach balances aesthetic satisfaction with an exit strategy that respects your lease agreement. When you choose non-damaging tension rods and select safe rug underlays, you create a personalized retreat without risking repair deductions on move-out day. Embracing an intentional renter friendly bedroom strategy lets you incorporate layered linen textiles and framed art without causing structural wear. Taking that extra few minutes to test surface adhesives or pad heavy furniture feet ensures you maintain a polished living space during your tenancy. Pin these simple damage-free upgrades to your bedroom design board to keep your room highly functional and entirely landlord-approved.