Aesthetic Small Bedroom Decorating: Elevated IKEA Hacks for Renters
Summary
- The Magic of IKEA Hacks for Small Rented Bedrooms
- Hack 1: The Floating MALM Nightstand Illusion
- Hack 2: Custom Built-In Look with PAX Wardrobes
- Hack 3: Elevated Bed Frame with KALLAX Storage
- Hack 4: Chic Lighting with the SYMFONISK or REGOLIT
- Maximizing Vertical Space with the SKÅDIS Pegboard
- FAQs on Renter-Friendly IKEA Hacks
The Magic of IKEA Hacks for Small Rented Bedrooms
Living in a leased space rarely gives you free rein to remodel, yet custom DIY accents offer practical upgrades. When exploring small apartment decorating ideas bedroom layouts require clever vertical solutions that respect strict lease terms. Creative and renter friendly IKEA hacks let you adapt basic flat-pack staples into tailored architectural elements, keeping your security deposit intact while delivering intentional sleeping quarters on a realistic budget.
Hack 1: The Floating MALM Nightstand Illusion
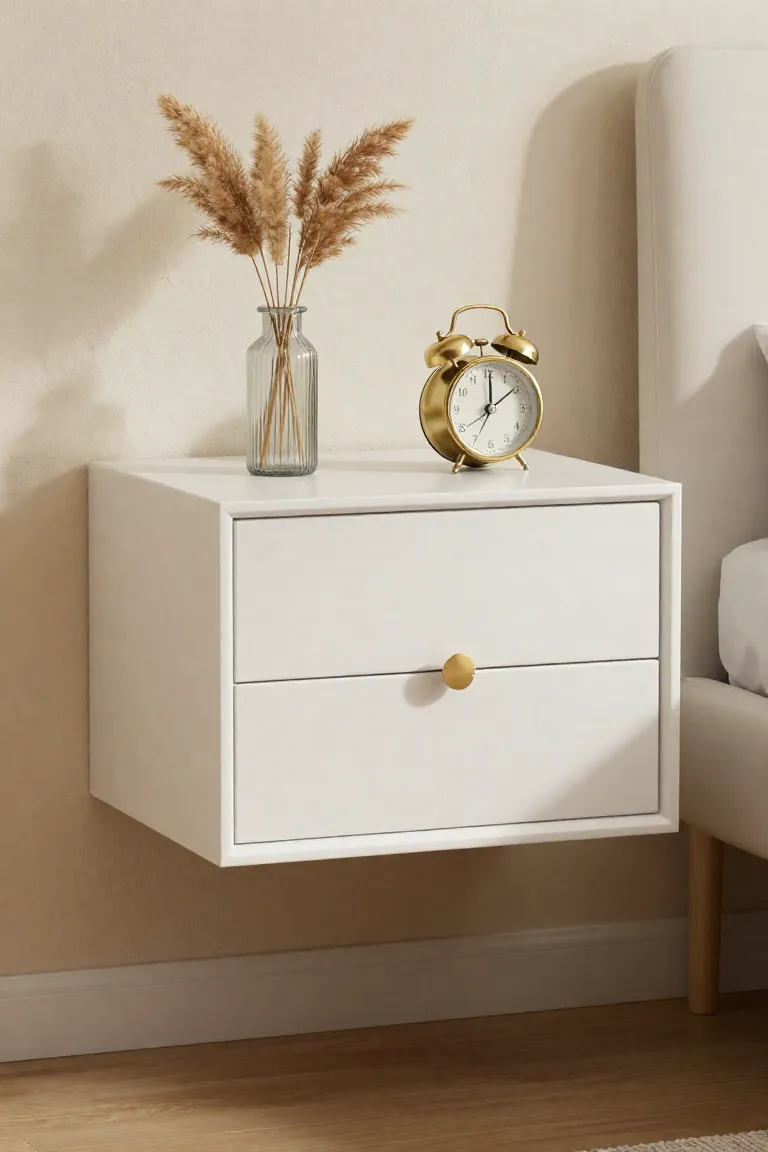
Tight bedroom footprints quickly feel crowded when bulky furniture legs clutter the baseboards. By suspending a compact two-drawer unit directly on the wall, you reclaim floor clearance and draw the eye across an unbroken expanse of flooring. This clever MALM hack strips away the boxy presence typical of traditional bedside dressers, converting standard modular storage into a clean focal point. Because visible negative space underneath furniture creates an immediate impression of openness, completing a floating nightstand DIY gives you dedicated surface space for ceramic carafes and low-profile reading sconces without blocking area rug margins. You also gain functional hidden storage for bedtime essentials while keeping dust bunnies easy to sweep away.
Materials and Prep for the Floating Effect
A sturdy suspended installation requires dependable structural hardware, especially when you are working with standard rental drywall. For a secure wall mounted bedside table, gather heavy-duty steel L-brackets, self-drilling zinc wall anchors or toggle bolts, a standard cordless drill, and a reliable bubble level. Driving screws directly into wall studs offers optimal load-bearing strength, but toggle bolts rated for fifty pounds provide dependable reinforcement whenever stud positions do not align with your bed frame. Fastening brackets along the interior frame conceals structural hardware from view while keeping the silhouette crisp and streamlined.
Small screw holes in painted drywall take only fifteen minutes to repair once your lease ends, making this an ideal approach for renter friendly wall mounting. After unscrewing the brackets, wipe away residual dust and pack a small dab of lightweight spackle into each hole using a flexible putty knife. A gentle swipe with fine 220-grit sandpaper creates a flush, undetectable patch ready for matching touch-up paint. This simple restoration routine leaves the surface pristine, ensuring your full security deposit remains protected.
Styling the Nightstand for a High-End Look
Once the shelf sits securely anchored against your drywall, turning plain veneer into a designer accent comes down to tactile surface upgrades. Thoughtful nightstand styling bridges functional bedtime storage with a polished bedroom aesthetic that aligns with your specific taste.
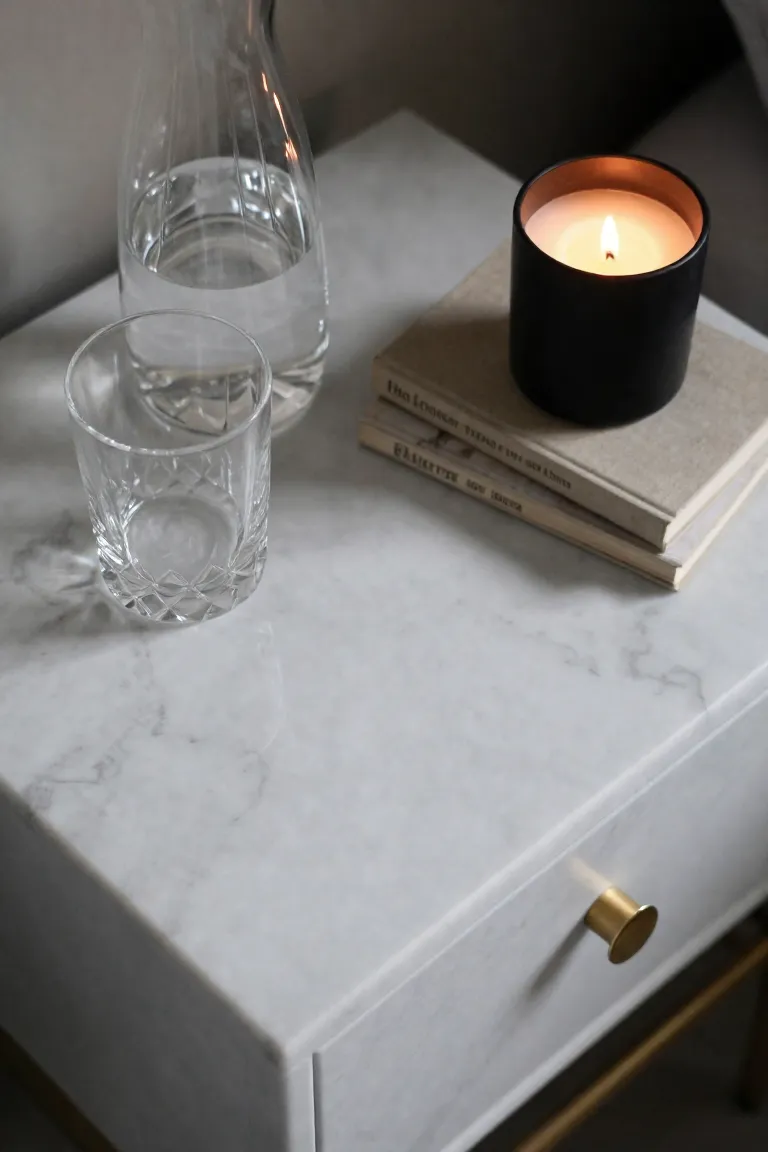
- Apply matte Carrara marble contact paper across the top surface, smoothing it down with a squeegee to prevent air pockets while protecting the raw factory finish from water rings.
- Swap out standard drawer pulls for brushed brass bar hardware or heavy knurled metal knobs to introduce weight and contrast.
- Keep the tabletop uncluttered by curating only three purposeful essentials: an amber ribbed glass carafe, a ceramic dish for daily rings, and a low-profile linen lamp.
Hack 2: Custom Built-In Look with PAX Wardrobes
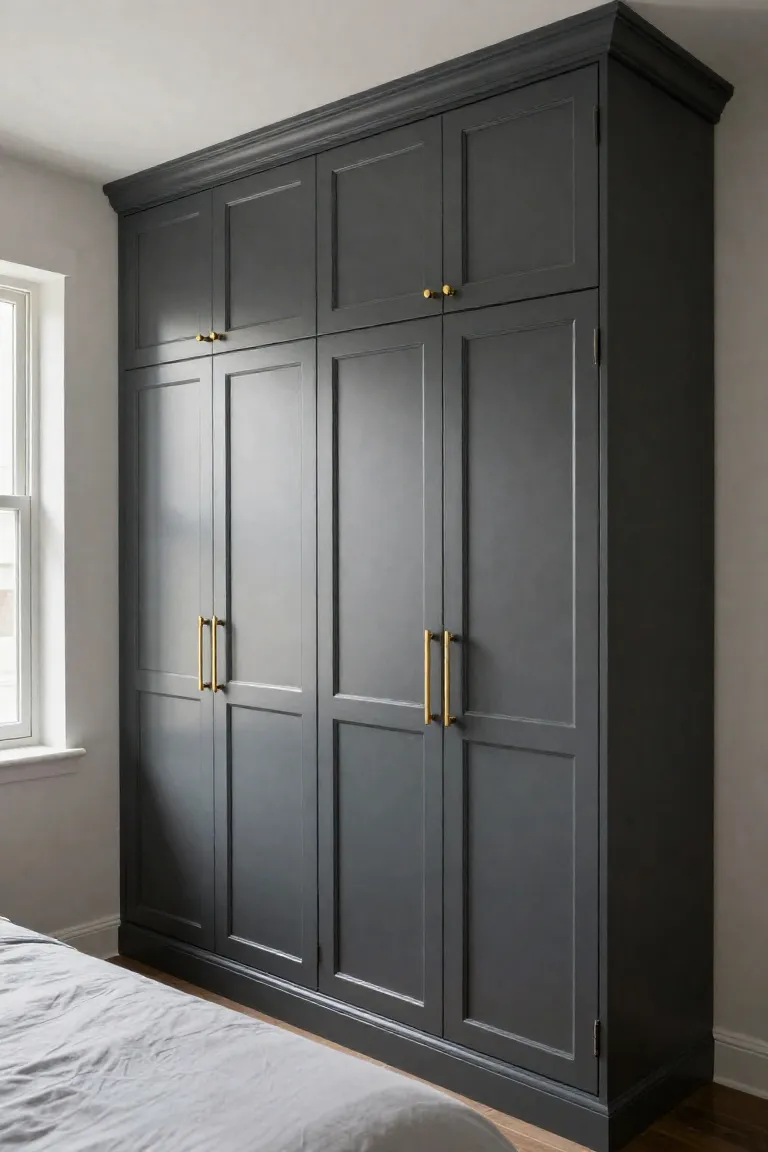
If bedside storage solves your small essentials, vertical clothing clutter calls for an architectural remedy that draws the eye upward. Executing a clever PAX wardrobe hack allows you to assemble floor-to-ceiling cabinetry that maximizes vertical storage without knocking down studs or commissioning expensive millwork, creating the look of a faux built in closet.
- Run two standard-depth 93-inch frames side by side along your longest bedroom wall, leaving zero gap between the vertical side panels.
- Clamp the inner side stiles together using furniture connecting bolts to keep the entire wardrobe structure rigid and plumb before hanging doors.
- Configure internal KOMPLEMENT organizers with double hanging rods down low and pull-out felt trays up high to capture every cubic inch of dead space.
Securing and Trimming the PAX in a Rental
Tall standalone cabinetry must stay rock-solid without causing permanent wall damage that puts your lease at risk. Constructing temporary built ins requires clever fastening techniques and non-invasive trim work that yield a cohesive architectural look while keeping your renter friendly closet fully reversible when moving day arrives.
- Fasten the anti-tip safety brackets directly into wall studs using standard drywall screws, creating only tiny, easily patchable screw holes rather than tearing up baseboards.
- Mount lightweight primed pine lattice strips or foam crown molding along the top gap using heavy-duty, removable mounting tape instead of finish nails.
- Apply peel-and-stick matching wallpaper strips over any exposed seam between the cabinet sides and adjoining walls to conceal expansion gaps without caulking.
Upgrading Hardware for a Bespoke Finish
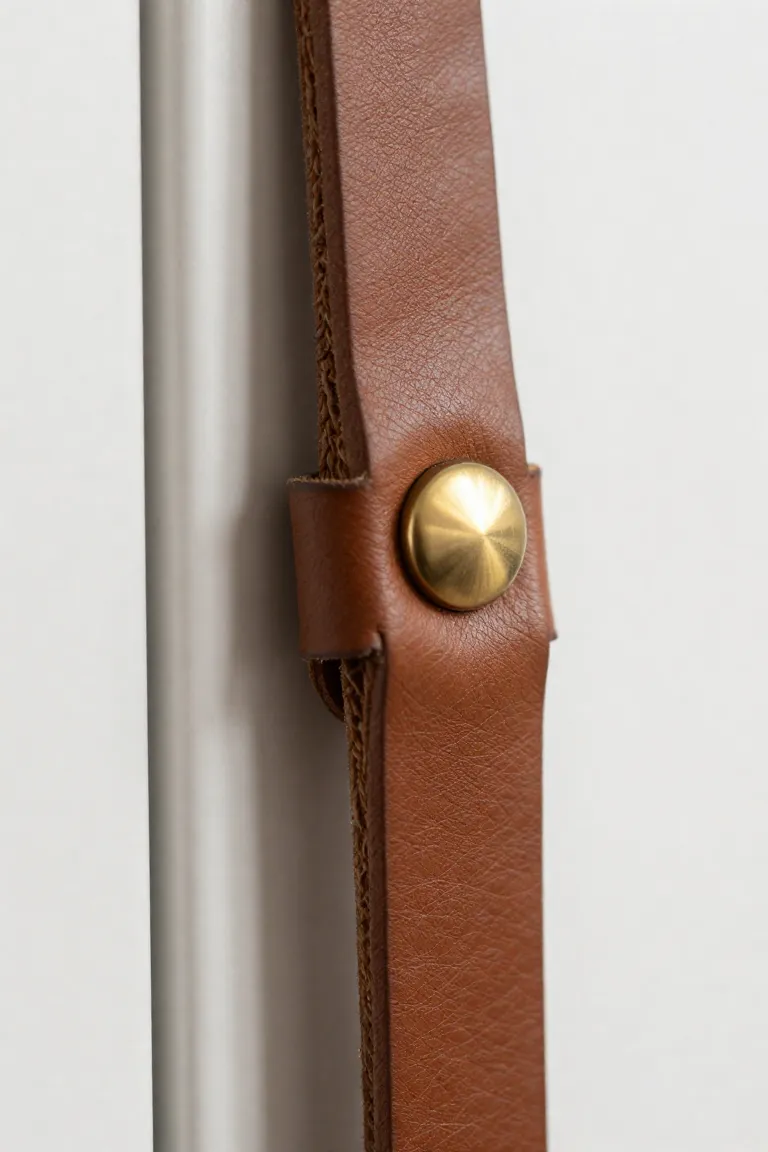
Once the exterior structure sits flush against your bedroom corners, swapping out standard factory pulls brings immediate character to plain door slabs. Opting for a thoughtful cabinet hardware upgrade disguises the mass-produced roots of flat-pack furniture. Consider installing sculptural, oversized wooden pulls along tall vertical seams, or attach saddle-leather loop pulls secured with antique brass Chicago screws to introduce tactile warmth against neutral laminate. If your aesthetic leans classic or mid-century, heavy unlacquered brass knobs create rich tonal contrast that catches natural daylight. To execute this renter-friendly swap safely, source custom wardrobe handles that match the pre-drilled 128mm or 160mm hole center-to-center spacing so you never need to drill new holes into the doors. Tuck the original Swedish screws and pulls into a labeled pouch at the bottom of the wardrobe, ready to reinstall in minutes whenever your lease wraps up.
Hack 3: Elevated Bed Frame with KALLAX Storage
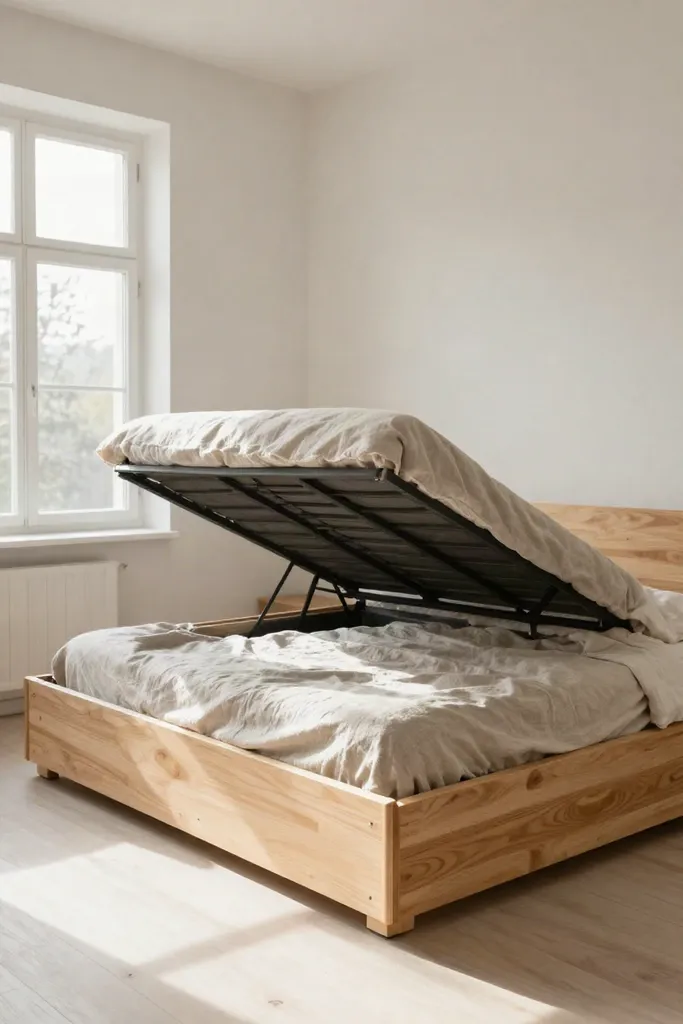
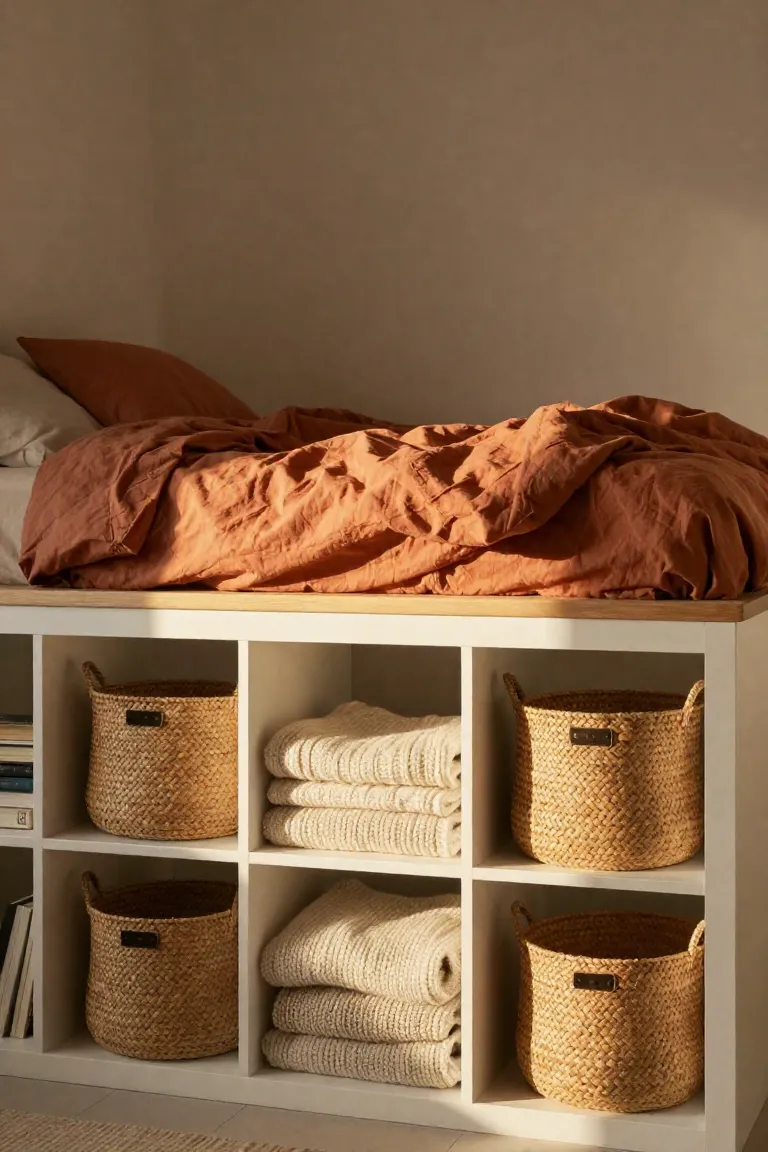
When tight apartment footprints leave zero square footage for a standalone chest of drawers, utilizing the horizontal plane beneath your mattress provides significant hidden capacity. Transforming low cube organizers into a supportive foundation creates a practical storage bed DIY that handles everything from bulky winter duvets to off-season luggage without devouring precious floor area. This setup works exceptionally well in studio flats or compact loft rooms, raising your mattress high enough to establish an elevated profile while establishing deep cubic compartments along the perimeter.
Across rental communities, the KALLAX bed hack continues to gain traction because the modular cubes assemble quickly and adapt to multiple room dimensions. Solid pine framing timber or heavy-duty plywood slats laid across the center bridge the inner gap, creating a rigid base that safely distributes body weight without placing direct stress on the exterior particleboard walls. Fabric storage bins or woven rattan baskets slide directly into the front-facing open cubbies, concealing everyday clutter behind clean, calming textures.
Assembling the Base for Maximum Storage
Accurate spatial planning is necessary before positioning your cube units, especially where swing clearance around bedroom doors and low radiators is tight. Arrange two multi-cube shelving units parallel along the outer perimeter to establish steady side walls, then span the interior void with kiln-dried 2x4 framing lumber. Fastening standard wooden bed slats across this lumber framework creates a rigid reinforced center that prevents the mattress from sagging while protecting the modular shelves from lateral stress. This straightforward layout produces a reliable DIY platform bed frame while leaving the deep central cavern accessible for smart under bed storage ideas, such as rolling plastic totes or vacuum-sealed blankets. Dense felt pads beneath every shelving base protect rental floorboards from friction scuffs while keeping the entire sleeping island firmly anchored in place.
Adding Upholstered Panels for a Luxurious Touch
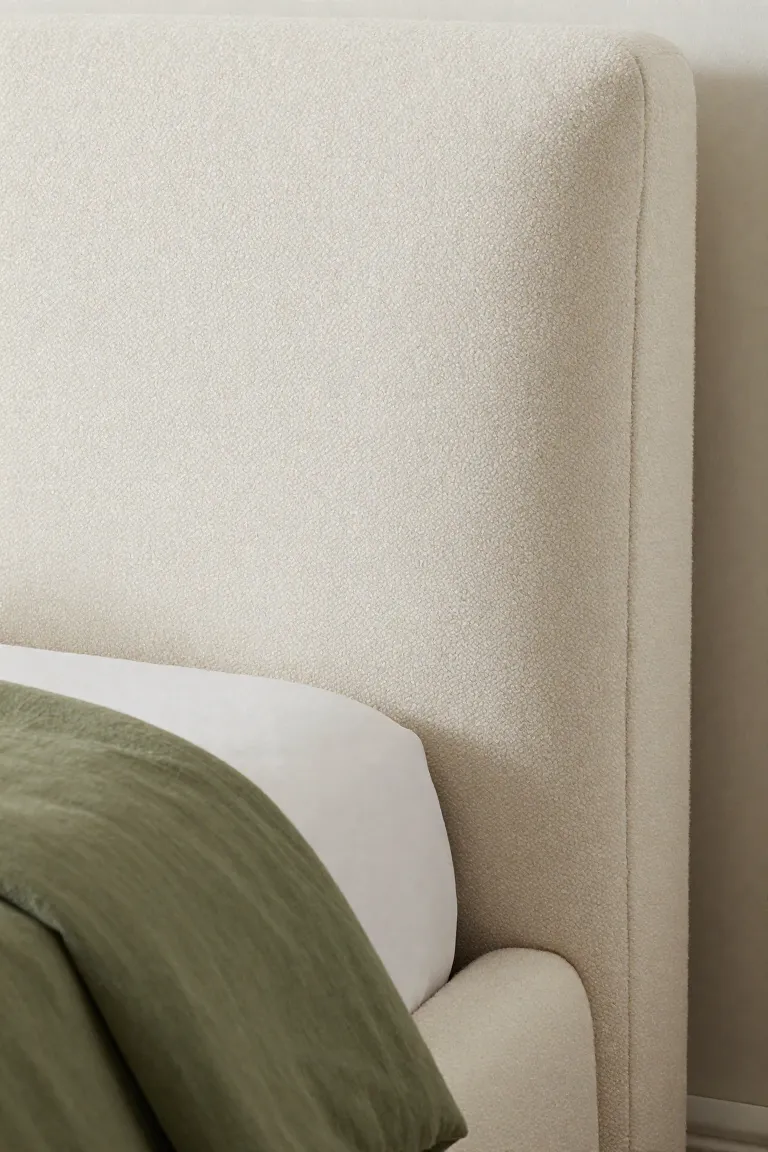
Once the foundation rests steady, you can erase the telltale signs of flatpack laminate by wrapping custom-cut MDF boards in textured fabric. Spray adhesive secures two-inch foam and polyester batting to the cut panels, preparing a soft, pillowy layer for your DIY upholstered bed project. Pull the chosen textile taut across the edges and anchor it on the reverse side with stainless steel staples, ensuring crisp, folded corners at every angle.
Industrial hook-and-loop fastener strips secure these plush boards directly to the outer shelving walls without leaving sticky residue or requiring wall anchors. A tailored boucle bed frame finish softens boxy bedroom silhouettes and transforms modular cubbies into a custom-looking fixture.
Hack 4: Chic Lighting with the SYMFONISK or REGOLIT
Standard overhead lighting in rental units often casts harsh glare across tight spaces, but affordable paper shades offer a blank canvas for tactile customization. Applying thin layers of joint compound or plaster strips across an inexpensive REGOLIT paper globe creates a textured, chalky DIY plaster pendant that resembles heavy ceramic fixtures. Allow the surface to dry fully between coats, then use fine-grit sandpaper to soften rough ridges into an organic, stone-like patina.
A pleated linen drum or fluted glass globe swapped onto the base of a SYMFONISK speaker lamp turns a utilitarian sound device into an ambient accent. This IKEA lighting hack diffuses warm, indirect illumination across your sleeping zone while hiding cables, freeing up nightstand surface area.

Maximizing Vertical Space with the SKÅDIS Pegboard
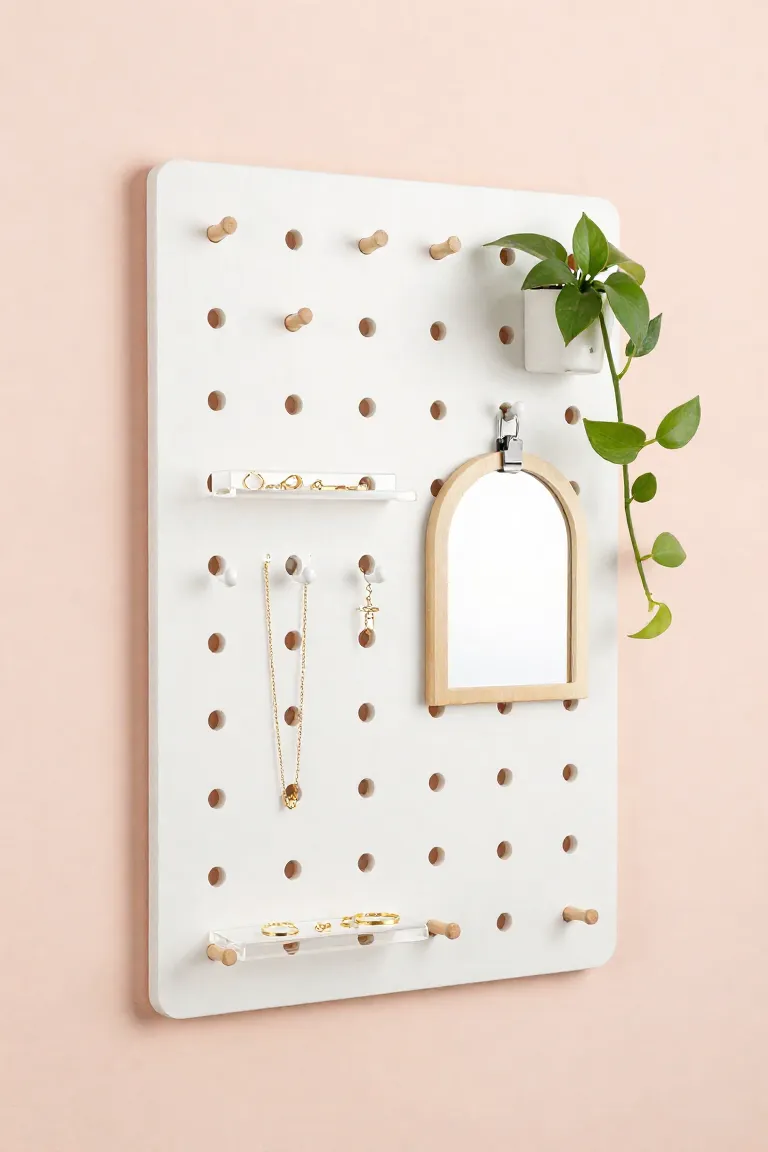
Blank vertical surfaces above dressers or behind bedroom doors frequently remain underutilized, leaving dressers cluttered with loose accessories and daily essentials. Mounting a perforated composite board transforms these unused wall expanses into vertical storage solutions tailored specifically for personal items. Brass hooks and clear acrylic containers clip directly into the board grid, keeping everyday watches and delicate chain bracelets untangled and ready to wear.
Fresh SKADIS bedroom ideas pair utility with curated styling by displaying sculptural sunglasses and hanging fabric pouches alongside your daily wardrobe accents. In a rental setting, mounting the board with heavy-duty adhesive strips or tension pole brackets preserves your drywall security deposit while keeping vanity table surfaces clear.
FAQs on Renter-Friendly IKEA Hacks
Packing up at lease end should never feel stressful, especially when your modifications prioritize non-permanent fixtures from day one. Most temporary decor hacks rely on hook-and-loop adhesives, tension rods, or micro-bracket supports that slide out cleanly without stripping drywall paint or leaving behind structural wall blemishes. When you do need anchor screws for heavy wardrobe uprights, standard spackling compound and a quick putty knife scrape will erase tiny anchor points in minutes, keeping your security deposit safe. For ongoing longevity, remember that IKEA particleboard has a compressed paper-foil veneer that weakens if repeatedly drilled or exposed to standing water. You can preserve the structural stability of your apartment friendly DIY projects by pre-drilling narrow pilot holes and applying clear felt pads beneath heavy organizers to prevent surface friction over time.