How to Build Custom Storage in a Tiny Bedroom Using Standard IKEA Pieces
Summary
- Introduction: Why Custom Storage Matters in a Tiny Bedroom
- The Magic of IKEA Hacks for Small Apartments
- Step 1: Measuring Your Space and Planning the Layout
- Step 2: Choosing the Right Base IKEA Pieces
- Step 3: Gathering Essential Tools and Materials
- Step 4: Step-by-Step Assembly and Customization
- Step 5: Styling Your New Custom Storage
- Frequently Asked Questions (FAQ)
- Conclusion
Introduction: Why Custom Storage Matters in a Tiny Bedroom
Living with tight square footage often means waking up to overflowing nightstands and clothes draped over nearby surfaces. Off-the-shelf dressers rarely fit awkward alcoves, turning smart tiny bedroom storage into an urgent priority. Transforming basic flat-pack furniture into custom built-ins gives you precise, wall-to-wall utility tailored specifically to your layout.
With a few strategic modifications, standard flat-pack pieces can mimic architectural millwork at a lower cost than a contractor quote. You get polished, floor-to-ceiling organization fitted to your daily routine without waiting weeks for specialized carpentry.
The Magic of IKEA Hacks for Small Apartments
Flat-pack collections work well in city apartment layouts thanks to their uniform sizing and clean lines. Modular series like tall PAX frames and shallow BESTÅ consoles provide adaptable building blocks for personalized IKEA bedroom hacks. Because these systems share standardized dimensions, you can align and bracket components together to conquer odd architectural niches that standard retail pieces cannot fit.
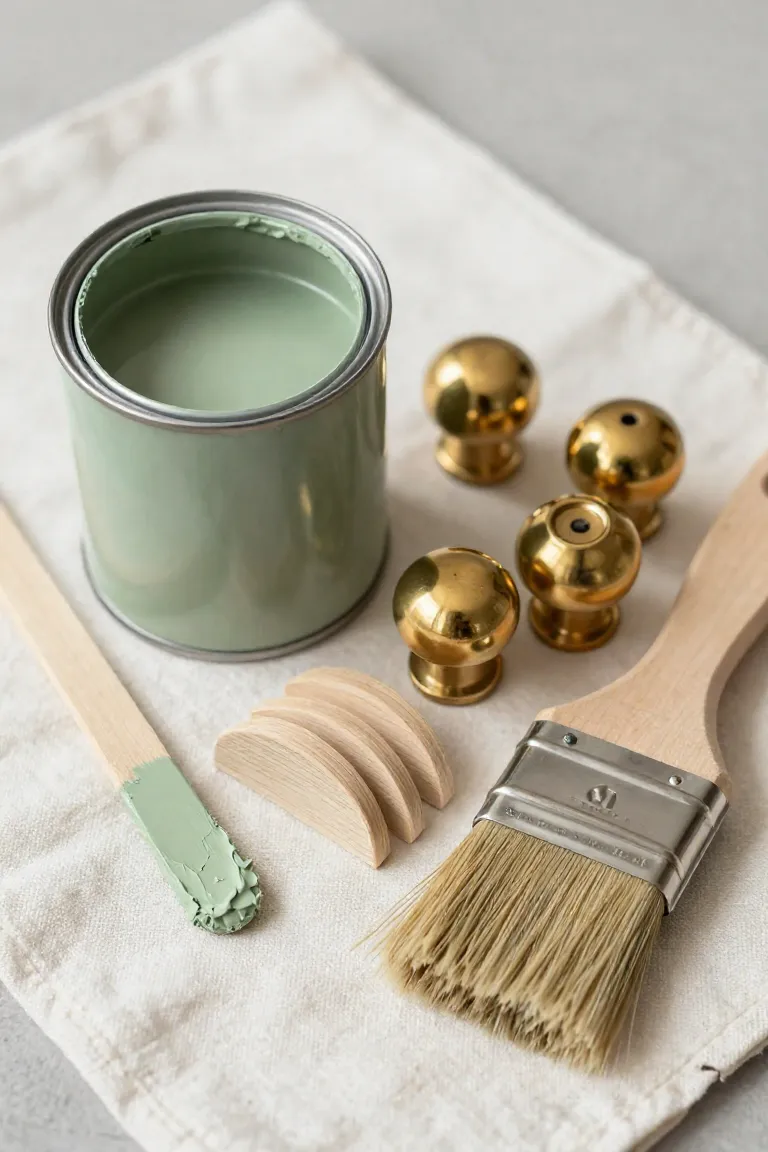
For renters and homeowners wanting tailored styling, these blank canvases deliver budget room decor that adapts whenever your lease changes. Swap the factory knobs for knurled brass or paint the outer shell in a muted eggshell hue to hide the laminate exterior.
Step 1: Measuring Your Space and Planning the Layout
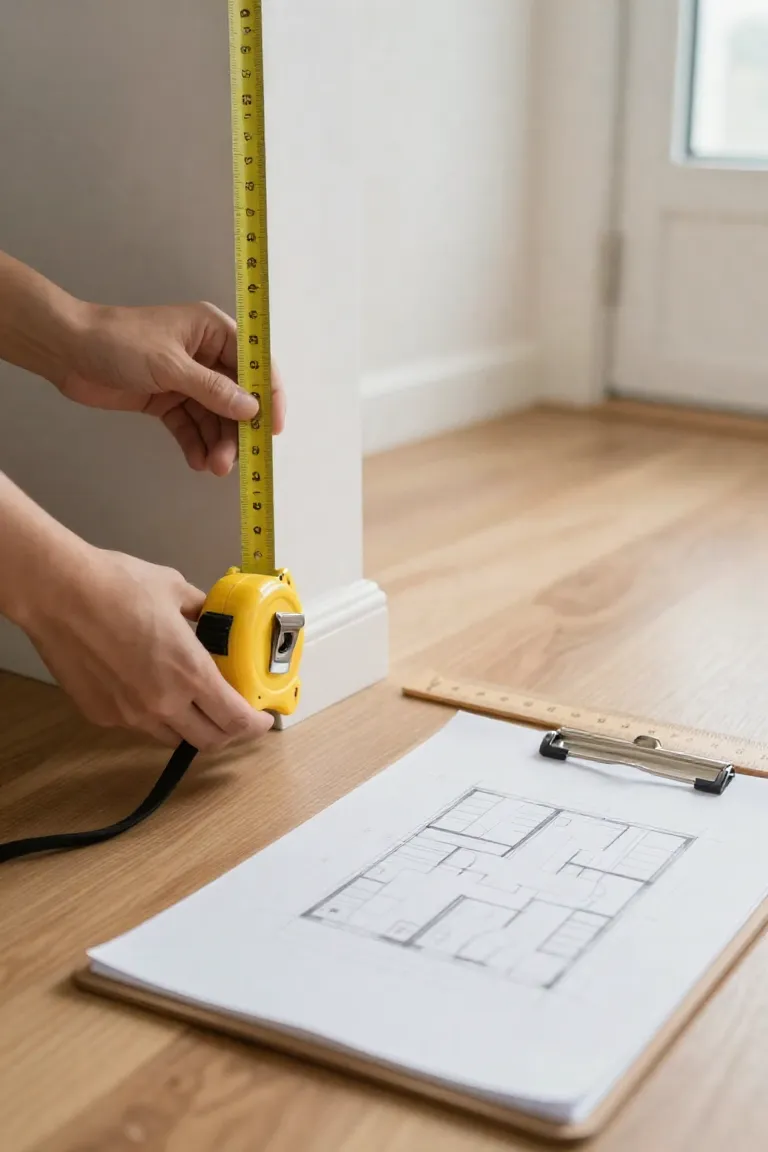
Before ordering a single cabinet or swinging a hammer, clear out loose clutter so you can view your floor area clearly. Successful bedroom layout planning relies on specific physical measurements, meaning you must record baseboard widths, radiator offsets, and electrical outlet positions alongside wall lengths. When measuring room space for built-in configurations, record dimensions at both floor level and ceiling height to catch uneven drywall or sloped surfaces before assembly begins. Mapping your clearances with blue painter tape on the floor also confirms you have adequate walkway clearance around the bed frame and full door swing radiuses before committing to a purchase.
1. The Golden Rule of Small Bedroom Clearances
Once your tape outlines are on the floor, pay close attention to how your body navigates the perimeter when doors swing wide or drawers pull out fully. Cramming cabinetry too close to a mattress turns daily routines into an obstacle course, making accurate furniture clearance essential for a practical layout. Maintaining at least thirty-six inches of dedicated walkway space ensures you can open dresser drawers completely without hitting your shins against the edge of the bed frame.
- Leave thirty to thirty-six inches between the foot of your bed and opposite wardrobes so pull-out bins glide freely.
- Maintain at least twenty-four inches on either side of the bed for clear morning movement and bedside access.
- Allow a minimum forty-two-inch radius in front of hinged wardrobe doors to step back comfortably while selecting clothes.
2. Sketching Your Storage Zones
With your pathway clearances locked in, grab graph paper and begin dividing your limited floor plan into distinct functional territories. Direct room mapping allows you to carve out dedicated storage zones for sleeping and dressing routines, preventing stray garments from taking over the floor. Keep your tallest wardrobes parked firmly against solid interior walls rather than flanking window frames, allowing natural light to reach the far corners.
In a compact floor plan, anchored storage zones keep modular cabinetry grounded while preserving sightlines across the entryway. Low storage cubbies tucked beneath a windowsill or slender shelving mounted beside the headboard maintain open wall space, creating an intentional layout where every item claims a designated home.
Step 2: Choosing the Right Base IKEA Pieces
Before purchasing lumber or specialized hardware, you need sturdy foundations that function like architectural components. Treating popular collections as versatile IKEA furniture building blocks gives you structural strength and predictable dimensions, which simplifies custom trim work later on. Flat-pack lines designed as modular storage systems provide uniform depths and heights, allowing you to combine wardrobes and overhead units cleanly across awkward niches.
- KALLAX shelving cubes offer dependable weight-bearing frames that work well as raised bed foundations or perimeter bench seating.
- PAX wardrobe carcasses deliver full-height vertical storage with deep configurations tailored for hanging clothes and stacked accessories.
- BESTÅ media frames feature shallow depths and wall-mounting rails that make practical floating nightstands or narrow hallway cabinets.
1. The KALLAX Bed Frame Hack for Under-Bed Storage
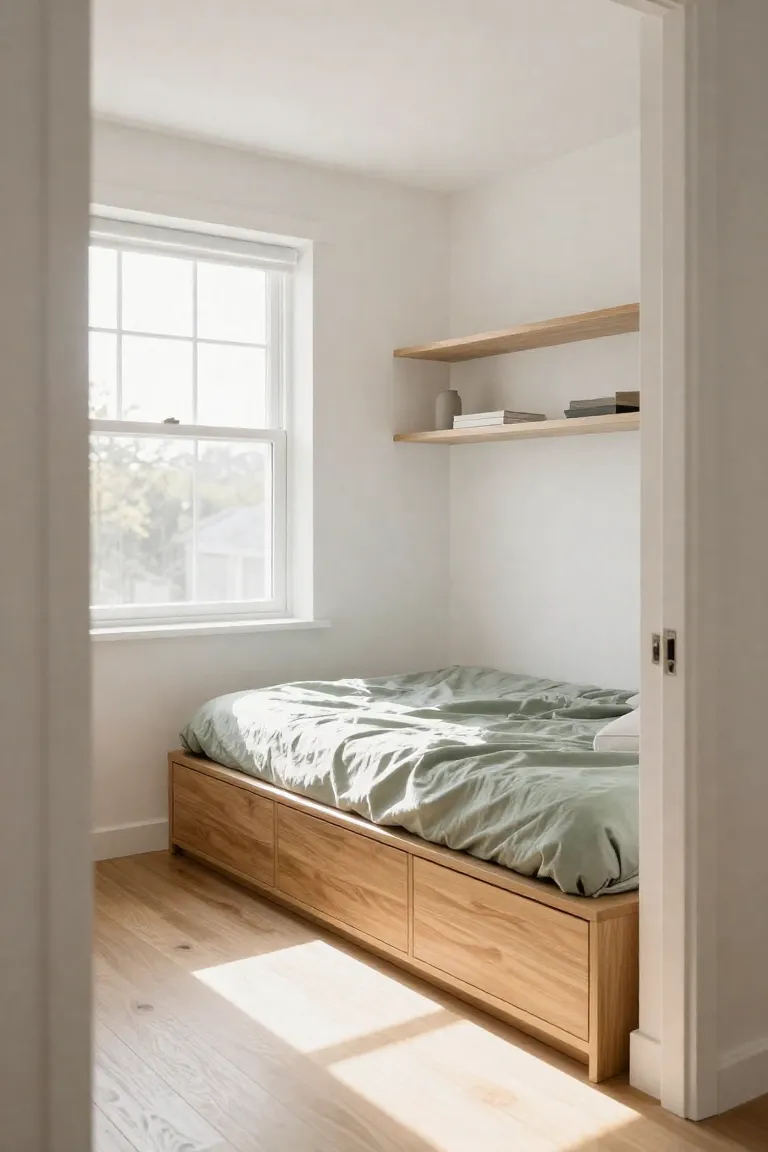
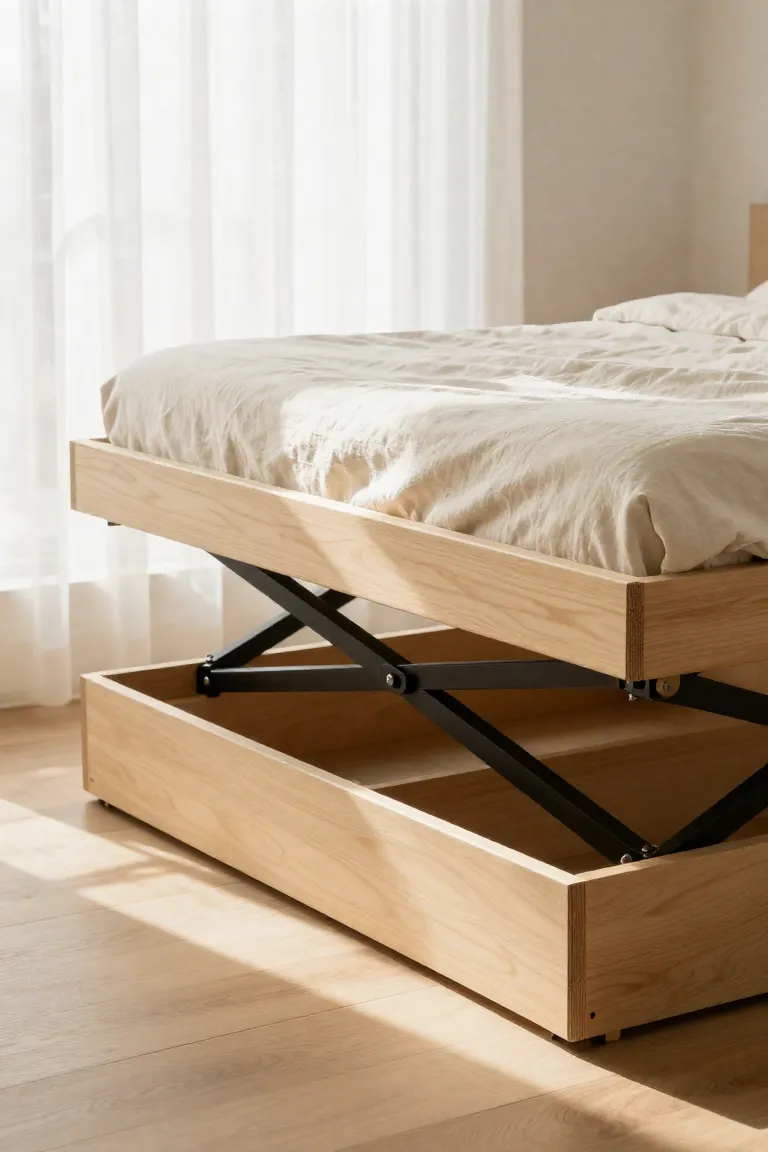
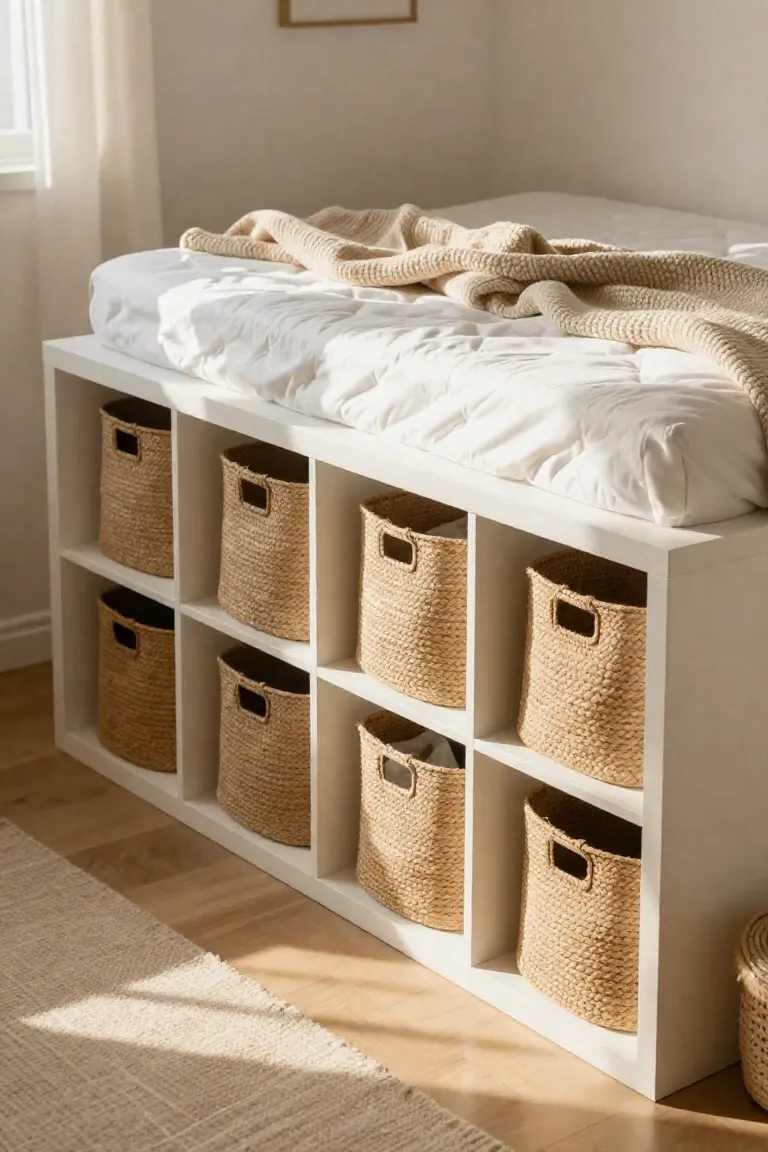
Laying two low-profile cubby units flat on their sides creates a sturdy foundation that reclaims dead floor space beneath your mattress. Fastening a sheet of sanded plywood or standard wooden bed slats across both organizers supports your mattress evenly while distributing weight across the outer honeycomb boards. The exposed perimeter openings give you direct access to deep compartments that swallow bulky winter duvets or storage baskets without requiring a separate dresser. As a practical under-bed storage idea for tight city apartments, this setup eliminates dust traps and gives your bedroom a grounded proportion. When finishing your KALLAX bed frame hack, secure small interior L-brackets at the seams to lock the units in place and prevent lateral shifting over time.
2. Utilizing PAX Wardrobes for Vertical Space
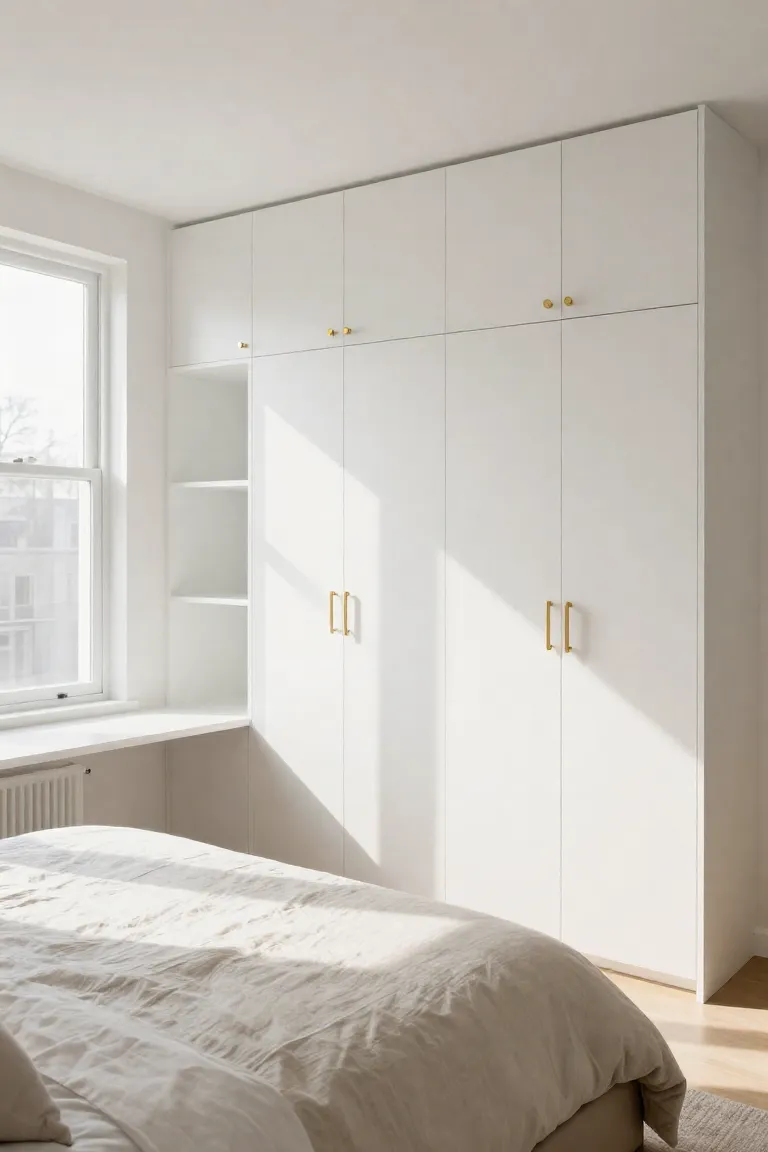
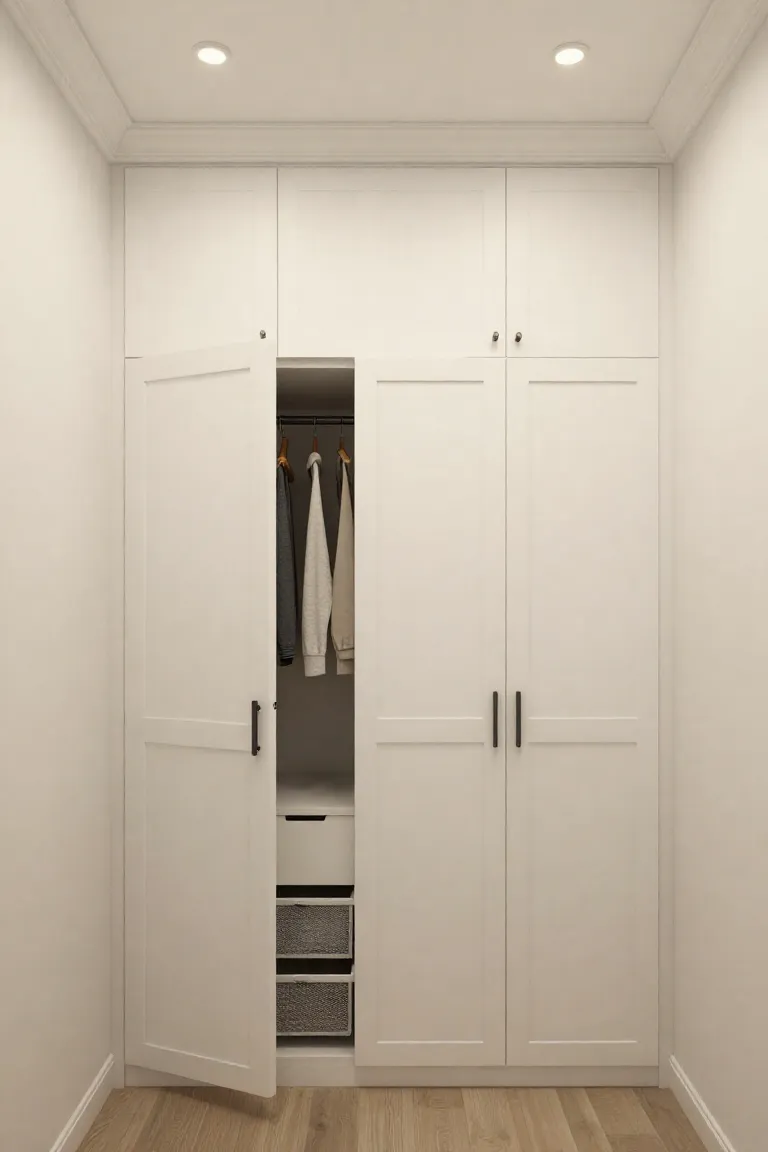
Drawing the eye upward changes how spacious a compact bedroom feels, especially when floor square footage is limited. Choosing the tallest 93-inch wardrobe frames allows you to exploit neglected vertical height above standard door frames, converting empty ceiling voids into practical zones for seasonal coats and storage boxes. Rather than settling for standalone armoires that leave dust-gathering gaps near the ceiling, this tailored PAX wardrobe hack bridges the vertical expanse to replicate architectural millwork.
A simple wooden riser at the floor combined with primed crown molding along the top closes the remaining gap against your ceiling drywall. Painter's caulk along the side seams conceals raw edges before you paint the entire exterior in a uniform muted hue, producing the integrated appearance of bespoke built-in closets for less than custom carpentry prices. Replacing standard factory pulls with tactile brass hardware grounds the entire layout with a clean, polished finish.
3. Floating BESTÅ Cabinets as Space-Saving Nightstands
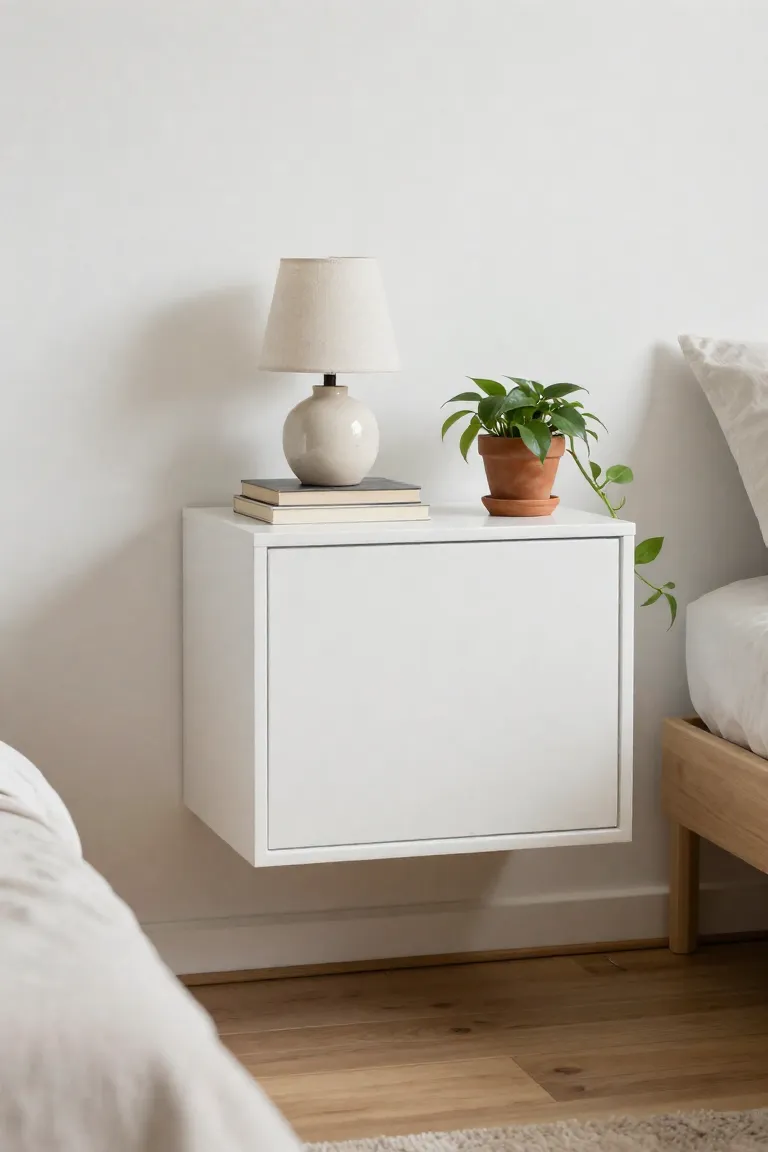
Keeping bedroom floorboards visible all the way to the baseboard visually expands the footprint of a narrow room. Securing a shallow media frame directly into wall studs alongside your bed provides a functional surface for an ambient reading lamp and a ceramic carafe while keeping the ground completely clear. This floating nightstand DIY approach conceals charging cables and bedtime reading materials behind flush push-to-open door fronts, removing visual clutter from your daily sightline. Because you can anchor the unit at the exact level of your mattress top, the suspended BESTA wall storage delivers practical daily use and leaves ample clearance for a robotic vacuum to glide underneath.
Step 3: Gathering Essential Tools and Materials
Moving from paper schematics to physical assembly requires a prepared tool kit before you unbox a single carton. Sourcing your DIY project materials in advance eliminates stalled momentum and ensures every flat-pack alteration feels deliberately built. Dividing your workshop supplies into structural hardware and selected surface accents keeps your workspace organized, letting you secure the heavy frames first before touching the exterior finishes.
- Core assembly gear: Keep dependable IKEA hack tools close by, particularly a multi-torque cordless drill and an electronic stud finder.
- Structural fasteners: Gather zinc wall anchors and multi-surface wood screws designed to join adjacent particleboard frames.
- Refined detailing supplies: Reserve stain-blocking shellac primer and tactile cabinet pulls for the final design layer.
1. Essential Hardware for Secure Assembly
Rigid structural integrity separates an unstable modular configuration from an enduring architectural fixture. Because particleboard frames carry substantial weight once loaded with linens and clothing, standard plastic plugs simply will not suffice; instead, anchor tall uprights directly into wall studs using heavy-duty toggle wall anchors whenever wood framing cannot be reached. Reinforce adjoining cabinets with galvanized mending plates along the top rails and interior sidewalls, locking individual carcasses into a unified, solid unit that will not shift over time. Heavy-gauge corner L-brackets fastened to the base plinth provide critical structural stability, anchoring bottom edges firmly against floor kicks and skirting boards. Always pre-drill pilot holes using short, coarse-thread wood screws when connecting neighboring units to avoid splitting laminated veneer cores, and verify each connection with a spirit level before tightening down your load-bearing furniture hardware.

2. Aesthetic Upgrades (Paint, Hardware, and Trim)
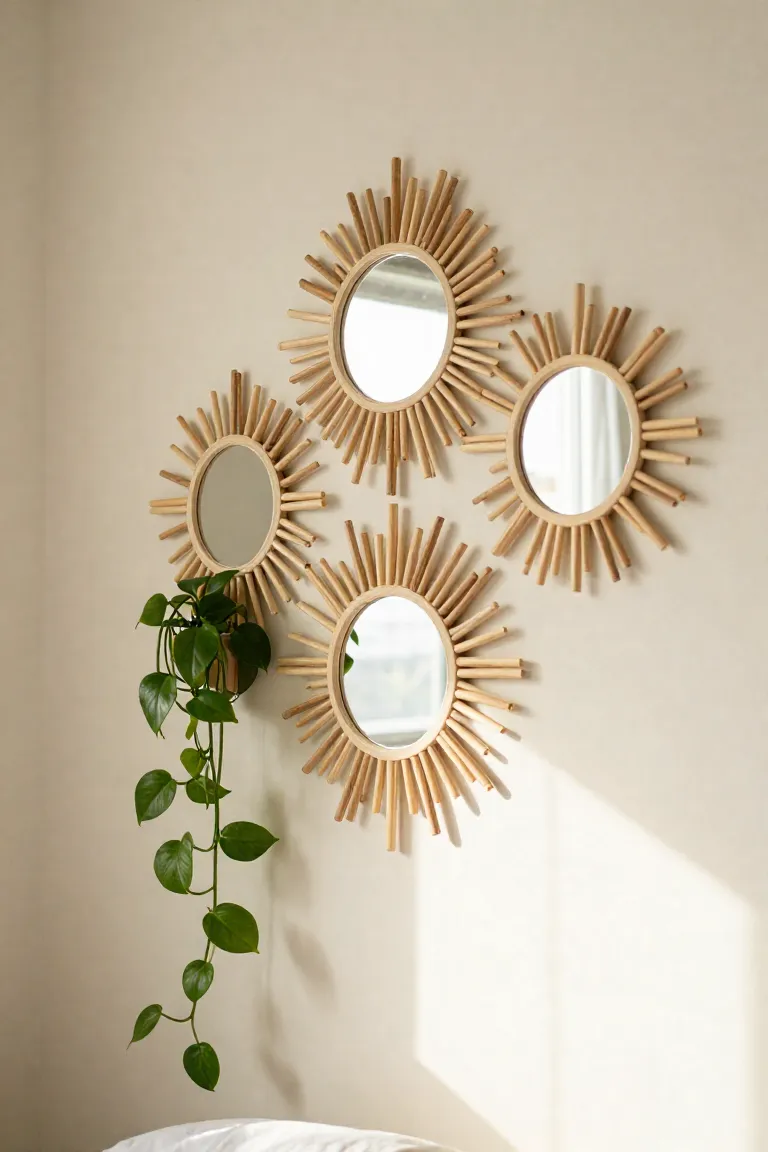
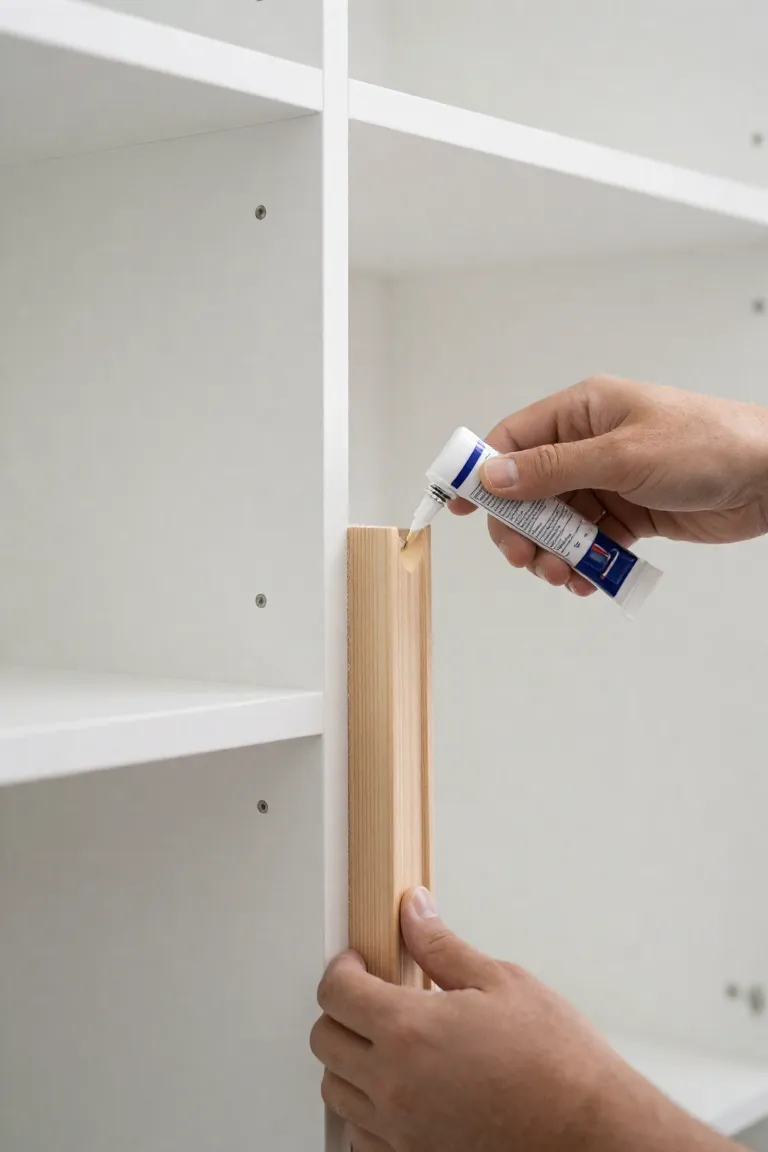
Transforming recognizable flat-pack surfaces into custom cabinetry depends on tactile finishes and consistent tonal palettes. The secret to painting laminate furniture lies in chemical adhesion rather than aggressive abrasion, so wipe down factory melamine with mineral spirits before rolling on two thin coats of shellac-based primer to create a strong bond for your eggshell paint. To introduce organic warmth across flat cabinet faces, apply flexible fluted wooden pole wrap using heavy-duty construction adhesive, trimming excess strips with a sharp utility knife for flush alignment. Replacing generic factory handles with aftermarket cabinet hardware refines the room, whether you install brushed knurled brass handles for metallic contrast or hand-stitched leather pulls for quiet texture. Adding architectural pine trim along the perimeter seams completes the built-in illusion, establishing a bedroom aesthetic that looks entirely original.
Step 4: Step-by-Step Assembly and Customization
With your raw materials and fasteners organized across the room, transitioning from planning to physical construction becomes straightforward. Taking your time through the foundational furniture assembly steps creates a durable base, especially when you are customizing flat pack pieces to fit odd room dimensions or awkward wall niches.
- Lay down thick painter blankets across the bedroom floor to prevent scuffing the veneer panels during the initial layout.
- Sort all dowels and screws into designated trays before opening the main cabinet boxes to keep your work surface uncluttered.
- Perform a dry fitting of each modified partition before applying wood glue or driving structural corner brackets into place.
1. Building the Foundation Properly
Constructing the structural base demands measured precision because any small discrepancy at the bottom multiplies as you build upward. As you join each corner panel, check diagonal corner-to-corner measurements with a tape rule to verify a true square assembly. Even a quarter-inch lean in the outer frame can misalign doors or make sliding drawers bind once the unit carries daily weight.
Uneven floors are common in small bedrooms, making leveling furniture a necessary step before connecting multiple boxes. Adjustable cabinet feet or tapered composite shims placed beneath the bottom plinth absorb floor dips without stressing the particleboard joints. When you place a four-foot bubble level across both axes and observe dead-center balance, you can safely proceed to neighboring units.
2. Installing and Anchoring Storage Safely
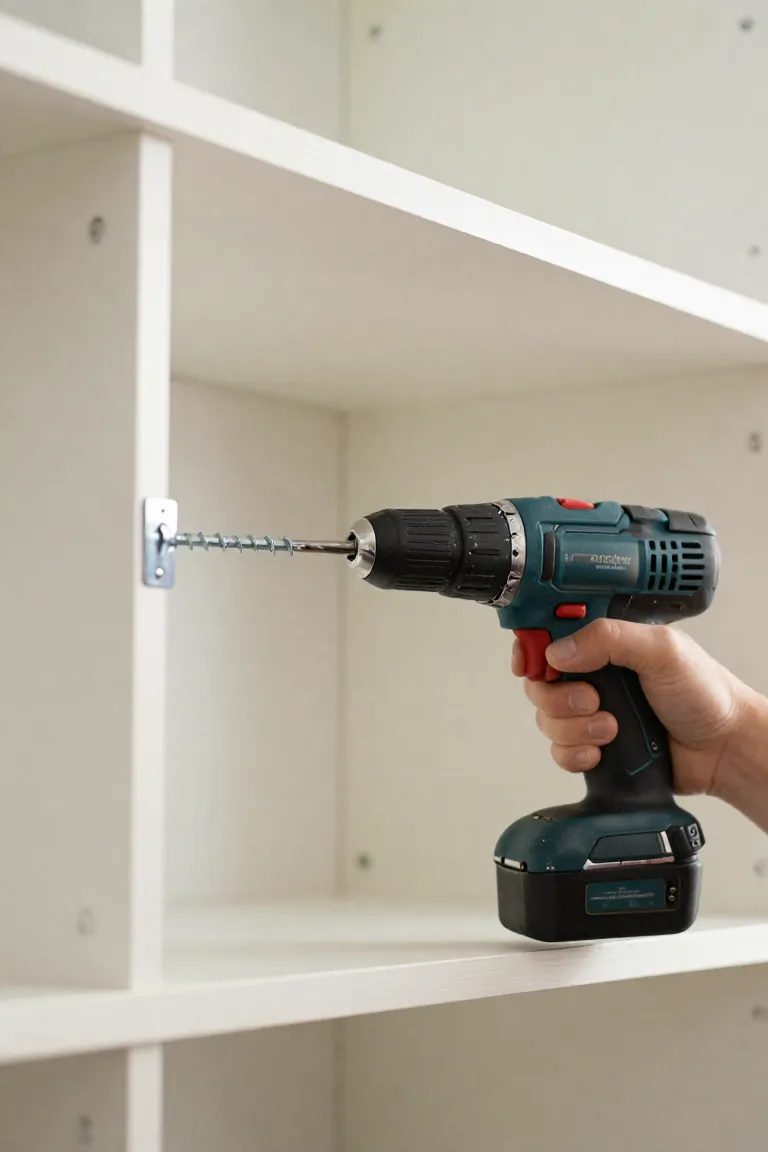
Tall cabinetry and overhead modules carry significant leverage once loaded with folded sweaters or storage boxes. Direct fastening into the building structure is non-negotiable for stability, which starts by finding wall studs behind your drywall with a magnetic or digital sensor. Marking the center points of each stud allows you to sink cabinet screws directly into solid wood, providing reliable structural hold against accidental shifting.
Heavy-duty steel toggle bolts offer dependable shear strength whenever cabinet hardware falls between framing timbers. Prioritizing anchoring furniture to wall studs or heavy toggle plates prevents accidental tipping while keeping the tall vertical lines stabilized under substantial wardrobe weight. A final manual turn with a hand screwdriver confirms that each bracket sits tight without cracking your drywall.
3. Adding Custom Fronts and Trim Work
Once individual carcass frames sit plumb and flush against your wall studs, narrow gaps between adjacent units and floorboards reveal their flat-pack origins. Installing custom cabinet trim bridges these discrepancies by closing shadow gaps along side panels and bottom kickplates. Run a continuous strip of 1x4 baseboard directly across the front plinths, mitering outside corners at 45 degrees so the woodwork wraps around the perimeter like classic millwork.
At the ceiling junction, adding crown molding seals the structural gap between the top panel and drywall, giving standalone wardrobe boxes the visual weight of floor-to-ceiling carpentry. A neat bead of paintable acrylic caulk along every joint smooths out minor drywall undulations before you roll on color-matched cabinet enamel across both the laminate and raw wood trim.
Step 5: Styling Your New Custom Storage
Now that paint has cured and structural modifications are locked in, shifting your focus toward deliberate organization prevents clean architectural lines from disappearing under daily clutter. Effective bedroom storage relies on visual breathing room, especially across eye-level compartments where overfilling creates visual fatigue. When styling open shelving, balance heavier ceramic vessels and grouped paperbacks on lower ledges with airy linen catchalls higher up. Leaving roughly one-third of each cubby empty allows natural daylight to bounce through the alcove, turning utilitarian compartments into a display that looks restful rather than chaotic.
1. Concealing Clutter with Baskets and Bins
Loose charging cables and stray paperwork quickly disrupt the clean aesthetic of an open framework if left exposed. Sliding a uniform row of woven storage baskets into your lower cubbies creates an opaque visual baseline that conceals everyday items while introducing tactile texture against painted millwork. Natural materials like braided seagrass or washed canvas soften rigid cabinet grids and maintain consistent rectangular proportions across lower tiers.
For upper compartments, rigid linen drop-front bins with discreet leather pull tabs streamline the routine of hiding bedroom clutter without requiring you to haul down entire storage containers from high shelves. Sorting items into dedicated categories before slipping them into assigned bins helps your morning routine move smoothly while keeping every cubic inch neat and intentional.

2. Decorating Open Shelves Without Crowding
Once your essentials rest behind closed doors, exposed surfaces become the visual breathers that keep compact quarters feeling open rather than constricted. Applying deliberate shelf styling strategies transforms simple flat-pack ledges into a curated display that draws eyes upward without generating clutter.
- Group accents using odd numbers: Arrange decorative items in subtle odd pairings, such as placing a ribbed stoneware vase next to two linen-bound books, to build natural visual rhythm.
- Balance textural contrast: Pair matte clay vessels with smooth glazed dishes or woven reed bowls so monochromatic displays gain dimension.
- Embrace intentional empty space: Leave at least one-third of every shelf completely vacant, a basic rule of minimalist shelf decor that gives each object room to breathe.
Frequently Asked Questions (FAQ)
Modifying flat-pack units brings up genuine concerns regarding wall integrity and security deposits when working inside compact bedrooms. Exploring this IKEA hack FAQ equips you with practical solutions and hands-on DIY troubleshooting strategies to address installation hurdles before driving screws into plasterboard. Understanding how to reinforce engineered boards and plan for future apartment moves ensures your custom build delivers dependable utility without risking your deposit or compromising stability.
1. How do I safely anchor heavy IKEA furniture to drywall?
Securing tall cabinetry requires locating the wooden wall studs hidden behind your drywall using an electronic sensor or magnetic stud finder. Driving heavy-duty wood screws directly into solid structural framing provides reliable furniture safety, holding tall wardrobe frames firmly in place during daily drawer opening. If your ideal floor layout forces a cabinet between stud locations, bypass standard plastic drywall anchors in favor of zinc-plated steel toggle bolts. These metal butterfly channels open flat against the hollow rear of the sheetrock, distributing weight across a broader surface to prevent tall units from pulling free under heavy loads.
2. Can I disassemble built-in IKEA hacks when moving out?
Securing modular cabinetry doesn't mean forfeiting your rental deposit when your lease wraps up. While wood glue and brad nails create permanent architectural bonds, securing custom face trim with pocket screws and discreet metal corner brackets delivers practical renter friendly hacks that dismantle cleanly in an afternoon. Fastening decorative filler strips directly to the cabinet carcass rather than nailing into the apartment baseboards preserves the original wall woodwork completely intact.
Drywall anchor holes left behind when moving with IKEA furniture take only minutes to restore using a tub of spackling compound and a flexible putty knife. A gentle pass with a 220-grit sanding block creates a flat surface ready for standard color-matched touch-up paint. This reversible installation strategy keeps your security deposit safe while letting you transport your custom storage framework into your next home.
Conclusion
Designing a tight sleeping space never requires sacrificing personal aesthetic taste for storage volume. Executing a targeted small bedroom makeover proves that clean architectural lines and functional storage fit side by side, even in narrow footprints. Building momentum on your DIY room transformation comes down to tackling one practical upgrade at a time:
- Start small with a single floating nightstand shelf to practice leveling and flush-mounting hardware before tackling tall wardrobe walls.
- Prioritize concealed under-bed frames to tuck winter duvets and seasonal linens away from immediate sight lines.
- Finish with tailored trim work and textured metal hardware pulls that turn basic flat-pack boards into enduring built-in features.