How To Make Your Small Apartment Bedroom Look Expensive With Dollar Tree Crafts
Introduction: The Dollar Tree Decor Revolution
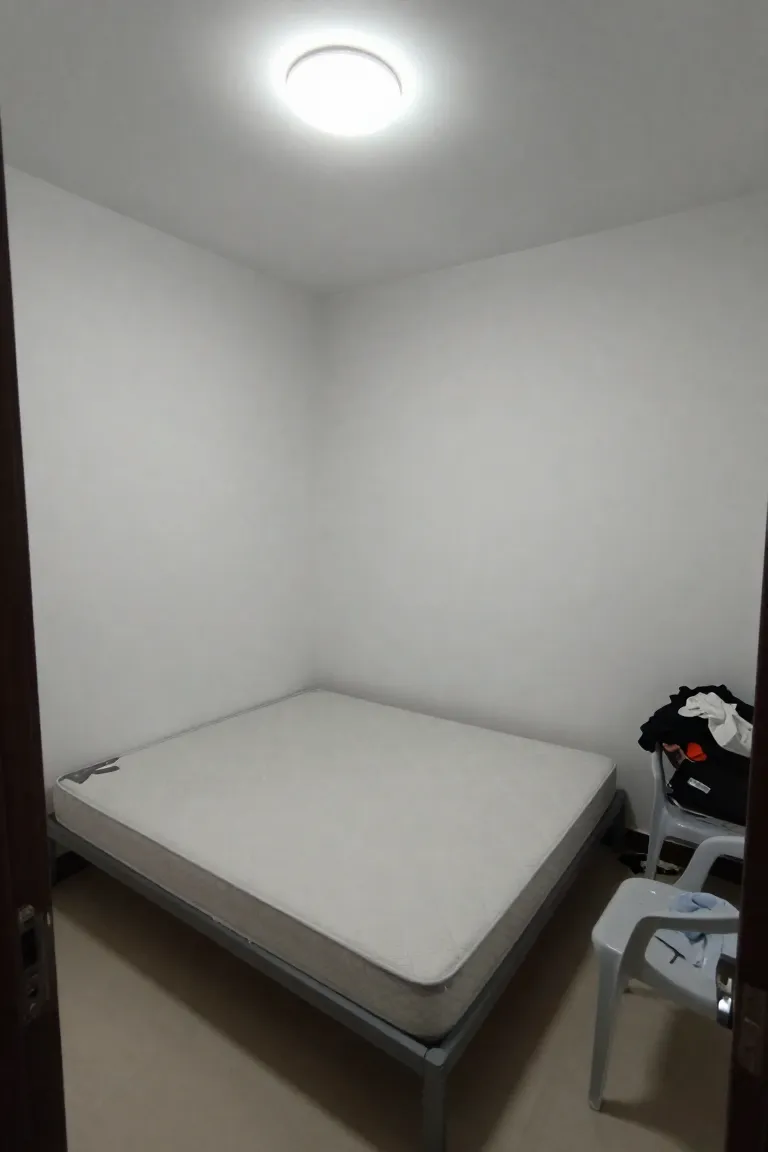
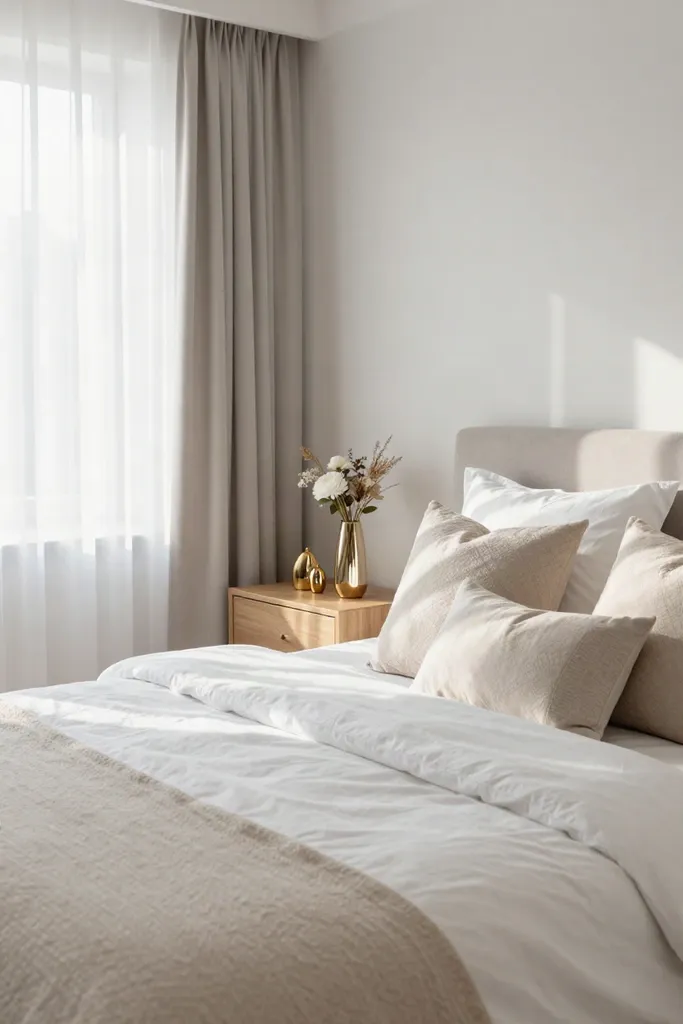
Transforming a compact bedroom into an upscale retreat often feels out of reach when retail price tags climb into the hundreds. Sourcing affordable craft supplies changes that reality. With clever styling techniques and accessible Dollar Tree supplies, exploring practical small apartment decorating ideas bedroom projects delivers a polished finish, turning a budget bedroom makeover into an intentional design statement.
Step 1: Planning Your High-End Aesthetic
Wandering down the craft aisle without an editorial roadmap guarantees mismatched clutter rather than an intentional look. High-end interiors succeed because every texture, proportion, and finish aligns with a defined mood board before a single dollar gets spent. When working with discount finds, disciplined room decor planning is essential to achieve a cohesive, expensive bedroom aesthetic.
Stylist Rule: Establish your core design identity first to ensure every DIY accent looks deliberate and unified.
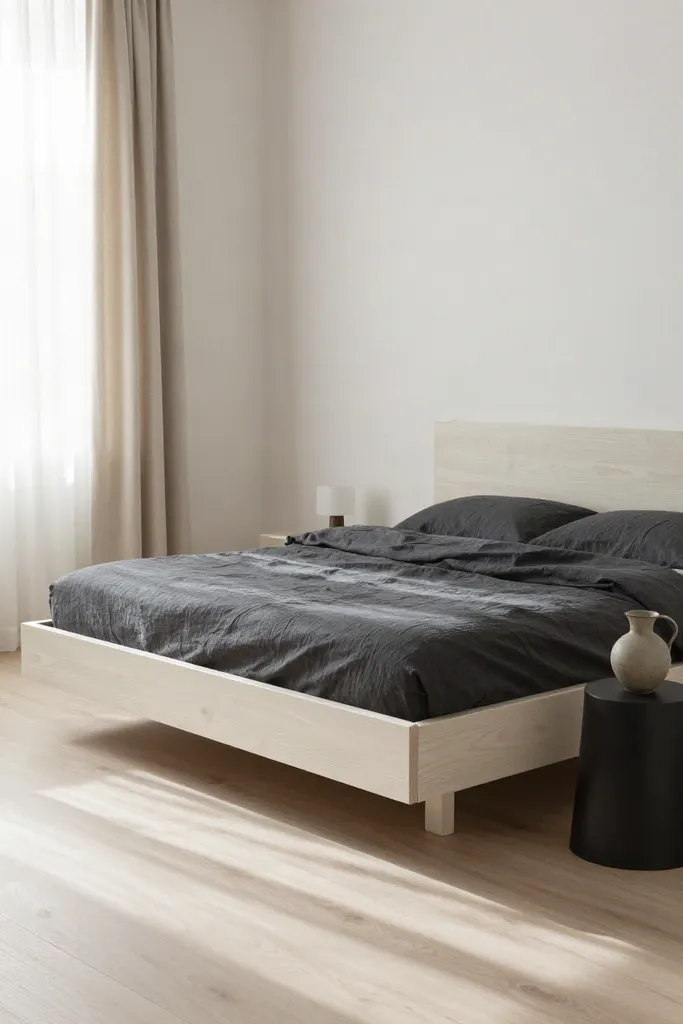
Begin by saving three to five reference images from Target or West Elm catalogs that capture the exact mood you want. Analyze the underlying architectural shapes and surface finishes in those reference photos. Once you isolate the specific textures you love, hunting for budget-friendly blanks that mimic those silhouettes becomes straightforward and rewarding.
Choosing a Cohesive Color Palette
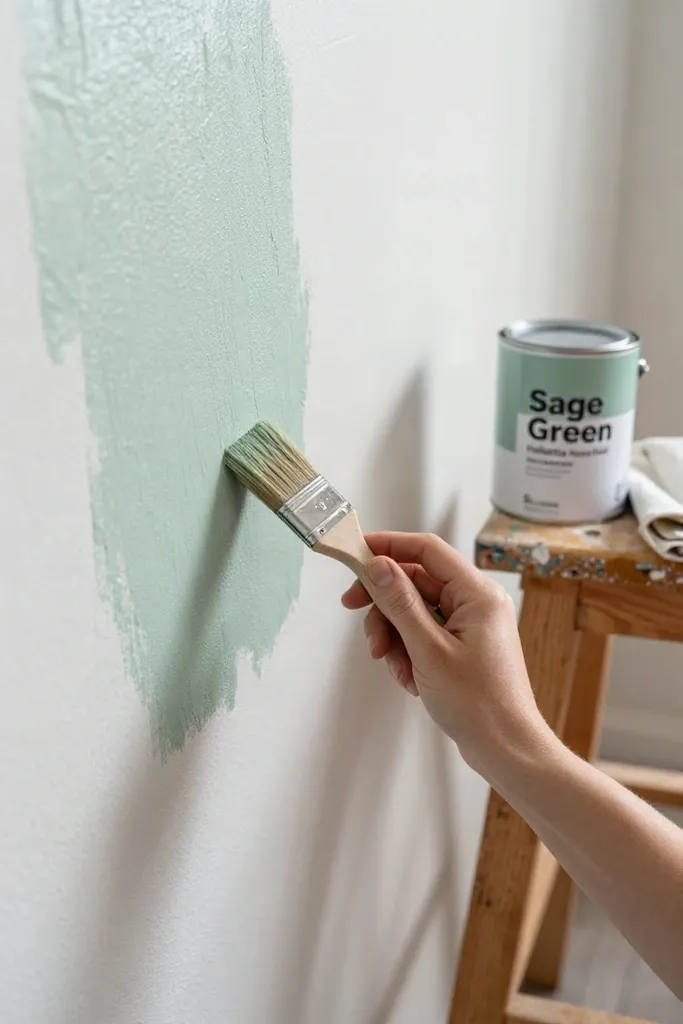
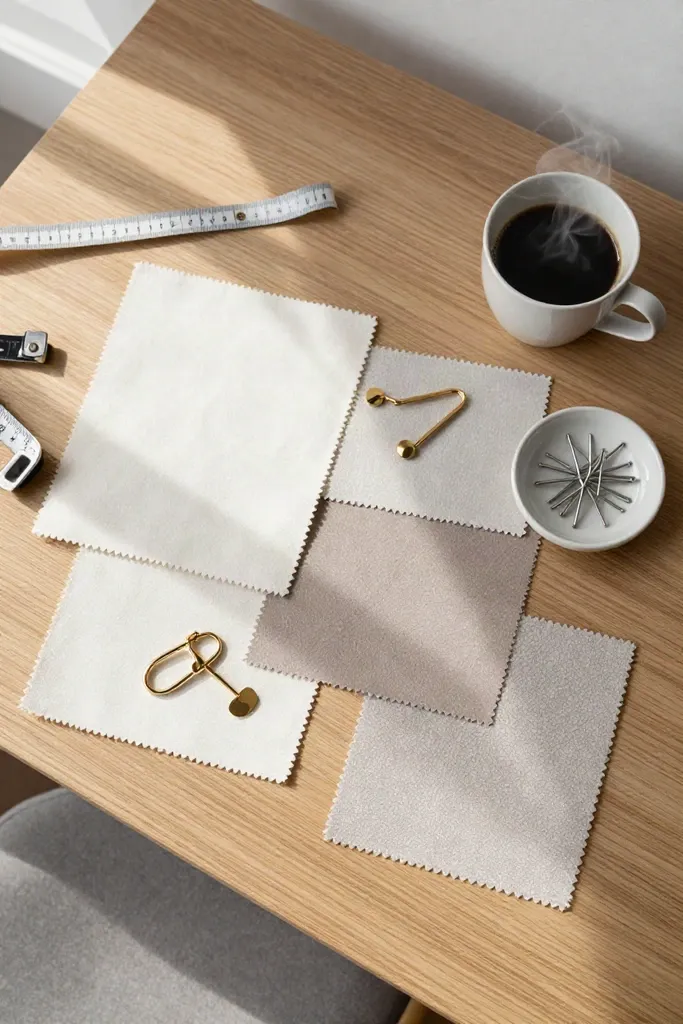
Muted tones and soft neutral bedroom colors instantly signal refinement and hide the humble origins of dollar-store materials. Bright primary paints and glossy plastic finishes often betray discount price tags, whereas chalky taupes, warm creams, and matte charcoal tones reflect light softly across small surfaces. Establishing cohesive room decor relies on restricting your DIY supplies to a tight foundation of three or four harmonizing shades.
- Crisp alabaster or warm ivory paint as your primary wall and large-surface base.
- Warm camel, sand, or mushroom tones for textural canvas art and wrapped organizers.
- Soft matte black or aged bronze hardware accents to anchor lighting fixtures.
- Textured terracotta or sage green accents to introduce subtle, organic warmth.
When you repeat these exact Sherwin-Williams or Behr sample swatches across every repainted vase, framed print, and storage bin, individual crafts blend into a curated collection. Sticking to this strict palette gives your bedroom the quiet quality of a custom design studio without visual distraction.
Step 2: High-End Lighting Hacks on a Budget
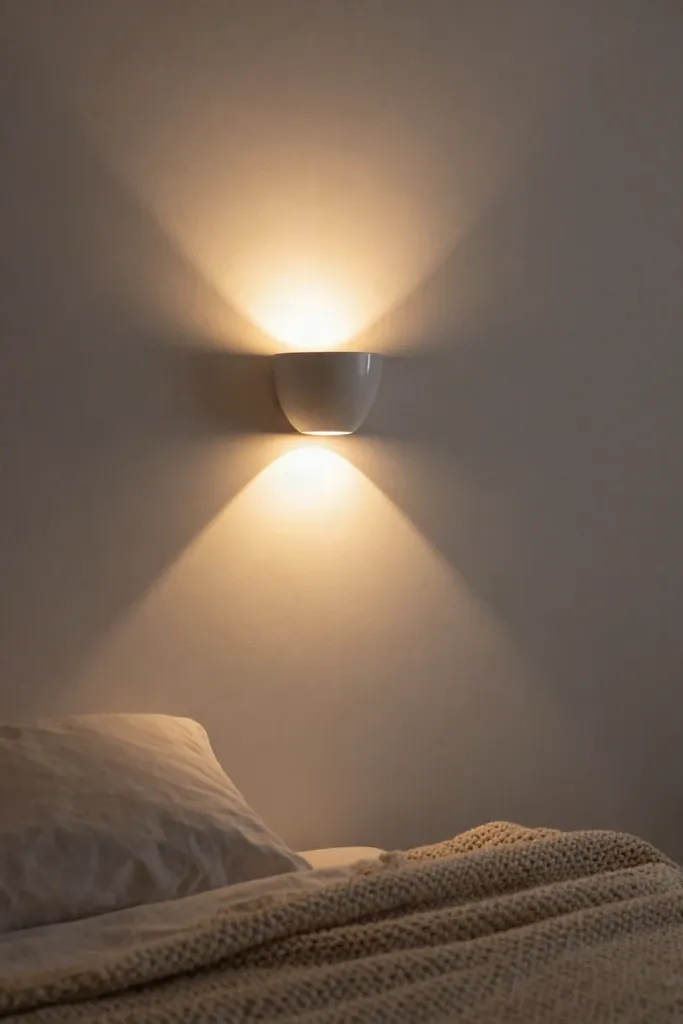
Nothing flattens the mood of a compact bedroom faster than a standard ceiling fixture glaring overhead. Layering secondary light sources at varying heights shifts a cramped layout into an inviting retreat, casting warm shadows that soften sharp drywall angles. Thoughtful bedroom lighting hacks allow you to establish warm, ambient room lighting that mirrors boutique hotel suites using basic craft materials.
Position two or three low-wattage accent points across bedside nightstands, wall corners, or floating shelves rather than relying on a single overhead bulb. Warm 2700K LED bulbs paired with frosted diffusers produce a gentle glow that draws attention to curated textures while keeping harsh glare at bay.
Crafting Faux Ceramic Table Lamps
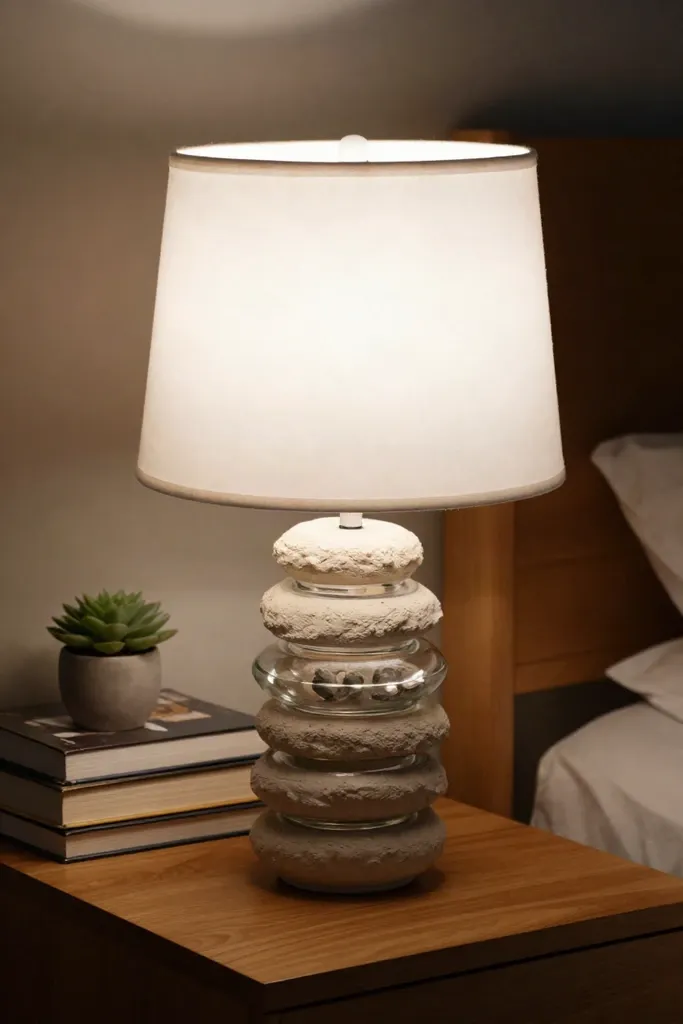
High-end home boutiques often charge upwards of $150 for rough-hewn stoneware lighting, but you can replicate that tactile finish on Dollar Tree glassware for pennies. This faux ceramic lamp DIY uses simple stacked vessels and a textured paint technique to deliver custom architectural weight to your nightstand.
- Wipe down two glass cylinder vases or tapered bowls with rubbing alcohol to remove surface oils, then bond them base-to-base using industrial E6000 adhesive.
- Mix sample pots of beige latex paint with equal parts baking soda until the consistency resembles thick pancake batter.
- Apply the mixture using a 2-inch crosshatch brush stroke to mimic genuine pottery throwing rings, allowing the textured baking soda paint to dry between two coats.
- Top the vessel with a thrifted mini linen shade and insert a battery-powered puck light or micro-cord lamp kit.
Creating Wireless Sconces with Puck Lights
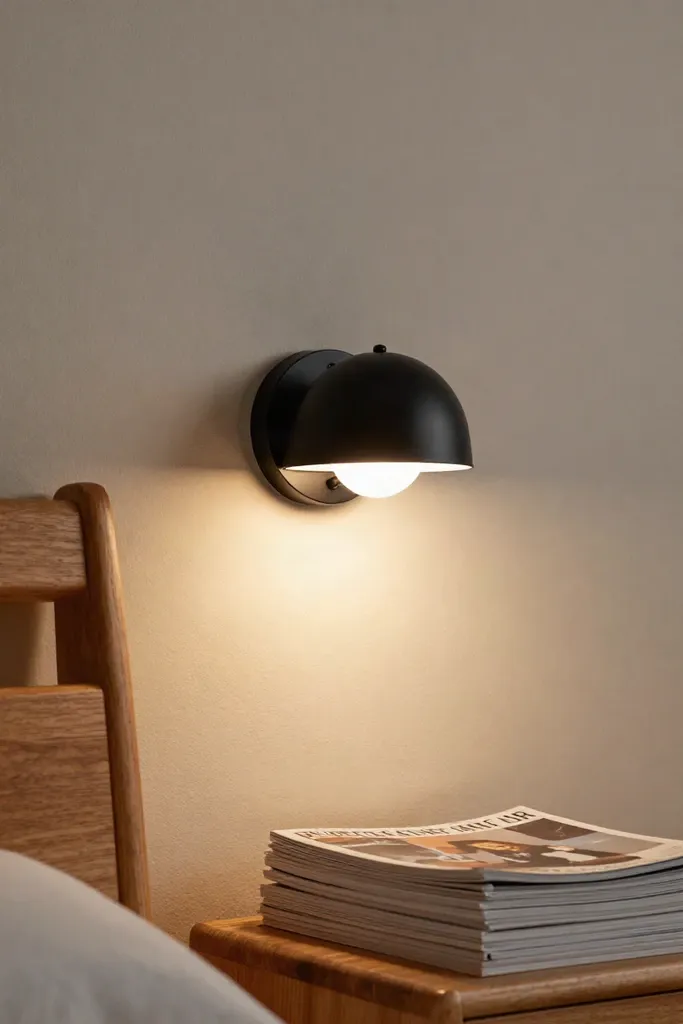
Flanking your bed with mounted fixtures instantly frees up valuable nightstand surface area in a small bedroom. Renter-friendly wireless wall sconces eliminate the need for expensive electrical work or visible cords running to baseboard outlets. Repurposing matte black wire baskets or fluted plastic bowls alongside battery-operated puck light hacks allows you to create modern wall fixtures in under fifteen minutes.
Secure the basket or painted bowl to a wood craft bracket using heavy-duty Command picture hanging strips, ensuring zero damage to apartment drywall. Mount the battery-powered LED puck inside the shade using adhesive hook-and-loop tape so you can easily twist off the casing whenever batteries need fresh replacements.
Step 3: Upgrading Wall Art and Mirrors
Once your ambient lighting is settled, blank vertical drywall becomes the next prime opportunity to define the room's visual weight. Standard gallery frames and floor-length glass pieces often retail for several hundred dollars at luxury home decor boutiques, but clever crafting shortcuts yield that same architectural presence. With basic dollar-store craft supplies, creating curated budget wall art and custom reflective accents costs less than a takeout lunch.
Strategic placement matters just as much as the materials you select. Hanging reflective DIY bedroom mirrors directly opposite your primary window bounces natural daylight into shadowy corners, creating greater visual depth across tight apartment layouts.
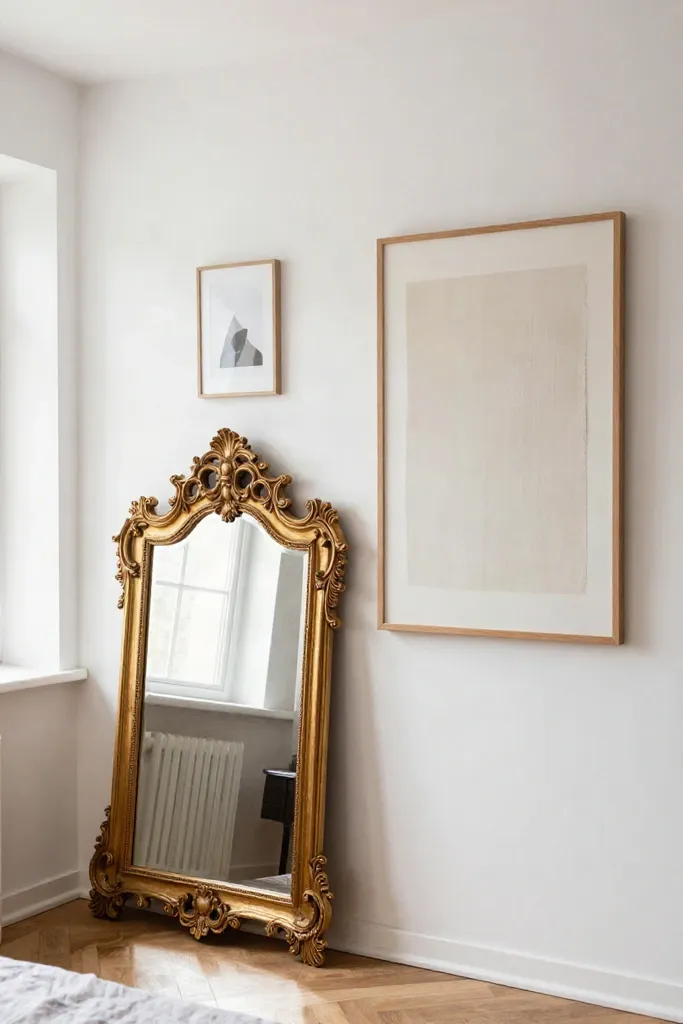
The Viral Anthropologie Mirror Dupe
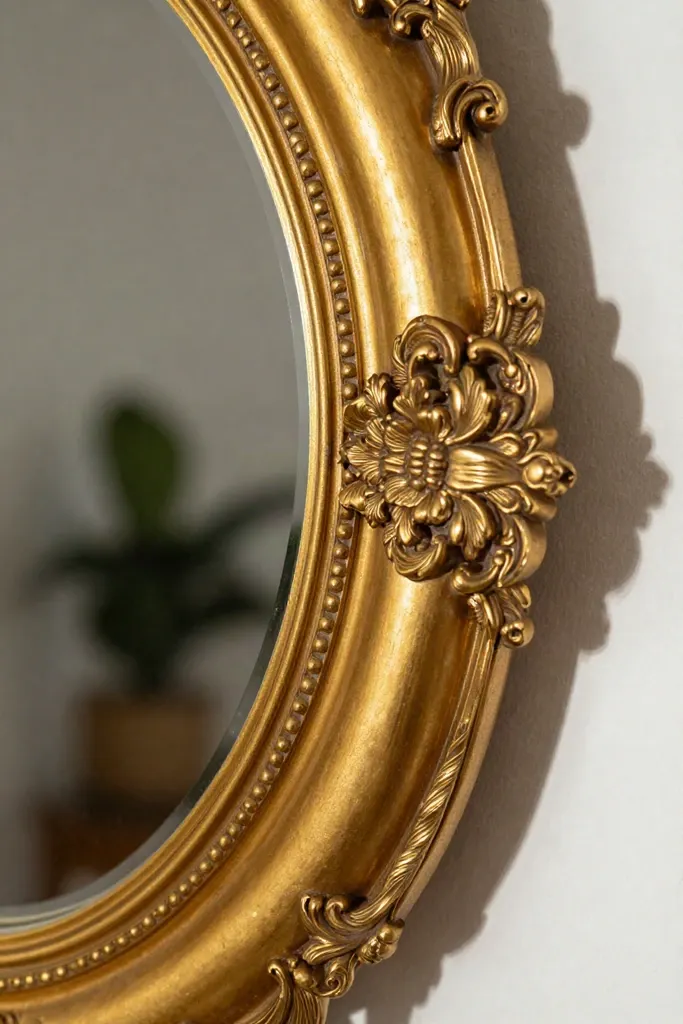
Ornate gilded mirrors carry steep price tags in retail catalogs, yet an impressive anthropologie mirror dupe requires only a sturdy Dollar Tree foam board, several small framed mirrors, and metallic finish spray.
- Arrange your framed mirrors into an arched cluster on the foam board, securing each back panel firmly with heavy-duty hot glue.
- Trace dimensional filigree scrolls and crown flourishes along the top frame borders using thick lines of hot glue to replicate vintage cast metal.
- Spray the entire surface with an antique gold coat, finishing with a quick dusting of dark craft wax to complete your gold vintage mirror DIY.
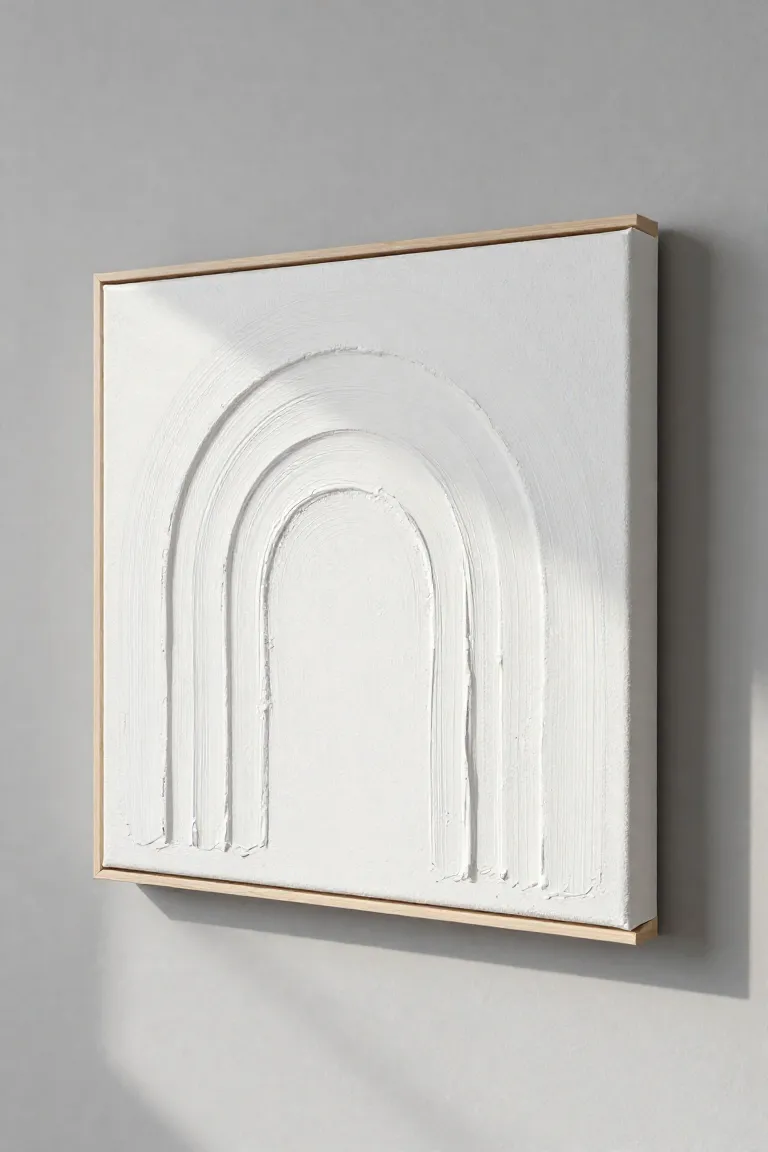
Framing Textured Canvas Art
Standard dollar-store stretched canvases provide an ideal foundation for minimalist gallery pieces. Spreading a small tub of DAP spackle or wall putty across the canvas surface with an angled putty knife allows you to craft bespoke textured canvas art with sculptural ridges, arch motifs, and organic sweeps.
A lightweight custom frame gives the finished joint compound art a polished studio aesthetic. Attach slim wooden craft sticks along the outer canvas perimeter using wood glue, then brush on a warm walnut stain or matte black acrylic paint to replicate Scandinavian floater frames on a negligible budget.
Step 4: Luxurious Storage Solutions
Visual clutter quickly disrupts the calm rhythm of a compact bedroom. Translucent plastic baskets and neon organizer caddies often telegraph a makeshift utility aesthetic, yet their rigid shapes offer the exact structural foundation needed for upscale bedroom storage solutions. Customizing these dollar-store finds comes down to masking their glossy synthetic edges behind tactile materials like woven cords, textured paper, or vinyl finishes.
Stylist Rule: Prioritize concealed organization across exposed surfaces to keep your sightlines calm and free from visual friction.
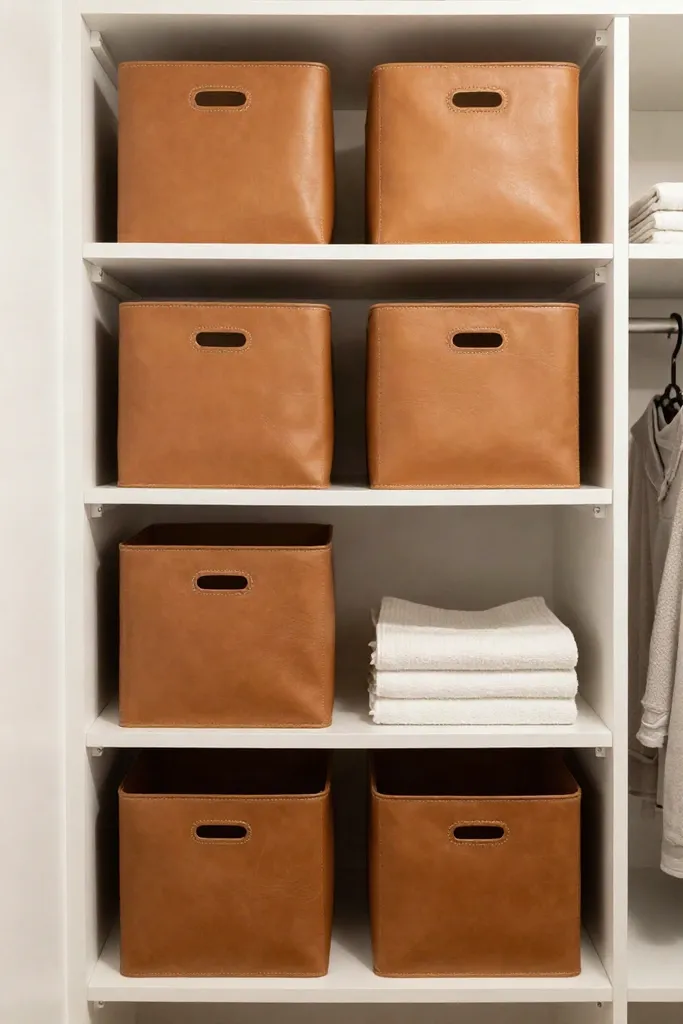
Faux Leather Wrapped Organizer Bins
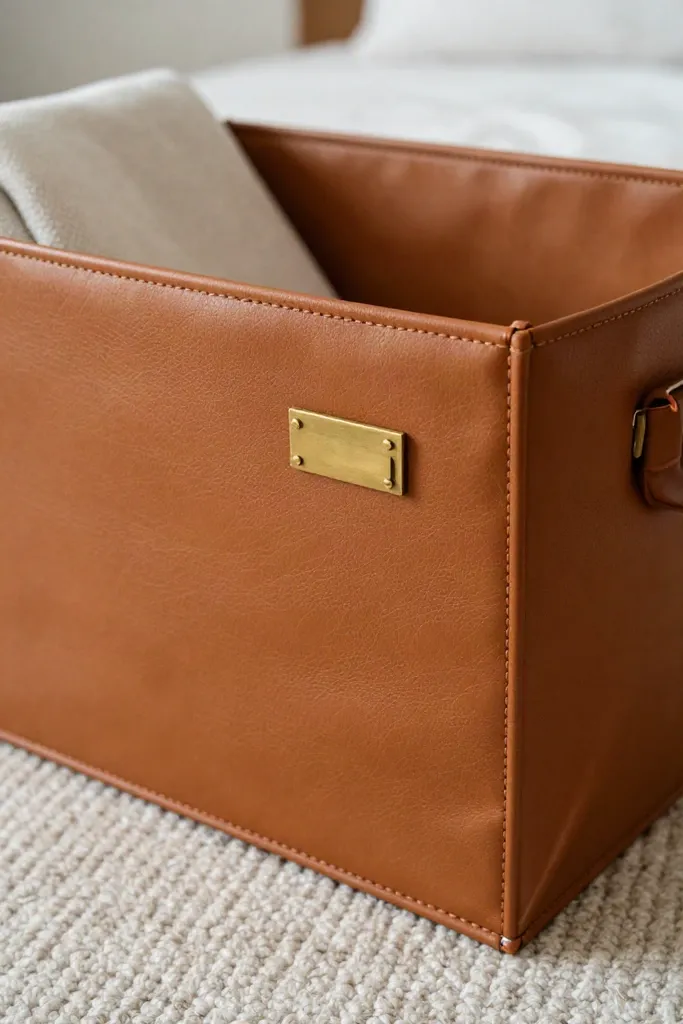
Turn inexpensive plastic utility tubs into handsome closet vessels using a roll of pebbled vinyl contact paper or remnant faux leather fabric. These textured DIY storage bins look right at home on exposed bedroom shelving, offering the tailored look of designer wardrobe trunks at a small fraction of the cost.
- Cut your material with an extra two inches of overhang on all four sides to ensure clean edge wraps around the plastic rim.
- Apply a light layer of craft spray adhesive along the exterior bin walls, smoothing the fabric firmly from center to corner to eliminate trapped air pockets.
- Fold the excess fabric over the top lip and secure it underneath the base using a low-temperature glue gun for clean seams without puckering.
Add a small brass bookplate label or a trimmed leather pull strap to the front panel to finish your custom faux leather organizers with tailored hardware charm.
Jewelry Trays from Picture Frames
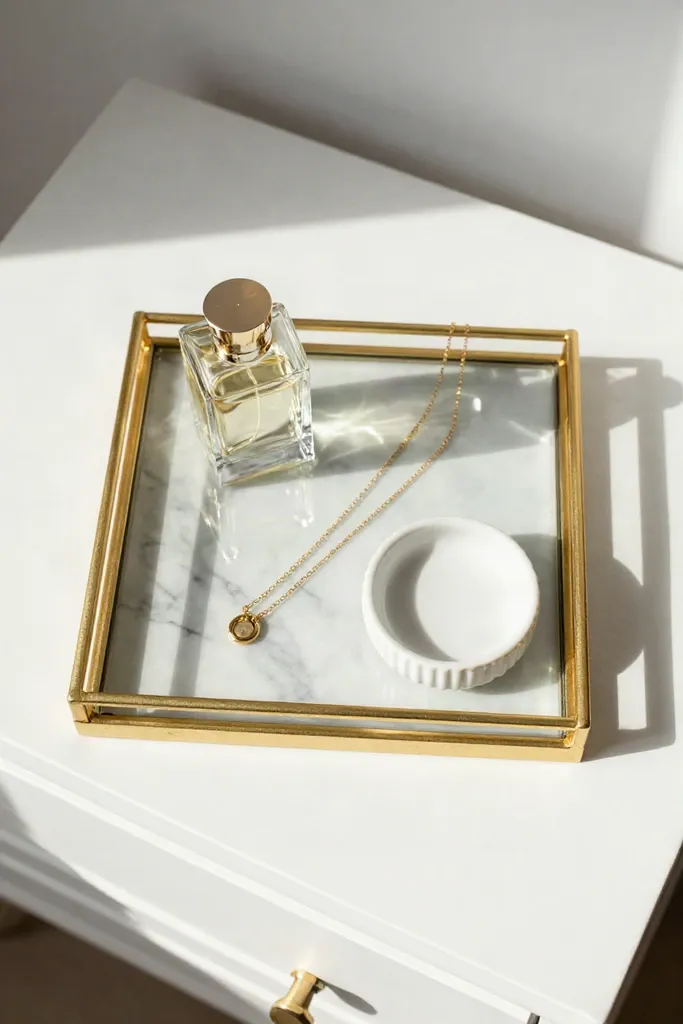
A simple wooden or metal Dollar Tree photo frame easily converts into a refined accent for your dresser top. Layering self-adhesive marble contact paper directly onto the backing board behind the glass creates a smooth, wipeable surface that functions as a polished perfume display tray.
Coat the outer frame border and backing edges with two thin layers of satin gold spray paint or metallic acrylic for a vintage brass finish. If you want an extra touch of utility, screw two small cabinet pulls from Home Depot into the shorter sides of the frame to complete your custom DIY vanity tray. The glass layer naturally protects the printed marble pattern from perfume oils and moisture rings, giving your nightstand a clean, boutique-worthy focal point.
Frequently Asked Questions
Long-term dollar tree DIY durability comes down to proper surface preparation and adhesive choice rather than material cost alone. Plastic bins and glossy ceramic trays will shed standard acrylic craft paint if you skip roughing up the slick outer layer. Lightly scuffing surfaces with 220-grit sandpaper and applying an oil-based spray primer creates a textured tooth that locks your finish in place for years of daily use.
For renters concerned about drywall damage from heavier framed mirrors or sconces, dependable renter friendly decor hacks keep your security deposit intact. Heavy-duty Command picture hanging strips or hook-and-loop adhesives rated for 16 pounds distribute weight evenly across smooth painted walls. Always clean the drywall surface with rubbing alcohol first, and allow the adhesive to bond for at least an hour before hanging your decor.
Conclusion: Your Budget-Friendly Dream Room
Transforming a compact layout into an inviting, high-end retreat does not require an expansive budget or complex carpentry skills. Focusing on cohesive neutral tones, matte textured finishes, and clever wireless accent lighting lets you layer sophisticated character into every corner. These practical small apartment decorating ideas bedroom concepts prove that thoughtful curation and smart craftsmanship matter far more than price tags.
Pick just one small project for your upcoming weekend, whether that means brushing textured baking soda paint onto a plain glass vase or assembling a picture-frame vanity tray. After seeing how quickly a single customized piece reshapes your nightstand or gallery wall, tackling a full budget bedroom makeover feels manageable and rewarding. Save your favorite designs to your moodboard and begin transforming your space one thoughtful craft at a time.