13 French Parisian Small Apartment Decorating Ideas Using Renter-Safe DIY Moldings
Summary
- Translating Haussmannian Interior Detailing into Compact Rental Spaces
- Symmetrical Double-Box Picture Frame Moulding on Primary Living Walls
- Elongated Floor-to-Ceiling Panel Grids to Counter Low Ceilings
- Gilded Trumeau Floor Mirror Flanked by Slender Wall Boxes
- Faux Chair Rail and Dado Paneling with Mineral Paint Division
- Petite Bistro Corner with Inset Micro-Moulding Details
- Narrow Entry Hallway Panels with Battery-Operated Brass Picture Lights
- Freestanding Faux Fireplace Mantle with Classical Overmantel Trim
- Symmetrical Bedside Moulding Frames Flanking an Arched Linen Headboard
- French Door Illusion Paneling on Plain Rental Wardrobe Doors
- Asymmetric Window Framing Panels with High-Hung Linen Drapery
- Floating Marble Console Table Framed by High-Waisted Box Trim
- Perimeter Picture Rail Trim for Non-Damaging Art Hanging
- Entryway Wainscot Grid with Antiqued Brass Coat Pegs
- Renter-Safe Wall Moulding Dimension and Spacing Reference Matrix
- Peel-and-Stick Application Protocols and Damage-Free Removal Procedures
- Curating Historic Character Within Contemporary Rental Constraints
Translating Haussmannian Interior Detailing into Compact Rental Spaces
Bringing the architectural depth of a nineteenth-century parisian apartment interior into a contemporary rental does not require structural demolition or risking your security deposit. By pairing featherlight extruded polystyrene profiles with damage-free mounting systems, you can establish balanced small space wall paneling directly over builder-grade drywall. Precision layout planning and clean geometry transform flat rental perimeters using renter safe molding that detaches cleanly whenever your lease concludes.
Symmetrical Double-Box Picture Frame Moulding on Primary Living Walls
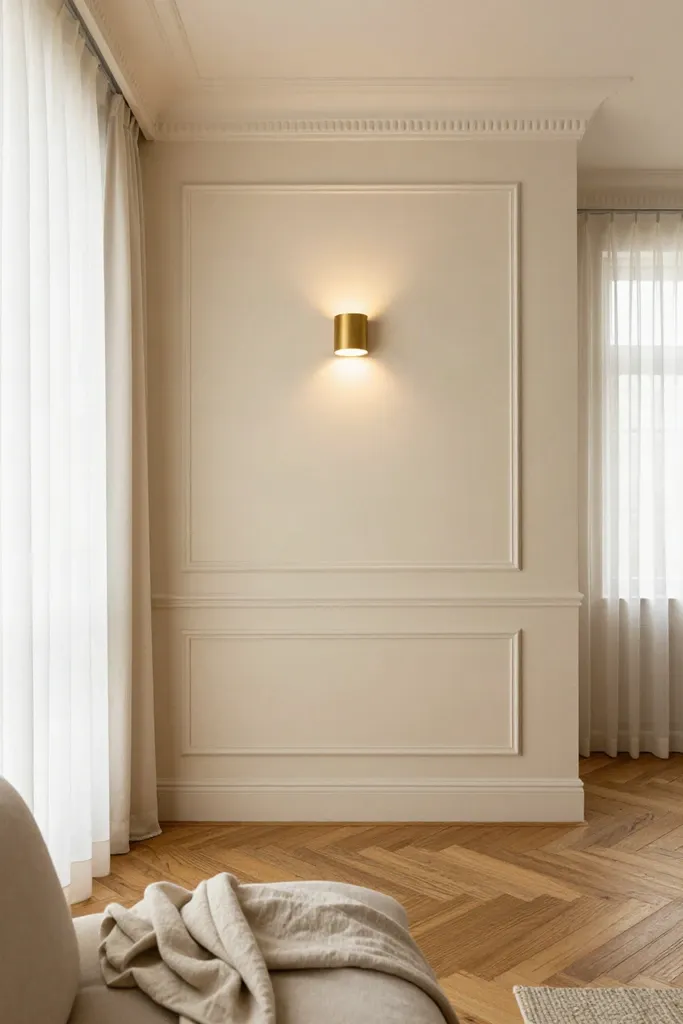
Achieving authentic proportions on standard eight-foot drywall comes down to precise spacing rather than room square footage. When laying out haussmannian wall panels, map your primary upper frame at 36 inches wide by 48 inches tall, leaving a uniform 4-inch reveal between adjacent columns and 12 inches above the baseboard. High-density polyurethane profiles mounted with removable box trim acrylic tape give crisp mitered shadow lines without driving a single brad nail into the wall.
In workbench tests with rental wall alignments, corner drywall tape joints often bulge slightly, so keeping your outer frame rails at least 3 inches away from internal corners prevents unsightly miter gaps. Center a battery-operated antiqued brass wall sconce inside the upper rectangle to build layered depth. This structured french wall molding layout delivers the quiet balance of a classic salon while ensuring your diy picture frame molding peels away without wall repair on moving day.
Elongated Floor-to-Ceiling Panel Grids to Counter Low Ceilings
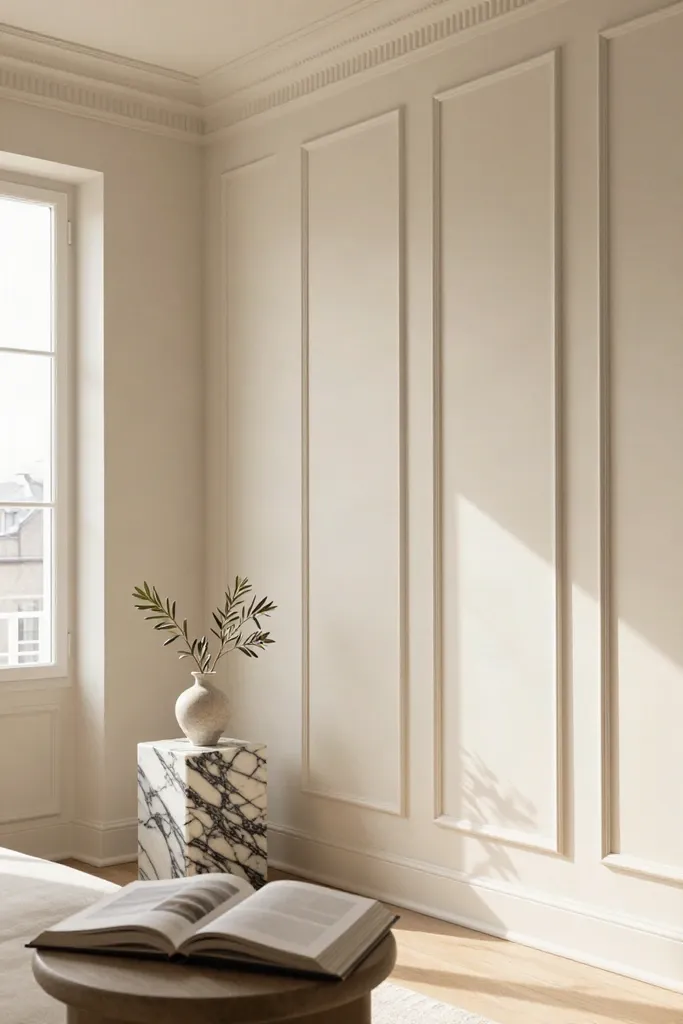
Standard rental rooms often suffer from visual compression under flat eight-foot ceilings, but an intentional vertical wall moulding diy project guides the eye upward toward the ceiling line. Implementing a slender, measured moulding layout with high-ratio rectangular frames tricks the eye into registering expanded vertical clearances across modern drywall partitions.
- Establish a three-to-one height-to-width ratio, cutting panels to 18 inches wide by 54 inches tall using narrow 1-inch polystyrene strips.
- Maintain a consistent 3.5-inch reveal away from door casings and window jambs to keep the perimeter sightlines uniform.
- Pre-coat the trim strips in the identical matte wall color prior to mounting, creating subtle cast shadows instead of stark borders.
- Lay strips of low-tack painter tape on the drywall first beneath your mounting foam to shield fragile rental paint during eventual removal.
These elongated parisian apartment panels generate immediate low ceiling visual height, establishing an airy room volume through clean vertical repetition.
Gilded Trumeau Floor Mirror Flanked by Slender Wall Boxes
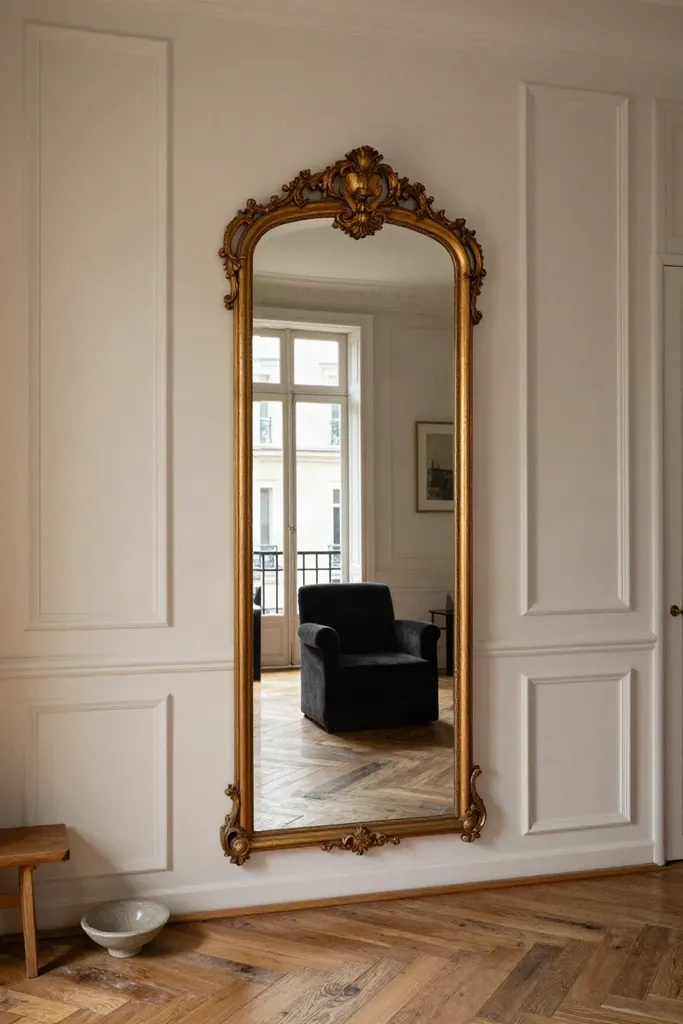
A tall arched glass panel framed in vintage gold leaf anchors a compact room, bouncing ambient window light across narrow living areas. Setting an antique gold trumeau mirror directly against the wall between two 16-inch wide rectangular moulding columns frames the glass with genuine salon symmetry. Keep a clean 3-inch reveal on either side of the gilded frame so the surrounding wall moulding mirror backdrop feels deliberate rather than crowded.
Rest the full downward weight of the heavy frame securely on the floorboards instead of mounting it directly to rental drywall with structural anchors. Fasten the upper crest with a concealed safety cable linked to removable adhesive anchors to prevent accidental tipping. This graceful pairing creates the presence of an ornate mirror gallery wall while celebrating refined parisian floor mirror styling that packs up cleanly at moving time.
Faux Chair Rail and Dado Paneling with Mineral Paint Division
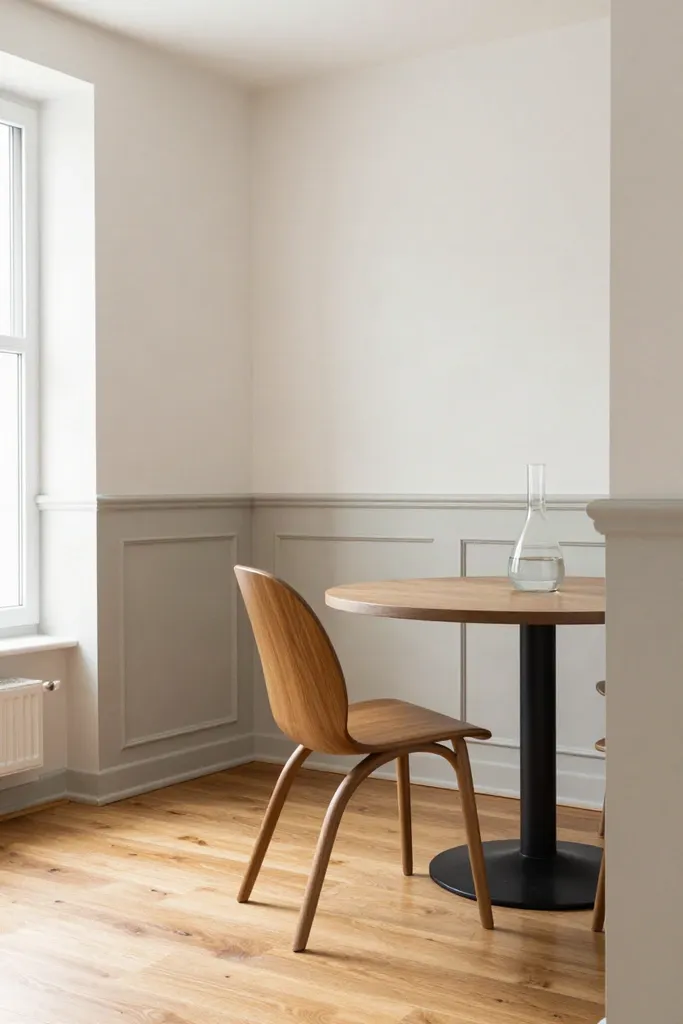
Horizontal wall divisions instantly stabilize narrow breakfast spaces and reading alcoves where everyday furniture tends to bump fragile drywall. Establishing a crisp dado rail apartment ideas project lets you visually anchor the lower perimeter while leaving the upper plaster feeling airy. Using lightweight polystyrene profiles rather than dense hardwood prevents gravity from compromising temporary wall tapes over time.
- Measure up 32 inches from your floorboards and snap a level pencil reference line around your dining nook perimeter to install your renter friendly chair rail profile using removable synthetic rubber adhesive strips.
- Assemble 14-inch square moulding frames beneath the horizontal rail, setting each box with uniform 3-inch reveal spacing along the baseboard and dividing line.
- Roll a matte mineral paint in a soft muted greige across the lower millwork zone, creating a classic two tone french wall division against warm off-white upper drywall for resilient diy faux wainscoting rental character.
This subtle textural shift protects vulnerable rental surfaces from dining chair rub marks while delivering clean Parisian architectural weight that strips away cleanly when your lease concludes.
Petite Bistro Corner with Inset Micro-Moulding Details
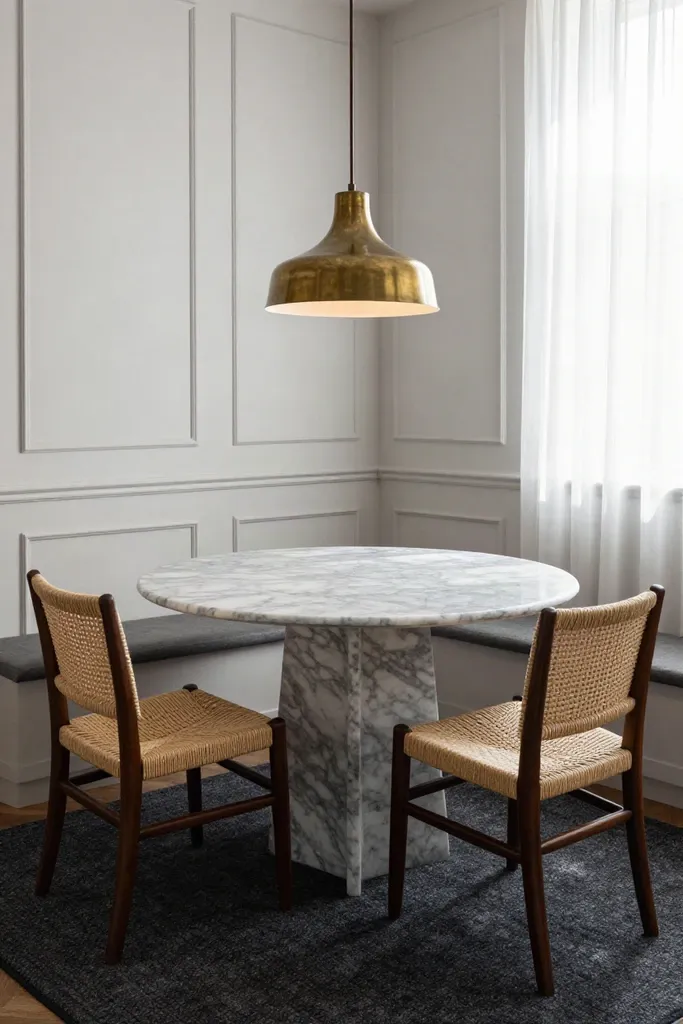
Tight apartment alcoves often become awkward dead zones, yet deliberate trim placement can carve out an intentional dining zone in an afternoon. When planning a parisian bistro nook diy setup, mount twin vertical wall frames along both converging corners to define the dining boundary. Sizing each frame 20 inches wide creates an intentional architectural backdrop scaled for compact 24-inch round marble bistro table styling. Opt for delicate micro-ovolo or narrow quarter-round polystyrene profiles, securing them with heavy-duty removable acrylic foam tape that adheres firmly without peeling rental latex paint when pressed firmly along smooth drywall.
To complete this intimate french apartment breakfast nook, suspend an unlacquered brass dome pendant roughly 30 inches above the stone surface so downward illumination highlights the trim profile. Pairing refined small dining corner molding with an elevated light source marks a crisp boundary between mealtime seating and adjoining living spaces, offering the permanence of historic apartment millwork without installing physical partition screens or damaging original plaster.
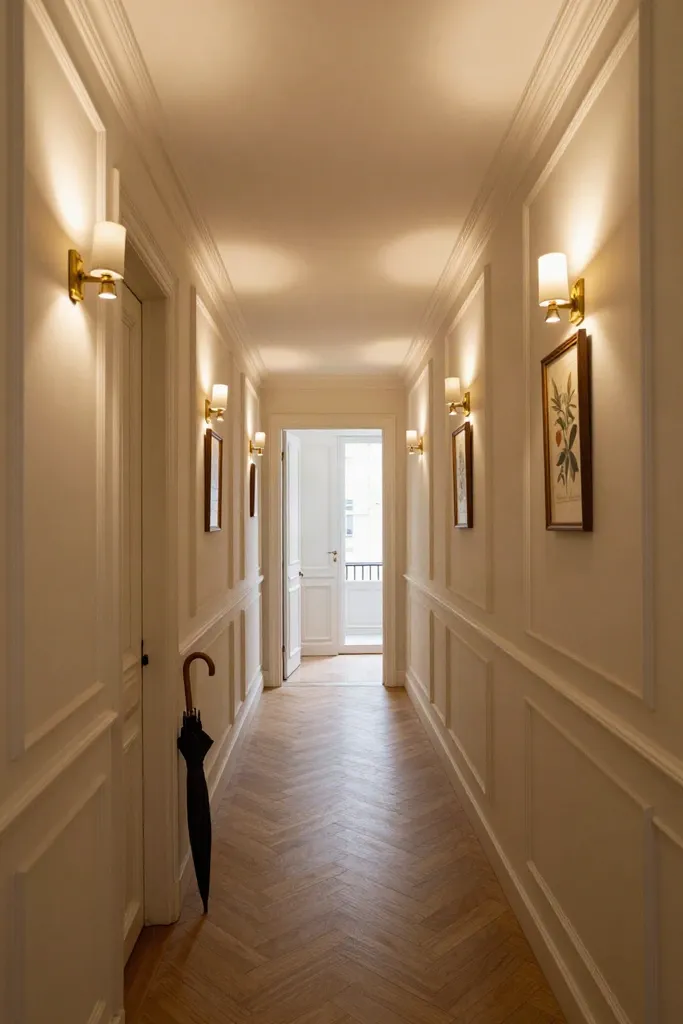
Narrow Entry Hallway Panels with Battery-Operated Brass Picture Lights
Long interior corridors in rental units often lack architectural definition and natural sunlight, leaving entryway walls feeling flat and purely utilitarian. Installing repetitive diy apartment hallway panels introduces balanced proportions that guide your eye through narrow passageways while avoiding costly structural additions.
- Map repetitive 22-inch wide by 40-inch high trim boxes spaced exactly 4 inches apart along your corridor to establish consistent renter hallway wall molding spacing.
- Affix battery-operated fixtures via removable mounting strips above alternating frames, giving you a cordless brass picture light rental installation that avoids electrical rewiring.
- Center framed vintage botanical prints inside each moulding border, aligning every frame along a standard 58-inch optical centerline measured up from the baseboard.
This systematic arrangement turns an overlooked breezeway into a curated french hallway gallery, bouncing warm downward light across wall mouldings to make tight apartment circulation zones feel stately.
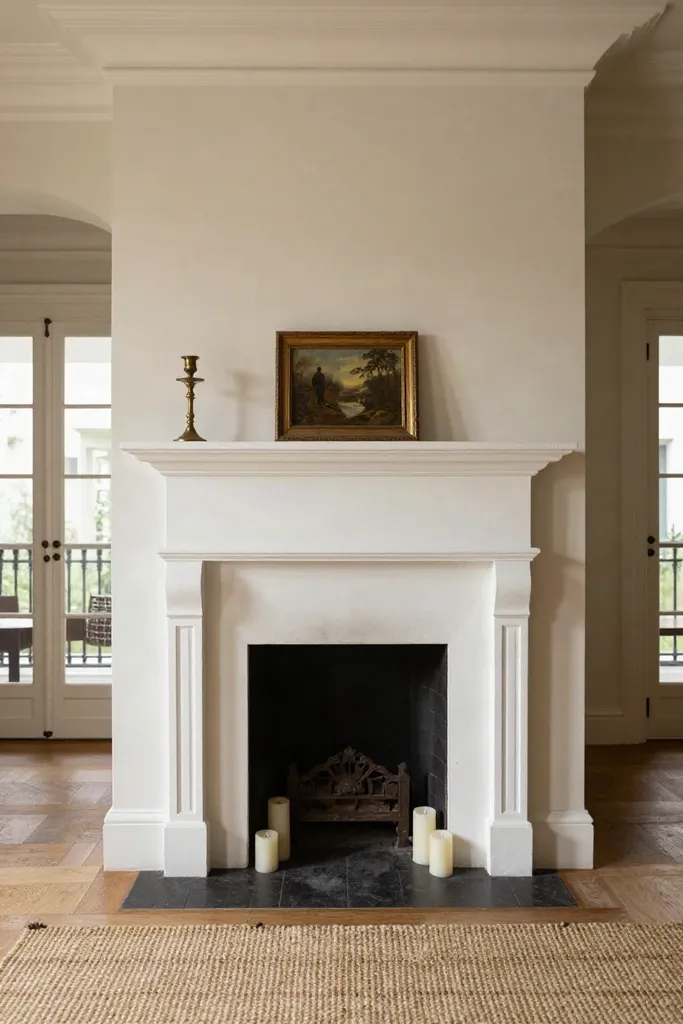
Freestanding Faux Fireplace Mantle with Classical Overmantel Trim
Classic Parisian drawing rooms traditionally center around sculpted hearth surrounds, an authentic focal point that contemporary apartments rarely supply. You can reproduce this historic presence by positioning a shallow wooden surround flush against your living room drywall, anchoring it securely with heavy interlocking hook-and-loop adhesive strips that hold firm without driving screws into wall studs. Mounting a dedicated 30-inch wide by 42-inch high overmantel box directly above the shelf establishes vertical balance, providing the cohesive height of historic woodwork. Within the faux hearth interior, arranging beeswax pillar candles alongside weathered terracotta urns softens the flat wall plane and delivers inviting parisian fireplace styling for your renter friendly architectural mantle.
Select a lightweight pine or primed medium-density fiberboard frame for your diy faux fireplace mantle, keeping total surround depth under 7 inches to preserve precious walking clearance while aligning with your upper french mantle overmantel molding.
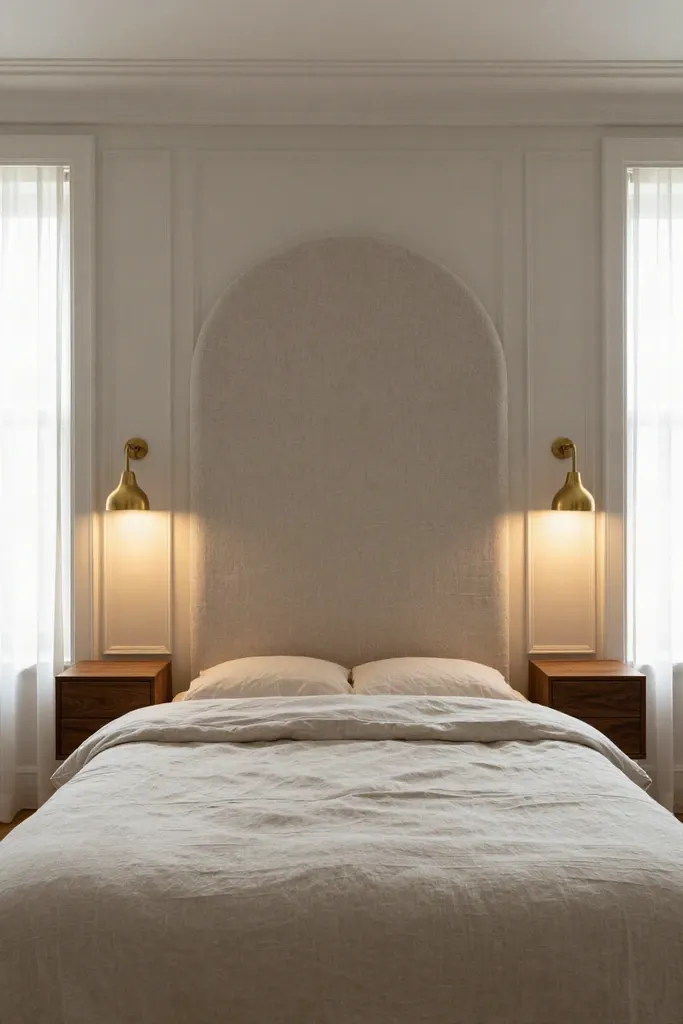
Symmetrical Bedside Moulding Frames Flanking an Arched Linen Headboard
Historic Parisian sleeping quarters rely on deliberate symmetry to establish serenity within tight footprints, balancing crisp woodwork against relaxed bed linens. You can recreate this classic look by planning an intentional bedroom wall molding layout that designates precise functional zones across your main sleeping wall. Setting aside a central 64-inch span accommodates a standard queen mattress alongside a soft, arched french bedroom headboard trim without crowding your entryway clearance.
- Build twin vertical boxes measuring 18 inches wide by 60 inches tall on each side of the central bed zone for clean bedside panel framing diy.
- Mount an articulating brass reading sconce centered inside each perimeter frame to free up floor space usually occupied by bedside tables.
- Conceal fixture wiring beneath paintable flat cord channels, coating them in the identical wall finish to simulate built-in architectural wiring.
The rigid shadow lines of the lightweight polystyrene profiles balance the gentle drape of washed flax, delivering the calm atmosphere of a boutique parisian apartment bedroom.
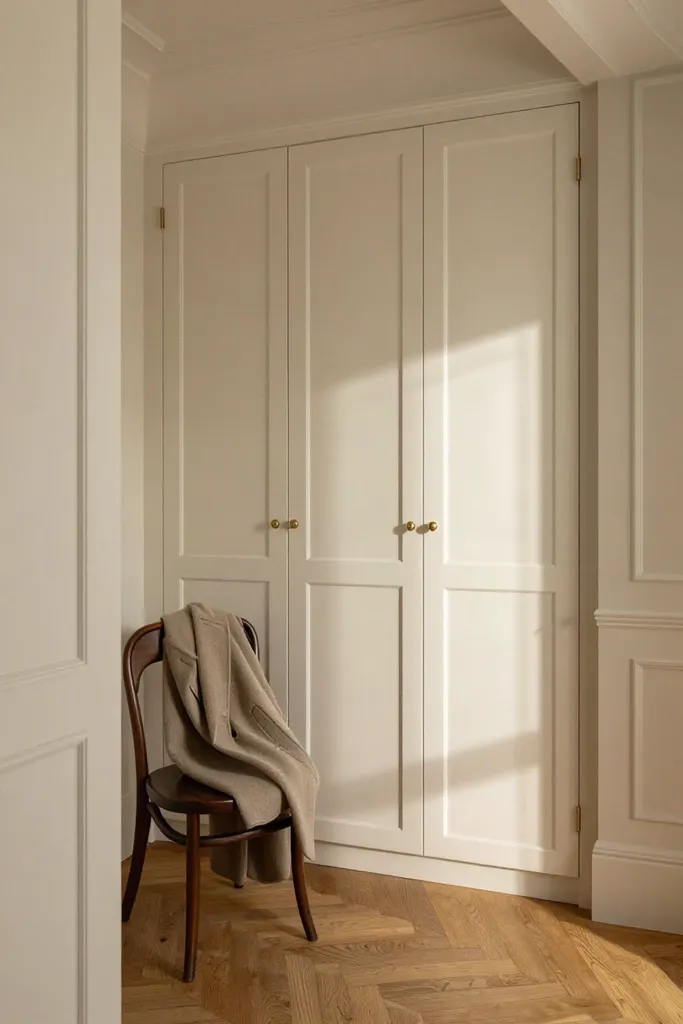
French Door Illusion Paneling on Plain Rental Wardrobe Doors
Utilitarian sliding wardrobes and generic laminate storage units quickly compromise period charm, but you can disguise basic factory finishes with lightweight surface profiles. Applying slender peel and stick door trim allows you to execute an authentic french closet door makeover without drilling or permanently altering your rental fittings.
- Clean the laminate face with isopropyl alcohol and mark a uniform 2-inch border inset along all four outer edges using low-tack painter tape.
- Cut your peel-and-stick polystyrene beading at 45-degree corner angles to map out three vertically stacked rectangular compartments across each door leaf, ensuring a clean diy wardrobe door moulding application.
- Unscrew the standard plastic pulls and insert unlacquered antiqued brass drop hardware directly through the factory holes to complete this ikea rental door upgrade.
This treatment delivers the appearance of bespoke painted cabinetry while ensuring every strip releases cleanly under gentle hairdryer heat when your lease concludes.
Asymmetric Window Framing Panels with High-Hung Linen Drapery
Standard rental drywall openings often lack the plaster embrasures and substantial reveals typical of 19th-century architecture. Integrating flanking relief boxes around your window framing wall moulding introduces needed architectural presence, establishing deep shadows that make thin contemporary walls appear substantial.
- Apply vertical trim rectangles measuring 12 inches wide directly to the bare wall flanking both sides of the window casing for a fast diy window trim upgrade.
- Mount a slender brass curtain pole 4 inches below the ceiling line, extending the rod ends roughly 8 inches beyond the outer trim boundaries.
- Hang tailored, high hung linen curtains that brush the floorboards, concealing the outer edges of the trim while creating full french drapery styling when drawn back.
The extended drapery stack frames the window glass naturally while allowing natural daylight to illuminate the subtle relief contours beneath.
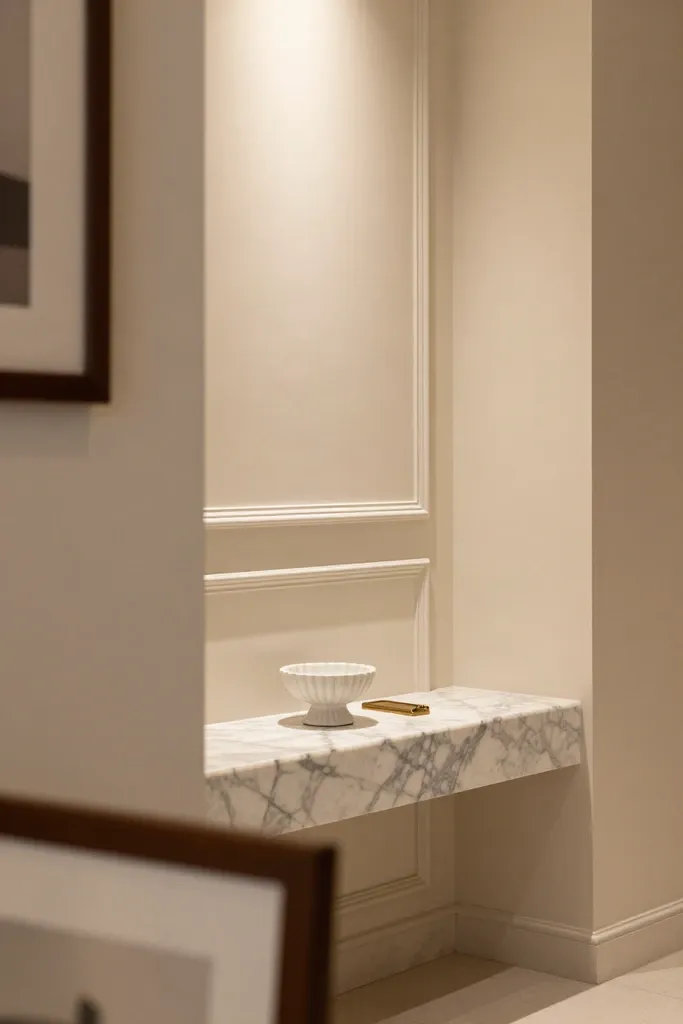
Floating Marble Console Table Framed by High-Waisted Box Trim
Compact corridors and narrow foyer entries demand slim fixtures that preserve walkway clearances while offering a drop zone for daily essentials. Pairing high waisted wall trim with a slender floating marble console introduces classical presence into cramped circulation areas without monopolizing valuable floor area.
- Anchor a pair of heavy-duty steel angle brackets directly into wall studs, mounting a 10-inch deep arabescato marble ledge flat against the drywall plane.
- Construct a tall rectangular perimeter frame using lightweight polystyrene trim rising 26 inches above the stone surface, maintaining a consistent 2-inch reveal between the edge of the slab and adjacent vertical moldings.
- Hang a vintage beveled mirror or antique unframed oil study centered inside the boundary of your small entryway molding to pull ambient light through the corridor.
This elevated arrangement visually extends baseboard sightlines by keeping both the marble shelf and its framing box off the floor, making tight entrance hallways feel airy and deliberate.
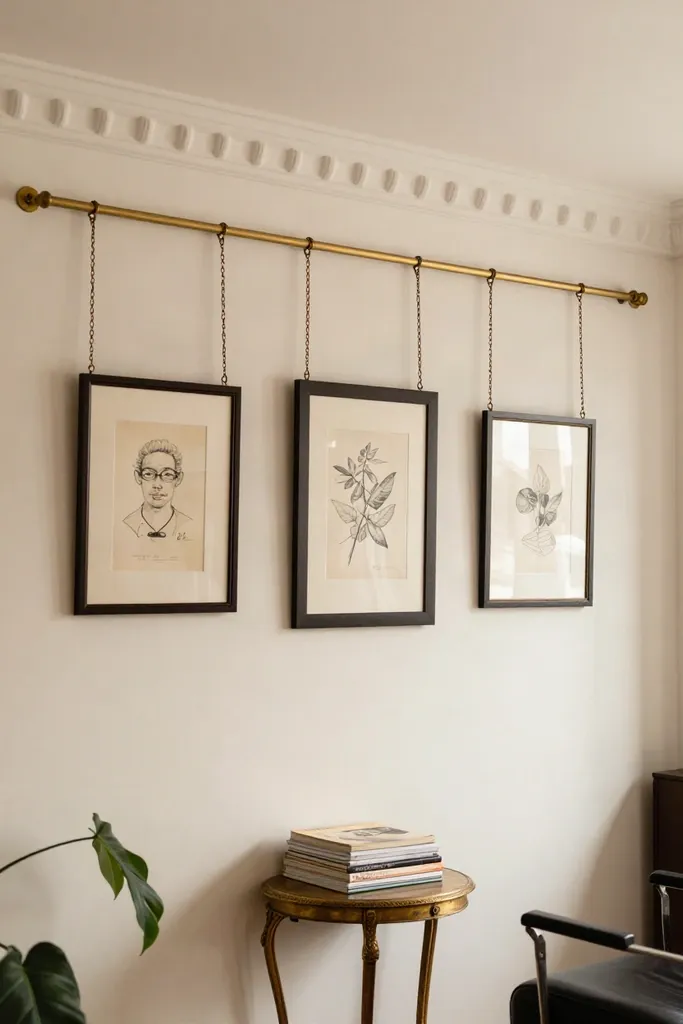
Perimeter Picture Rail Trim for Non-Damaging Art Hanging
Moving higher up the wall plane allows you to establish architectural balance while resolving the perennial challenge of hanging wall decor in a leased space. Installing a diy picture rail rental setup roughly 10 inches below the ceiling junction mimics the classical horizontal banding found in nineteenth-century French flats. Extruded polyurethane picture rail profiles weigh mere ounces per foot, meaning you can secure them flush against smooth drywall using high-shear removable mounting tape rather than mechanical fasteners. This continuous horizontal rail establishes a dedicated architectural datum line that pulls the eye upward, giving compact rooms the impression of generous vertical volume without puncturing plaster.
Once the lightweight moulding cures against the wall, traditional brass hooks slip directly over the contoured top bead to support your curated artwork. You can hang oil paintings or antique prints using adjustable brass chain art hanging sets or transparent monofilament line, embracing authentic parisian picture hanging methods that protect your security deposit. This suspended arrangement forms a truly damage free gallery wall where frame heights, art pieces, and seasonal prints can be rearranged at will. When lease renewal comes or it is time to move, gentle heat releases the adhesive backing completely, preserving the untouched paint underneath.
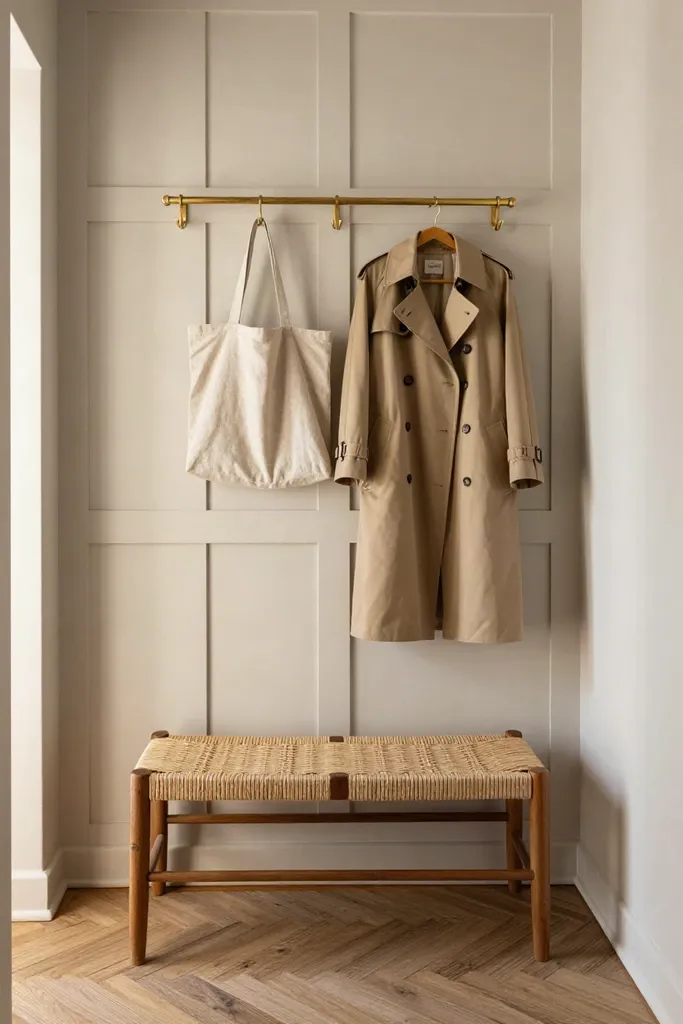
Entryway Wainscot Grid with Antiqued Brass Coat Pegs
Tight foyers require hard-working utility that handles everyday gear without cluttering limited floor space. Constructing a tailored lower wall grid establishes architectural presence while converting a blank passageway into purposeful small apartment entryway storage. By setting the overall height at 48 inches from the finished floor, you create a grounded lower zone that protects delicate rental paintwork from daily bag bumps, jackets, and footwear scuffs.
- Grid proportion and panel layout: Divide the lower run into two balanced horizontal registers using 12-inch by 18-inch rectangular trim frames, creating structured french entryway trim diy proportions that visually stretch narrow corridors.
- Integrated ledge and hanging hardware: Crown the upper rail with a 3-inch projecting cap moulding pre-drilled to receive solid entryway wainscoting pegs spaced 8 inches on center, ensuring ample breathing room for heavy wool coats and market bags.
- Hardware integration and load transfer: Fasten threaded brass coat hook wall molding pegs into the solid wood shelf cap rather than thin foam trim, allowing the structural timber to carry the load while adhesive bonds the lightweight framework firmly to the wall.
A uniform coat of satin or scrubbable eggshell mineral paint across the trim and wall creates an authentic built-in appearance that removes cleanly upon move-out.
Renter-Safe Wall Moulding Dimension and Spacing Reference Matrix
Achieving authentic classical balance relies entirely on exact mathematical ratios rather than guesswork. When designing tailored boiserie for typical 8 to 9-foot rental ceiling heights, you must establish deliberate perimeter margins before cutting a single length of moulding. A proper wall moulding spacing guide establishes rhythm across asymmetric room layouts, ensuring your picture frame compositions feel grounded rather than crowded against baseboards or overhead cornices.
- Map your perimeter boundaries by maintaining 10 to 12 inches above baseboards, 8 to 10 inches below the ceiling junction, and a uniform 3.5 to 4-inch peel and stick trim clearance between neighboring wall panels.
- Calculate equal panel widths using a reliable boiserie dimension matrix formula: measure the total wall span, subtract the sum of all intermediate and corner reveals, and divide the remaining dimension by your target number of frames.
- Anchor lightweight extruded polystyrene profiles weighing under 0.15 pounds per linear foot using removable acrylic mounting tape, completing the room with a warm antique brass finish pairing that eschews harsh high-gloss plating for aged patina.
A digital or laser level ensures these calculated dimensions stay crisp across wavy drywall, guaranteeing straight shadow lines that mimic historic millwork.
Peel-and-Stick Application Protocols and Damage-Free Removal Procedures
Seasonal indoor humidity swings and temperature shifts often cause standard foam tapes to fail, leading to bowed corners or torn drywall when leases conclude. Preventing common peel and stick trim mistakes requires a methodical barrier technique that safeguards fragile builder-grade paint while providing sufficient shear strength to keep profiles flush over multi-year tenancies.
- Two-layer adhesive barrier installation: Apply delicate-surface blue painter tape directly to clean drywall first, burnishing it down firmly, then attach heavy-duty double-sided foam tape directly onto the painter tape backing for reliable diy moulding drywall preservation.
- Flexible corner finishing: Fill your 45-degree miter joints with a flexible, peelable renter friendly caulk that creates the visual depth of hand-troweled plaster without fusing permanently into surrounding drywall paper.
- Heat-assisted move-out extraction: Execute damage free moulding removal by warming each section with a handheld hair dryer set to medium heat for thirty seconds, softening the acrylic polymer until the painter tape rolls away without lifting paint.
This reversible procedure ensures that you leave the apartment in pristine condition, securing your full deposit refund while enjoying authentic period mouldings throughout your stay.
Curating Historic Character Within Contemporary Rental Constraints
Once you have mastered the mechanical installation and removal steps, bringing the classic parisian apartment aesthetic into a standard leased flat comes down to choosing where to focus your labor. Rather than cladding every sheet of drywall with polystyrene trim, successful french interior styling on budget relies on identifying one prominent architectural anchor that sets the tone for the entire room. You can balance your project scope against your lease term and wall dimensions by assessing your space before cutting your first piece of moulding.
- Assess your tenancy timeline and wall square footage. If you hold a standard twelve-month lease, focus on a single high-impact surface such as a freestanding trumeau mirror frame or a petite dining niche rather than a multi-wall wainscot grid. Long-term renters can comfortably tackle complete perimeter installations without worrying about premature teardown labor.
- Calculate your physical layout and sightlines from the main entry. Measure your primary drywall spans, checking for baseboard plumb lines and electrical faceplates that might interrupt a symmetrical panel box. Map out the trim perimeter using painter tape first, allowing two to three inches of clearance around switches so the finished profile looks intentional rather than crowded.
- Execute your renter friendly home improvement in phased batches. Begin with the primary focal wall, run your tape barrier, and adhere your pre-painted lightweight trim profiles before deciding whether secondary walls require framing. Restricting your trim to dedicated focal zones keeps material costs low while maintaining authentic period proportions.
A thoughtful installation strategy ensures that you create an authentic historic ambiance while keeping your security deposit entirely secure.