A Step-By-Step Guide To Removing Peel And Stick Wallpaper From Small Apartment Walls Without Damage
Summary
- Rental Lease Guardrails: Removing Bedroom Accent Wallpaper Without Drywall Damage
- Thermal Weakening And Gentle Edge Release Techniques
- Adhesive Residue Remediation And Wall Surface Finishing
- Substrate Vulnerabilities: How To Prevent Gypsum Tearing And Finish Stripping
- Thermal Thresholds, Clearances, And Tool Specifications For Rented Drywall
- Final Wall Inspection: Securing Your Full Rental Deposit Return
Rental Lease Guardrails: Removing Bedroom Accent Wallpaper Without Drywall Damage
Tackling small bedroom apartment decorating often begins with ambitious design plans, but move-out day brings a strict reality check regarding your security deposit. Most rental properties rely on chalky, flat builder-grade latex paint that forms a fragile bond with drywall paper underneath. When removing renter-friendly wall decor, ripping vinyl panels away haphazardly will shear that unprimed topcoat directly off the gypsum core, leaving jagged patches that trigger costly inspection deductions.
A successful move-out requires a steady, deliberate method rather than brute force. If you installed removable wallpaper in an apartment bedroom over fresh paint or unsealed sheetrock, the pressure-sensitive acrylic backing has likely cured into a stubborn grip over seasonal temperature shifts. Patience ensures clean, damage-free wallpaper removal, keeping your deposit intact while returning the bedroom to its baseline condition.
Thermal Weakening And Gentle Edge Release Techniques
Cold vinyl behaves like a brittle sheet, gripping unprimed walls tightly until controlled heat enters the equation. Applying gentle, concentrated warmth directly to top seam lines relaxes the polymer backing, lowering the peel resistance of cured adhesive without scorching surrounding finishes. This thermal softening step is essential for DIY wallpaper removal, ensuring your bedroom updates wrap up cleanly.
Stylist Rule: Hold a standard hair dryer four inches from the seam on medium heat for eight seconds to soften cured tack before lifting.
Targeted airflow transforms stubborn tack into a pliable state, allowing you to lift an initial corner with light fingertip pressure rather than digging fingernails into fragile gypsum. Gentle heat application keeps perimeter paint intact while establishing an even working rhythm across the accent surface.
1. Baseboard And Perimeter Trim Clearance Protocol
Tightly jammed panel edges along trim boards frequently harbor hidden adhesion traps where extra paste or tight tucks bonded with acrylic caulk lines. During renter wallpaper removal trim work, dragging an unreleased panel upward without freeing the bottom edge can tear caulking straight out of corner joints. In tight apartment quarters where a headboard restricts movement, thorough trim prep makes all the difference between a clean exit and costly repairs.
- Run a flexible plastic putty knife along the lower trim seam to loosen compressed paper edges tucked into gaps.
- Slice through dried edge adhesive with a fresh utility blade held at a shallow angle, creating a guided 0.5-inch margin release.
- Peel the bottom three inches upward by hand to create clean tension lines across the base before starting broad sheet detachment.
This perimeter buffer eliminates sudden downward shear on lower wall sections during accent wall removal. The resulting edge release distributes mechanical strain evenly, protecting baseboard paint lines from chipping as you work.
2. Low-Heat Hair Dryer Softening At Seam Intersections
Directing gentle warmth onto tight overlap lines releases adhesive tension before you tug. Holding a domestic blow dryer roughly four inches back from the vinyl seam for fifteen seconds softens the water-based acrylic tack without blistering the decorative film. While heavy renovations might call for an industrial heat gun, peel and stick wallpaper projects demand far gentler calibration in rented bedrooms. Controlled warmth releases persistent stickiness along delicate drywall near headboards, eliminating dry-pull tear risks before peeling panels from walls.
This hair dryer method offers a dependable solution that keeps fragile builder-grade paint intact. Sweep the airflow continuously along each vertical joint in short thermal passes so heat never pools over brittle gypsum beneath. Once the material feels supple and warm under your fingertips, ease the top seam outward with steady hands.
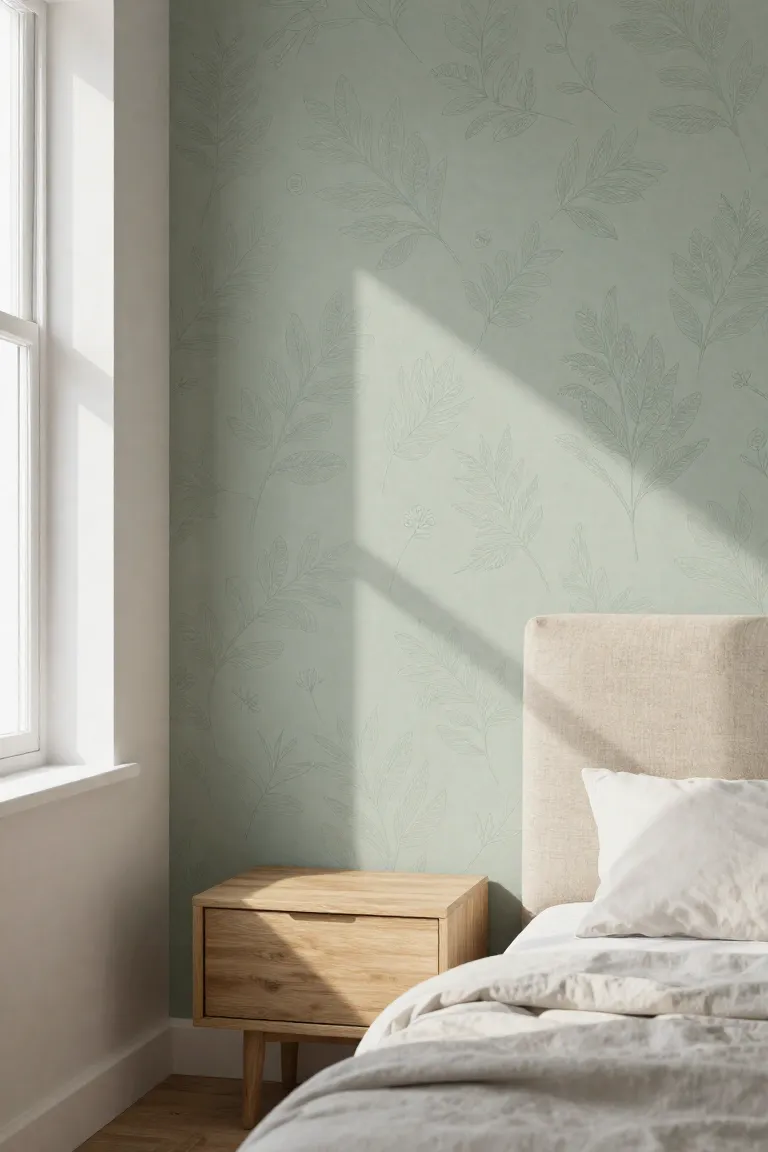
3. Constant Forty-Five Degree Downward Pull Mechanics
The physical direction of your pulling hand determines whether underlying drywall stays pristine or shreds under tension. Rather than pulling straight outward at ninety degrees, fold the loosened panel back against itself and draw it downward at a steady forty-five-degree trajectory. This mechanical angle spreads shear stress evenly across the vinyl backing, ensuring clean peel and stick removal without fracturing paper faceplates. When mastering how to peel off wallpaper in cramped apartment layouts, working in deliberate twelve-inch increments preserves baseboard joints and fragile ceiling cornices.
- Grip the top loosened edge firmly with both hands spaced shoulder-width apart to balance tension across the entire width.
- Roll the vinyl downward parallel to the wall face, applying steady traction to achieve clean, safe panel removal without abrupt jerking.
- Pause every foot of progress to fold the excess panel flat to protect vulnerable drywall seams.
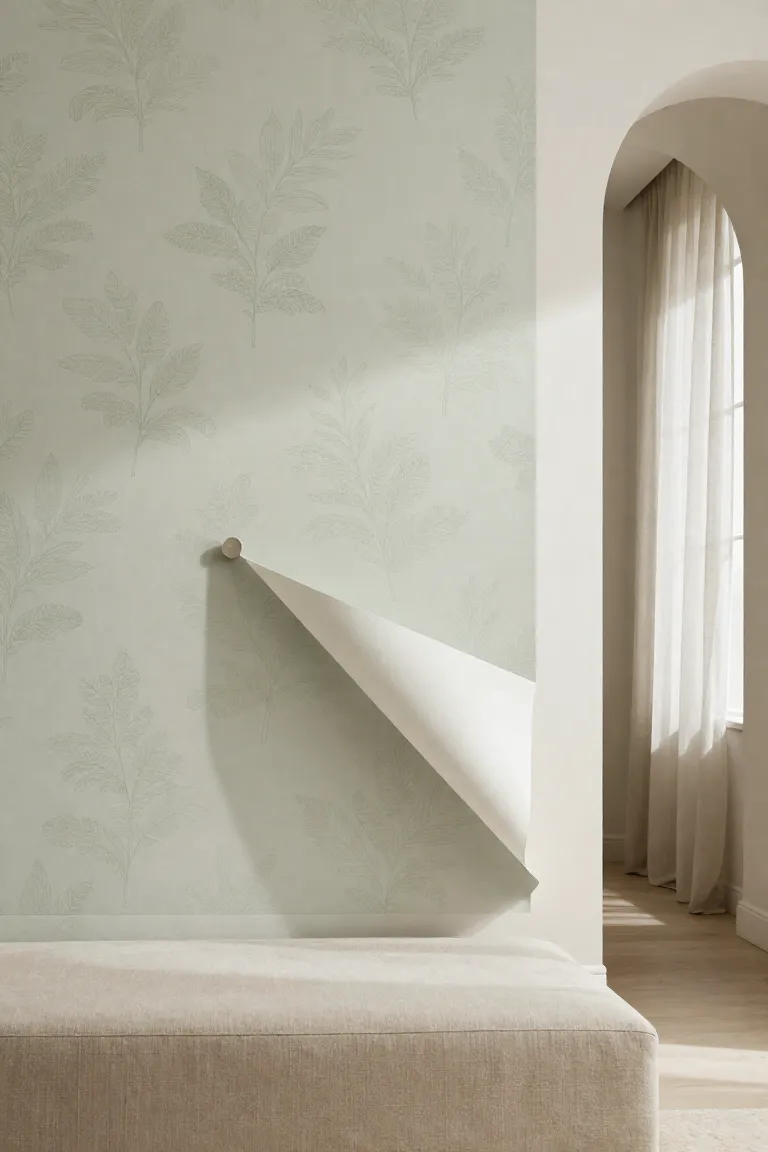
4. Handheld Garment Steamer Vapor Softening For Heavy Vinyl
Dense, textured wall coverings often resist dry heat because synthetic topcoats deflect warm air away from the underlying adhesive matrix. Running a compact garment steamer roughly six inches away with continuous vapor dispersion softens heavy vinyl panels in eight-second sweeps. This targeted humidity penetrates microscopic pore structures to release pressure-sensitive polymer tack, making it easy to steam peel and stick wallpaper cleanly off fragile bedroom corners.
Stylist Rule: Keep the steam nozzle moving across the surface rather than lingering on one spot to prevent moisture from penetrating the gypsum board core.
Controlled vapor management remains central to reliable removal in compact living areas. Using a standard handheld garment steamer, you avoid aggressive tugging that fractures brittle plasterboard near wall stud anchors. This controlled approach lets you strip away stubborn textured vinyl while keeping your security deposit secure.
Adhesive Residue Remediation And Wall Surface Finishing
Tackling leftover glue lines demands a calculated touch before your landlord arrives for the final walkthrough. Effective wallpaper glue removal relies on staged solvent dissolution and balanced surface neutralization rather than abrasive scrubbing. When you work to clean adhesive off drywall, harsh chemical degreasers can quickly strip builder-grade latex sheen and discolor eggshell paint finishes. Thorough apartment move-out prep means loosening the sticky acrylic polymers first, skimming off the soft residue, and neutralizing the gypsum board so no glossy patches reflect under inspection flashlights.
A disciplined three-phase remediation plan prevents you from soaking porous drywall paper while removing every trace of tack:
- Mist a mild solvent mix onto isolated sticky patches and let it sit for two minutes.
- Glide a dull blade across the softened residue to roll up tacky ribbons without scratching.
- Wipe the area down with a damp microfiber cloth to restore an even wall sheen.
5. Diluted Isopropyl Alcohol Spot Treatment For Tack Streaks
Stubborn tack lines along seam borders require a balanced, fast-acting solvent that evaporates before penetrating porous plasterboard. Mixing standard 70 percent isopropyl alcohol with equal parts warm water creates a gentle adhesive remover that cuts through synthetic tack. Dampen a lint-free microfiber cloth with the mixture and press it directly against sticky streaks for thirty seconds. This targeted breakdown lets you safely remove sticky residue from wall surfaces without softening or dissolving underlying water-based latex paint.
In compact rental units where airflow relies entirely on a single bedroom window, this quick-drying solution eliminates lingering fumes within minutes. The diluted formula lifts tacky polymers cleanly off the drywall paper, leaving a fresh, matte finish that dries completely in under ten minutes. You can easily clean bedroom accent wall sections without leaving glossy water marks or streaky tide lines that might trigger landlord questions during deposit reconciliation.
6. Flexible Plastic Spatula Skimming Over Residual Tack
Once chemical solvents soften the tack, a gentle mechanical edge lifts the gummy buildup without slicing delicate gypsum paper. A plastic scraper provides the flexibility needed to skim over drywall seams safely. Hold a lightweight 3-inch plastic putty knife at an acute 20-degree angle against the wall surface, applying light, uniform pressure. To scrape without gouging brittle sheetrock, keep the blade edge completely flat while gliding upward in short, controlled strokes.
Rigid metal blades easily nick soft corner beads, but flexible nylon edges protect baseboard trim and outlet cover margins from gouges. For rental wall maintenance, this low-cost skimming technique lifts gummy ribbons cleanly off the surface without leaving unsightly scratches. You bypass costly DIY wall repairs by letting the flexible plastic do the work, preserving the original paint sheen for your final inspection.
7. Warm Castile Soap And Microfiber Wall Decontamination
Once loose gummy ribbons lift away, wiping down the paint clears out unseen surfactant film before airborne dust settles into the surface. Mix one tablespoon of liquid vegetable soap into a gallon of lukewarm water to formulate a balanced castile soap wall wash that lifts remaining film without degrading matte paint. This mixture functions as a safe wall cleaner for rental bedrooms because it leaves zero harsh solvent fumes trapped in enclosed sleeping quarters. To properly clean walls after removing wallpaper, dip a dense microfiber sponge into your bucket and wring it thoroughly until it feels barely damp.
An effective technique for cleaning apartment walls is working in two-foot grids with gentle, overlapping circular strokes. Restricting your wiping radius prevents dirty water runoff from trickling behind baseboard seams, which frequently triggers swelling along rented laminate floors. Finish each completed area by gliding a fresh, dry microfiber cloth over the plaster to confirm every trace of sticky drag has completely vanished.
8. Lightweight Spackle Spot-Touch For Microscopic Flakes
Even the most cautious adhesive release can occasionally lift a fleck of brittle builder-grade finish around stubborn seam lines. When you need to patch small drywall paint chips without raising red flags during landlord walkthroughs, precision matters far more than volume. A quick DIY apartment drywall touch-up requires only a dime-sized dab of vinyl-based lightweight spackle and a 2-inch flexible putty blade.
- Press a tiny bead of compound directly into the divot, holding your blade at a thirty-degree angle to skim the edges flush with the surrounding paint.
- Let the compound cure undisturbed for sixty minutes so the patch sets without shrinking or pulling from the drywall core.
- Smooth the dried spot using gentle circular passes with a 220-grit sanding block until the boundary becomes imperceptible to the touch.
This repair technique also lets you spackle pinholes that rental wall surfaces accumulate over a lease, delivering a clean repair that protects your deposit.
Substrate Vulnerabilities: How To Prevent Gypsum Tearing And Finish Stripping
Most catastrophic substrate failures occur because renters underestimate how tenaciously pressure-sensitive tack grips unprimed drywall. One of the costliest mistakes when removing peel and stick wallpaper is yanking panels cold at a sharp ninety-degree angle, which concentrates shearing force directly against paper facing. Reaching for stiff metal razor blades or harsh citrus solvent strippers equally invites disaster, as these tools dissolve delicate builder-grade latex finishes and carve permanent gouges into soft gypsum cores.
Stylist Rule: Maintain indoor relative humidity between 40 and 50 percent throughout your project; dry ambient air causes aged adhesive to turn brittle, whereas damp conditions preserve pliability without saturating the backing board.
If you encounter a spot where peeling has torn the paper facing and exposed the brown gypsum backing, stop immediately rather than continuing to tug. Repairing torn drywall paper requires sealing the frayed surface with an oil-based primer before applying any water-based compound, which prevents unsightly blisters from forming beneath the patch. Pulling slowly at a backward angle remains your best defense against wall damage that property managers penalize.
Thermal Thresholds, Clearances, And Tool Specifications For Rented Drywall
Calibrating your equipment prevents heat blisters on landlord-grade latex paint and keeps the vinyl backing pulling smoothly. Standard hair dryers deliver optimal wallpaper removal heat settings when dialed between 120 and 140 degrees Fahrenheit, establishing a safe temperature where adhesive softens without soaking into porous drywall. Hold the nozzle at an exact four-inch standoff distance, sweeping steadily along the seam line rather than holding thermal energy over a stationary square inch.
| Operational Metric | Target Specification | Surface Safeguard |
|---|---|---|
| Thermal Output | 120°F to 140°F (4-inch clearance) | Weakens acrylic tack without scorching paint binders |
| Scraping Tool | Flexible plastic putty knife (20° pitch) | Prevents metal edge cuts into soft paper facing |
| Drying Rest Window | 60 minutes ambient wait | Permits accurate inspection under raking side light |
Rigid steel putty knives easily slice into damp gypsum core paper, making flexible plastic blades angled at twenty degrees the safest choice for scraping residual tack. Using flexible plastic tools prevents accidental gouges that require emergency skim-coating. After finishing adhesive removal, give the entire zone sixty minutes of unbothered drying before shining an angled work light across the trim. Raking side light instantly reveals hidden film streaks, providing a clear checkpoint before the final move-out walkthrough.
Final Wall Inspection: Securing Your Full Rental Deposit Return
Evaluating your bedroom surfaces before the official move-out walkthrough ensures you catch subtle imperfections before property management notes them. Glide a dry, clean microfiber cloth flat across the entire treated perimeter, applying light palm pressure from ceiling edge to baseboard. If the weave catches on tacky drag or pulls against friction, localized adhesive remains active and requires one quick spot wipe with diluted alcohol.
A frictionless glide across smooth drywall confirms that methodical heat softening and balanced wipe-downs produced a successful peel and stick removal without stripping your original wall color. Incorporating this tactile pass into your move-out checklist gives you total confidence when lease turnover day arrives. Snapping clear photos under natural morning light documents your wall finish, providing clean evidence for your rental deposit inspection to secure your full security deposit return.