Common Bedroom Lighting Mistakes Making Your Apartment Feel Cramped
Summary
- Spatial Realities and Illumination Pitfalls in Small Apartment Bedrooms
- Overhead and Ambient Configuration Errors That Shrink Perceived Space
- Task and Accent Placement Flaws That Clutter Limited Square Footage
- Clearance Heights, Color Temperature, and Lumens Specification Matrix
- Strategic Multi-Tiered Illumination Framework for Small Space Living
Spatial Realities and Illumination Pitfalls in Small Apartment Bedrooms
When square footage is tight, poor illumination choices quickly pull your walls inward. Common bedroom lighting mistakes, like relying on a single overhead point source while leaving perimeter corners pitch black, visually collapse compact quarters. Effective small apartment bedroom lighting requires balancing vertical glow with soft shadows. Layering your light sources pushes visual boundaries outward, making the entire room feel larger and more open.
Overhead and Ambient Configuration Errors That Shrink Perceived Space
A solitary ceiling fixture casts downward shadows that pool heavily around baseboards, making standard eight-foot drywall ceilings feel uncomfortably low. Frequent ceiling lighting mistakes happen when renters settle for harsh, clinical color temperatures that flatten architectural depth into a sterile box. Effective small bedroom ambient lighting depends on diffusing luminance outward toward the perimeter rather than beaming high-intensity glare straight onto your bed frame.
Smart flush mount lighting alternatives from retailers like Target or IKEA redirect rays upward to graze the ceiling surface. Warm, indirect illumination creates the optical illusion of vertical volume, immediately softening harsh corners and helping tight drywall perimeters recede into a relaxed evening background.
1. Over-Relying on a Single Flush-Mount Ceiling Dome
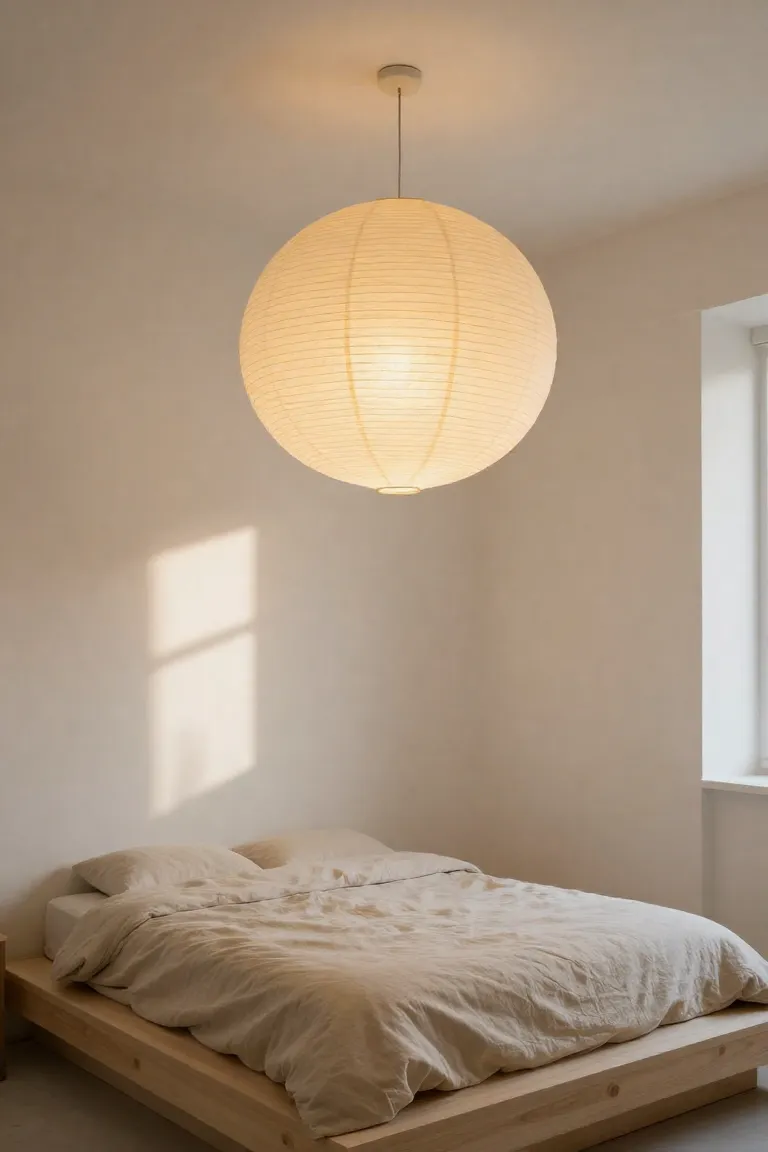
Undersized frosted glass domes trap light directly overhead, casting harsh perimeter shadows while leaving bedroom corners in darkness. Installing an expansive semi-flush ambient fixture prevents optical ceiling drop and distributes warmth toward upper drywall boundaries. If you are exploring low ceiling lighting ideas for rentals, hanging an airy paper lantern pendant fixture or choosing a tailored semi-flush drum fixture creates a soft, diffused canopy that visually expands the room.
- Maintain at least 84 inches of vertical clearance from the floor to keep open sightlines across your room.
- Select shades spanning at least 16 inches in diameter to disperse rays broadly across outer cornices rather than focusing glare in one spot.
- Anchor the canopy using heavy-duty mounting brackets rated for a 25-pound load limit to prevent fastener shear in ceiling drywall.
- Pair the fixture with warm linen or textured rice-paper diffusers that bounce light upward against ceiling perimeters.
2. Installing Cool Daylight Bulbs Above 3500 Kelvin
Cold blue casts from high-kelvin lamps instantly flatten architectural depth, stripping compact sleeping quarters of their coziness. When tackling a 2700k vs 5000k bedroom dilemma, remember that harsh 5000K daylight ratings create sharp shadows that make drywall seams pop and visually compress limited floor plans. Switching your sockets over to 2700K warm white bedroom lighting with a 90+ Color Rendering Index restores dimension, keeping wood grain rich and neutral bedding inviting. For bedside fixtures, cap output at roughly 450 lumens per bulb so the ambient glow relaxes your eyes instead of creating blinding hotspots.
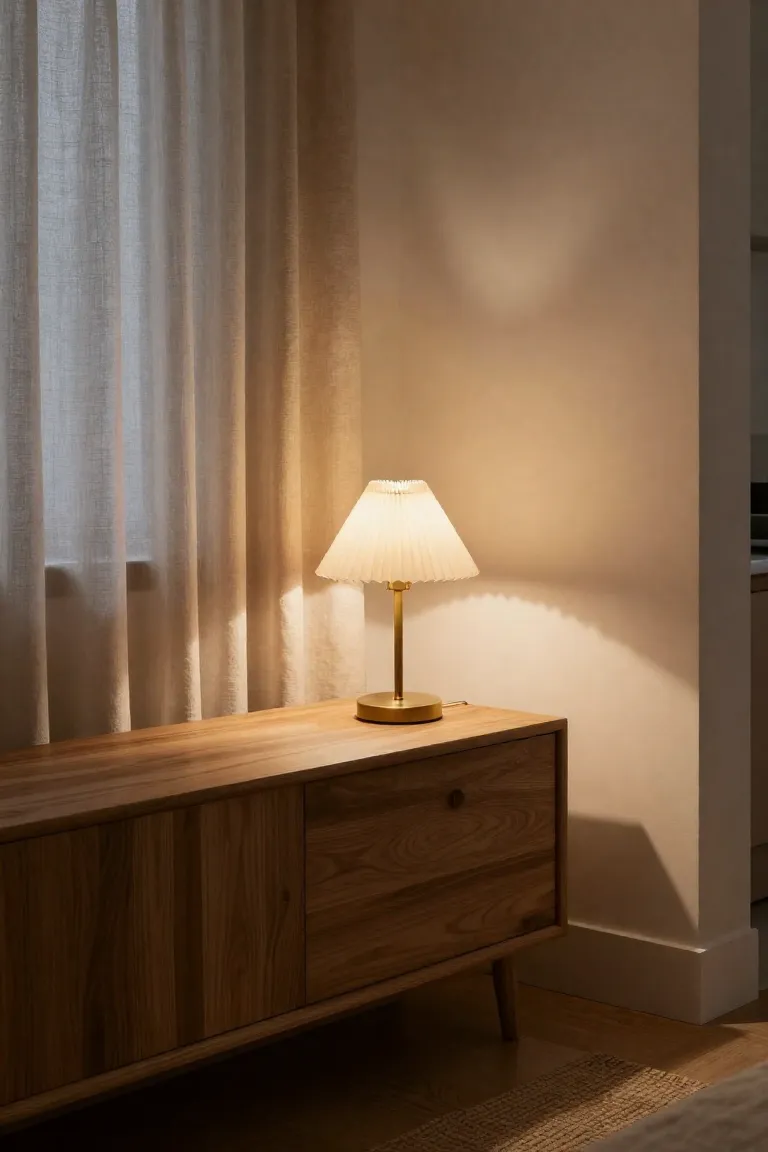
A sensible lighting color temperature guide also dictates keeping spectrums consistent across the entire sleeping zone. Mixed kelvin ratings in a single sightline, such as a sterile 4000K desk lamp clashing against a soft bedside sconce, induce ocular fatigue and visually fragment small studios. Instead, pair warm filament bulbs with pleated fabric shades or frosted glass diffusers from Target or Home Depot. These tactile covers soften hard light perimeters, coaxing tight apartment walls to visually recede into the background.
3. Ignoring Dark Room Corners and Unlit Vertical Perimeters
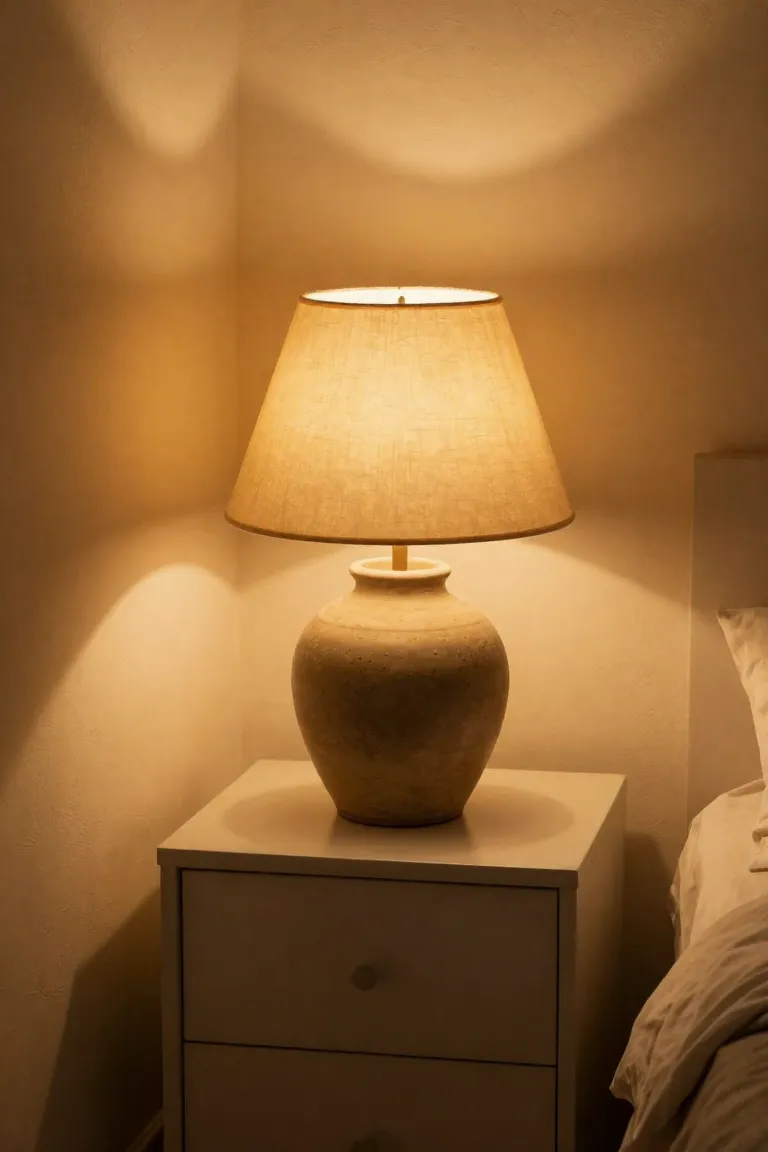
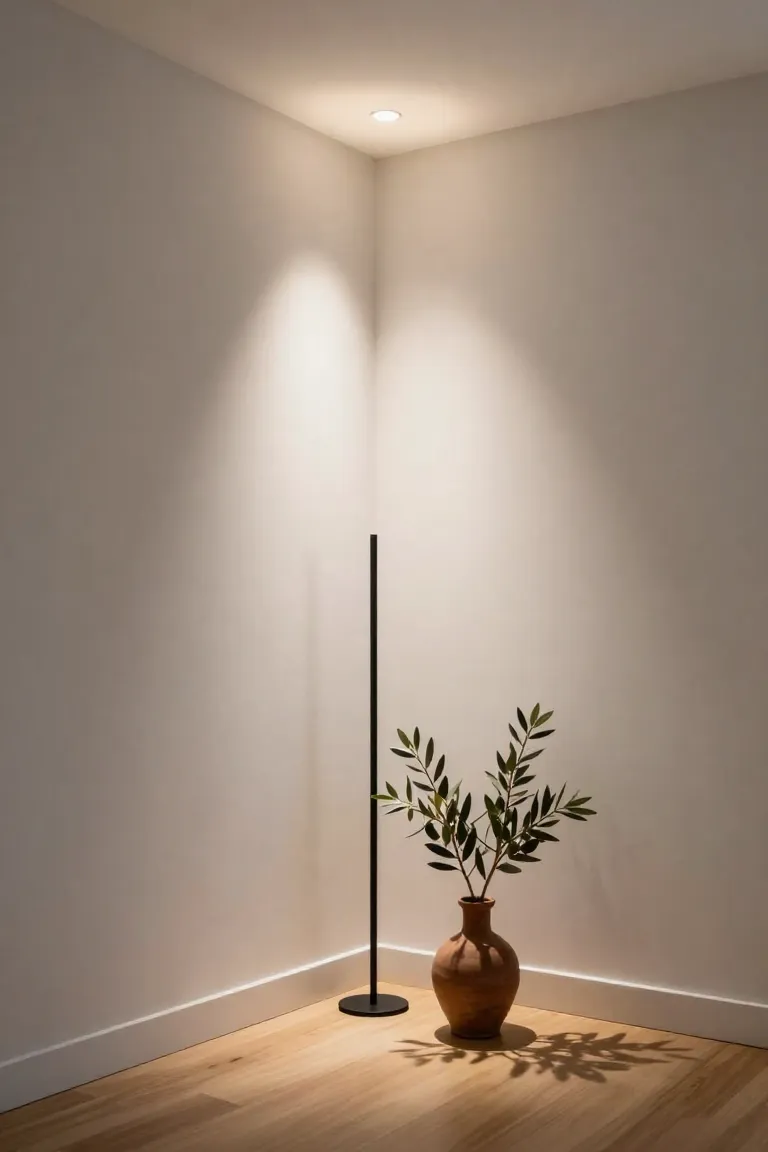
Shadowed alcoves draw the eye inward, creating a constricted tunnel effect that cuts valuable square footage down to size. You can counteract this spatial shrinkage by adopting intentional dark corner lighting ideas that bounce illumination upward along forgotten drywall edges.
- Set up a dedicated corner uplight small room canister angled at 45 degrees to push 300 to 400 lumens of warm glow into high ceiling junctions, immediately lifting vertical sightlines.
- For an accessible bedroom floor uplight diy setup, place an inexpensive compact spotlight behind a woven basket or accent chair, maintaining a 4-inch clearance from baseboards for safe heat dissipation.
- Secure power cords along baseboard clips rather than wedging them under heavy dressers, avoiding jacket friction, wire compression, and hazardous electrical wear.
4. Selecting Opaque Fixture Shades That Trap Ambient Light
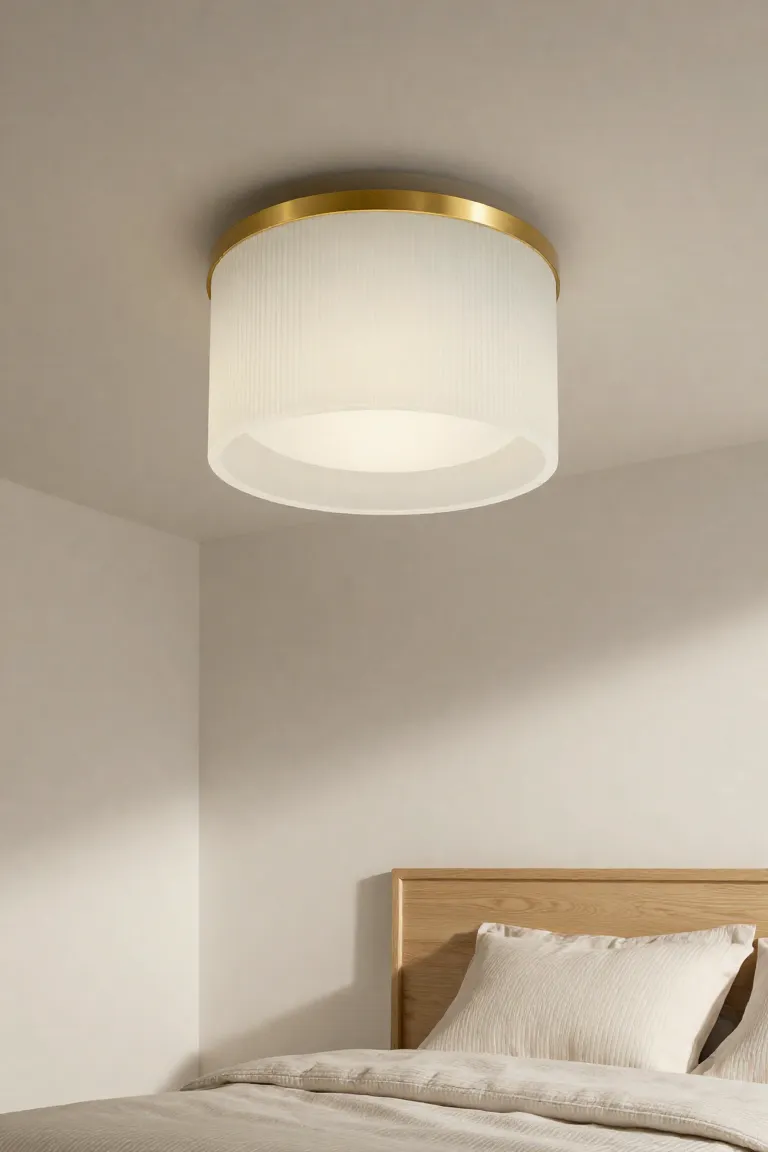
Heavy metal domes and thick fabric drums concentrate illumination into a narrow downward pool, stranding upper wall perimeters in deep shadow. This abrupt cutoff visually lowers apartment ceilings and chops room volume in half. Swapping dense covers for a translucent opal glass globe light fixture measuring 10 to 14 inches wide restores complete 360-degree dispersion. Soft textured glass allows rays to graze ceiling planes and lateral walls simultaneously, establishing the continuous spread of a diffused bedroom ceiling light that visually pushes room boundaries outward.
A tailored pleated shade flush mount equipped with cool-running LED bulbs provides gentle, wraparound brightness without heat buildup. Always verify shade wattage ratings before installing enclosed covers, preventing trapped heat that warps wire frames or scorches linen fabric over time.
Task and Accent Placement Flaws That Clutter Limited Square Footage
When floor space is at a premium, illumination fixtures shouldn't compete with daily essentials for tabletop territory. Overcrowded bedside surfaces and arbitrarily hung fixtures compress sightlines, turning small bedroom task lighting into visual noise rather than functional comfort. Strategic bedside sconce placement reclaims empty drywall planes and lifts dense shadows away from the mattress, preserving practical nightstand clearance while introducing dimension to compact architecture.
To restore visual breathing room across compact sleeping quarters, focus on three spatial adjustments before choosing hardware:
- Trade wide ceramic bases for slim profiles that leave room for your book and water carafe.
- Pinpoint targeted task zones along the perimeter rather than flooding the entire mattress with flat light.
- Opt for renter friendly bedroom lighting like corded pin-ups that mount securely without opening electrical junction boxes.
5. Crowding Nightstands with Bulky Wide-Base Table Lamps
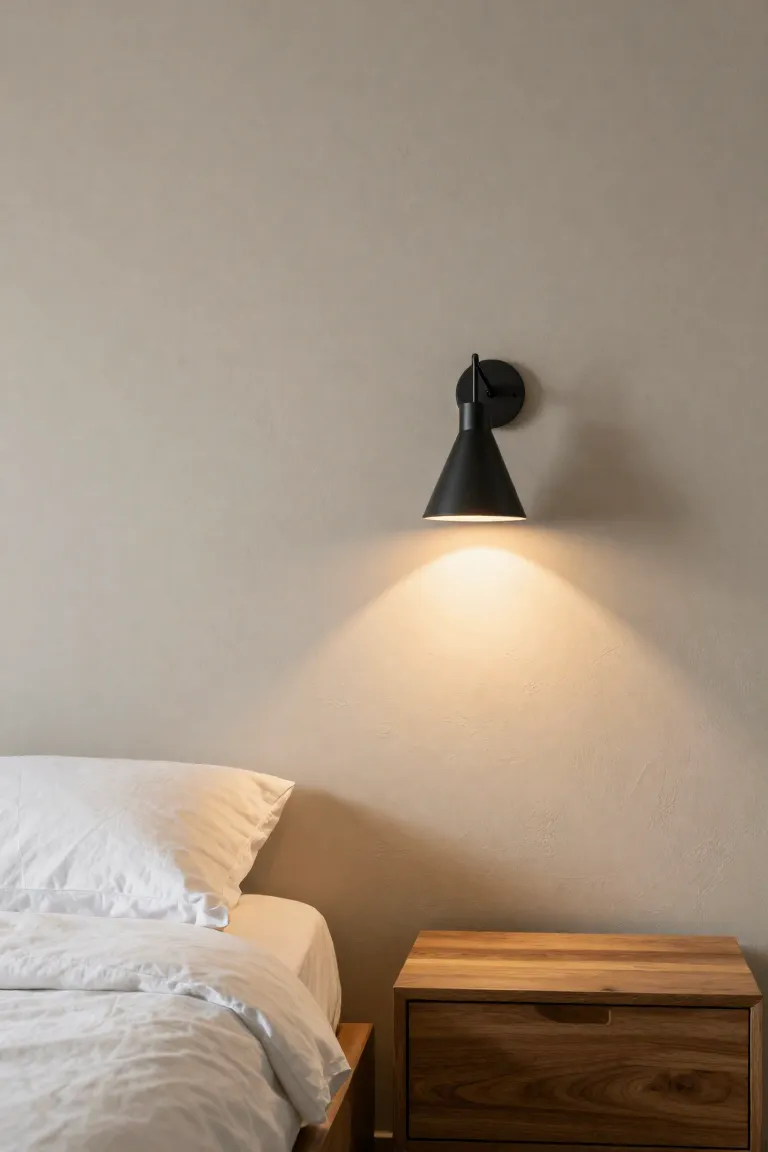
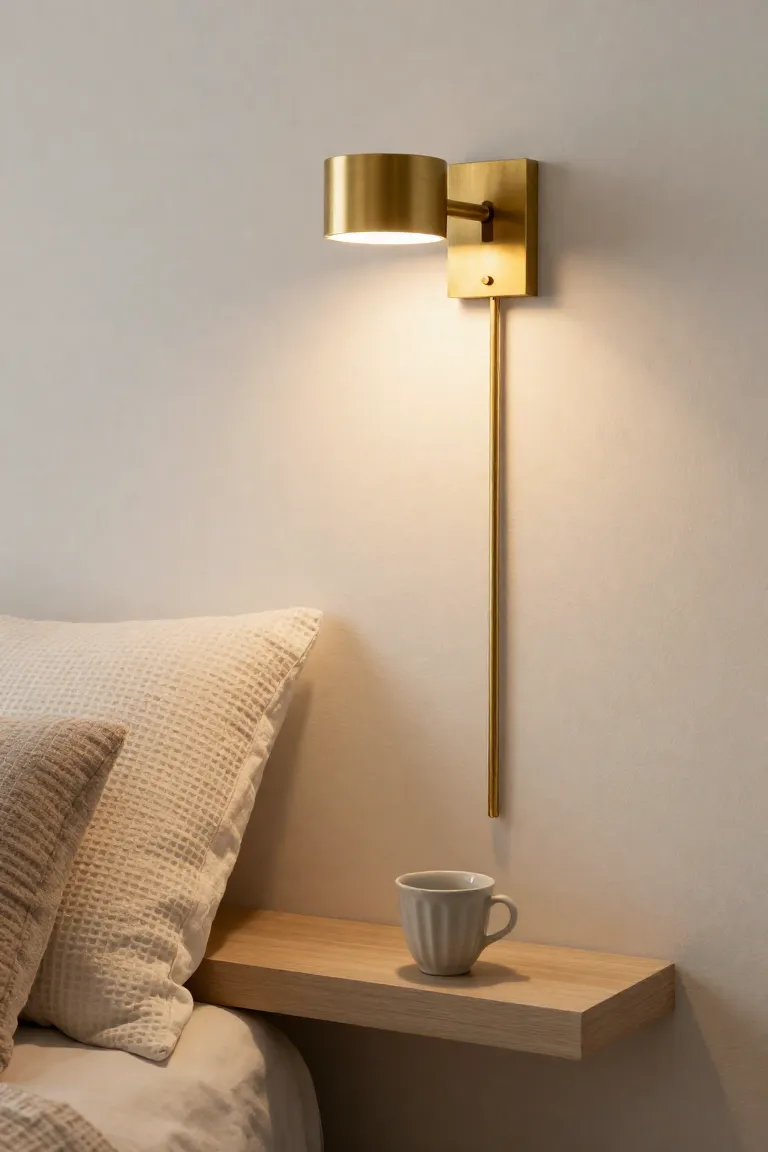
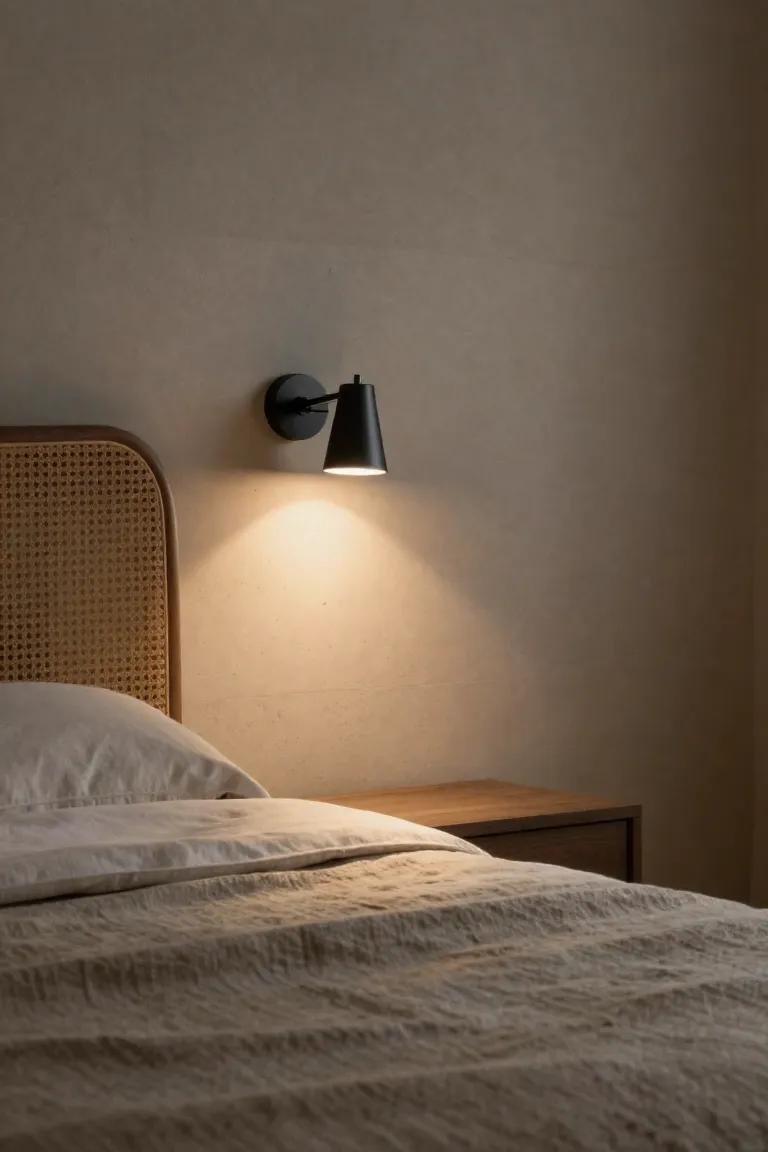
Standard ceramic table lamps might look charming in a showroom, but dropping an eight-inch base onto an eighteen-inch nightstand leaves zero room for a book, phone, or water glass. These oversized fixtures trap low-angle shadows against the headboard and make the entire sleeping nook feel cramped. Swapping heavy desk lamps for a plug in swing arm sconce immediately frees up your tabletop while casting targeted illumination right where you need it. Look for slim profiles with mounting backplates under five inches wide from retailers like Target or IKEA to keep the wall plane streamlined.
For a secure wall mounted bedside lamp diy setup, skip the flimsy plastic drywall anchors bundled in the box. Repeatedly pulling an articulated arm creates lever tension that quickly tears through drywall paper, leaving unsightly holes in apartment walls. Instead, pick up heavy-duty steel hollow-wall toggle bolts rated for at least twenty pounds at Home Depot. This sturdy hardware anchors the fixture flush to the wall, giving you smart small nightstand lighting ideas that bounce soft radiance across the room without sacrificing an inch of bedside surface.
6. Mounting Bedside Sconces at an Improper Vertical Height
Eyeballing fixture placement often leaves you staring directly into an exposed bulb or casting dark shadows across your nighttime reading zone. Calibrated bedroom wall lamp placement hinges on where your eyes rest when propped up against pillows. Following a proven bedside sconce height guide, measure twenty to twenty-four inches upward from the top surface of your mattress to the center of the mounting plate. This vertical alignment ensures the lower rim of the shade sits just below seated eye level, softening the ambient perimeter while projecting direct task illumination right onto your pages.
Stylist Rule: Always confirm your reading light wall mount height with proper vertical clearance before drilling, then guide loose cord slack through paintable wire raceways to prevent fitted sheets from snagging the cable.
7. Omitting Low-Level Secondary Glow Near Baseboards and Under Bed Frames
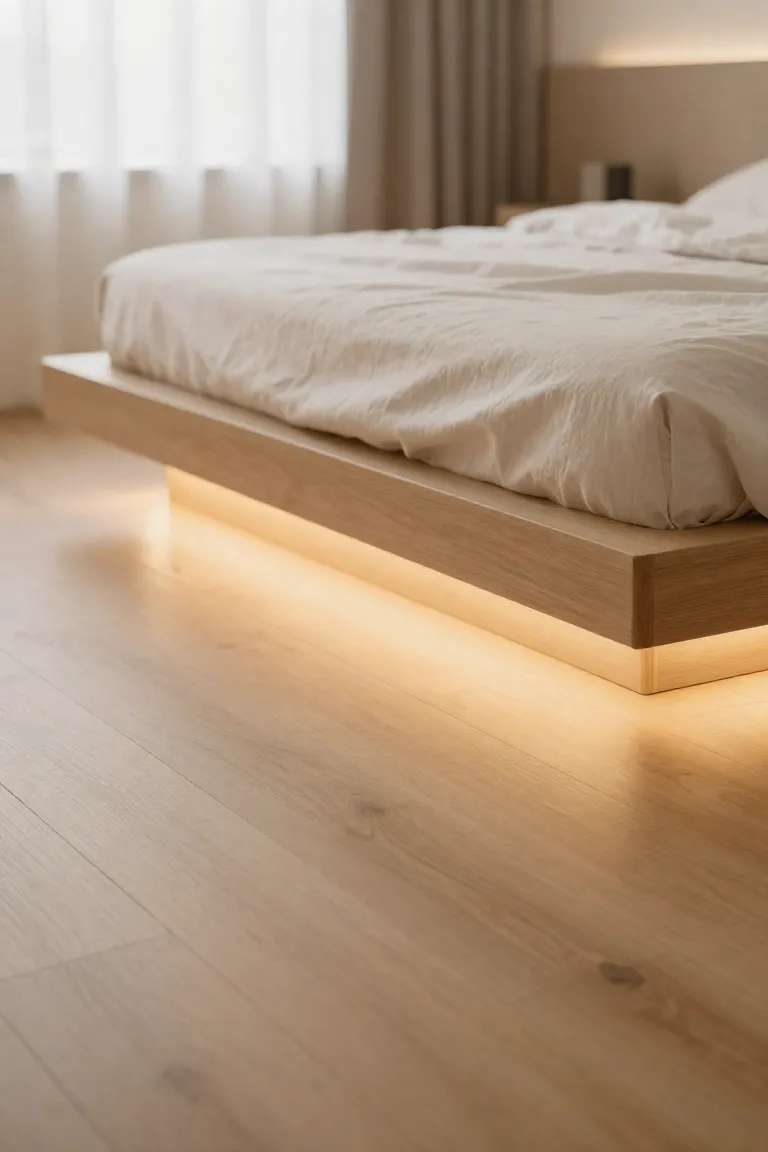
When floor planes sit in heavy shadow, solid platform beds swallow available square footage and make compact sleeping quarters feel anchor-heavy. Installing low-voltage 12-volt under bed led strip lighting along the interior subframe lifts the bulk right off your hardwood planks. The key to a refined floating bed lighting diy project lies in recessed geometry: recess the track roughly 2 inches back from the exterior perimeter boards so you cast an even, indirect wash across baseboards rather than revealing bare, pinpoint diodes to anyone stepping into the room.
Aluminum extrusion channels from Home Depot or Lowe's serve as indispensable heat sinks for your bedroom accent strip lights. Without that metal barrier, sticking adhesive tape directly onto unsealed pine or raw plywood traps operational heat, causing the glue backing to sag and diodes to degrade within months. A frosted diffuser lens snaps right over the channel, scattering 2700K warmth outward to carve out visual depth across your flooring and double as gentle midnight pathway navigation.
8. Hardwiring Fixtures Without Multi-Tiered Dimmer Controls
Standard single-pole toggle switches force bulbs to run at harsh maximum capacity, flattening room contours and washing away intimate shadows that define cozy quarters. Slipping a compact plug-in lamp dimmer into your accent circuits unlocks dynamic range between 10% and 100% brightness. Lowering peripheral luminaires in the evening softens drywall planes, giving tight studio layouts a relaxed boutique hotel atmosphere while keeping bedside table surfaces comfortable on tired eyes.
Inline cord slide controls rated for 100 to 150 watts deliver instantaneous tuning for dimmable bedside lighting without calling an electrician. Be sure to check bulb compatibility labels before installing electronic slider units; pairing standard non-dimmable retrofit bulbs with dimming drivers triggers loud coil whine, rapid strobe pulsing, and early driver burnout. Establishing nuanced, layered bedroom lighting control lets you dim secondary task points down to a gentle simmer, extending the perceived boundary of your sleeping nook.
Clearance Heights, Color Temperature, and Lumens Specification Matrix
Aligning installation heights and photometric output prevents fixtures from physically crowding walking paths or visually lowering the ceiling. Pairing appropriate bedroom lighting clearance dimensions with a practical small room lumens guide ensures every square foot feels intentional and open.
| Fixture Layer | Clearance Benchmark | Target Output & Color |
|---|---|---|
| Center Flush Mount | 84 inches above finished floor | 1,500-2,200 lumens at 2700K |
| Bedside Sconce Arm | 20-24 inches above mattress surface | 400-600 lumens at 2700K |
| Baseboard Perimeter Accent | 2 inches recessed under frame lip | 150-250 lumens per linear foot |
A cohesive kelvin color temperature envelope around 2700K avoids jarring spectral mismatches between overhead diffusers and low-level accents. Cross-referencing physical hanging heights with sensible lumen targets helps tight floor plans shed their boxed-in feel, creating balanced, comfortable breathing room.
Strategic Multi-Tiered Illumination Framework for Small Space Living
A rental lease often locks you into fixed ceiling junction boxes, but crafting a budget apartment lighting plan never requires cutting into drywall. You can establish generous depth across tight perimeters using renter-friendly plug-in fixtures and clean cord channeling.
- Mount plug-in swing-arm sconces directly beside your headboard. Securing cord brackets with removable adhesive anchors keeps nightstand surfaces open while bringing focused glow down to natural eye level.
- Tuck warm battery-operated puck lights or peel-and-stick LED ribbon tape beneath your bed frame and low dressers. This low-slung floor wash reflects softly across baseboards, visibly pushing the perimeter outward after dusk.
- Plug each independent cord into an inexpensive smart plug power strip from Target or Home Depot. A single tap on your phone coordinates your diy layered bedroom lighting across three vertical zones without messy rewiring.
Among practical small space lighting tips, grouping those separate fixtures into distinct evening routines yields the greatest spatial payoff, making your four walls feel twice as expansive.