Small Apartment Decorating Ideas: 15 Calming Japandi Spaces Built With DIY Woodwork
Summary
- Rethinking Compact Footprints Through Intentional Japandi Woodwork
- Spatial Zoning: Architectural Slats and Room Partitions
- Low-Slung Sanctuaries: Platform Joinery and Integrated Storage
- Multi-Functional Alcoves: Compact Dining and Cantilevered Surfaces
- Tactile Verticality: Floating Vanity Joinery and Overhead Accents
- Dimensional Clearance Benchmarks and Slat-Wall Lumber Cut Lists
- Curated Neutral Palette Swatch Specifications and Timber Sourcing
- Strategic Implementation Framework: Balancing Carpentry Complexity and Spatial Impact
Rethinking Compact Footprints Through Intentional Japandi Woodwork
Standard store-bought furniture often overwhelms modest floor plans with boxy silhouettes and dark massing. Achieving a balanced japandi small apartment layout relies on lowering visual sightlines and pairing quiet Nordic lines with Japanese negative space. By introducing structured small space studio zoning through custom built-ins, light timber finishes, and pared-back profiles, you let ambient daylight travel freely across the room while establishing purposeful, uncluttered minimalist woodwork design.
Spatial Zoning: Architectural Slats and Room Partitions
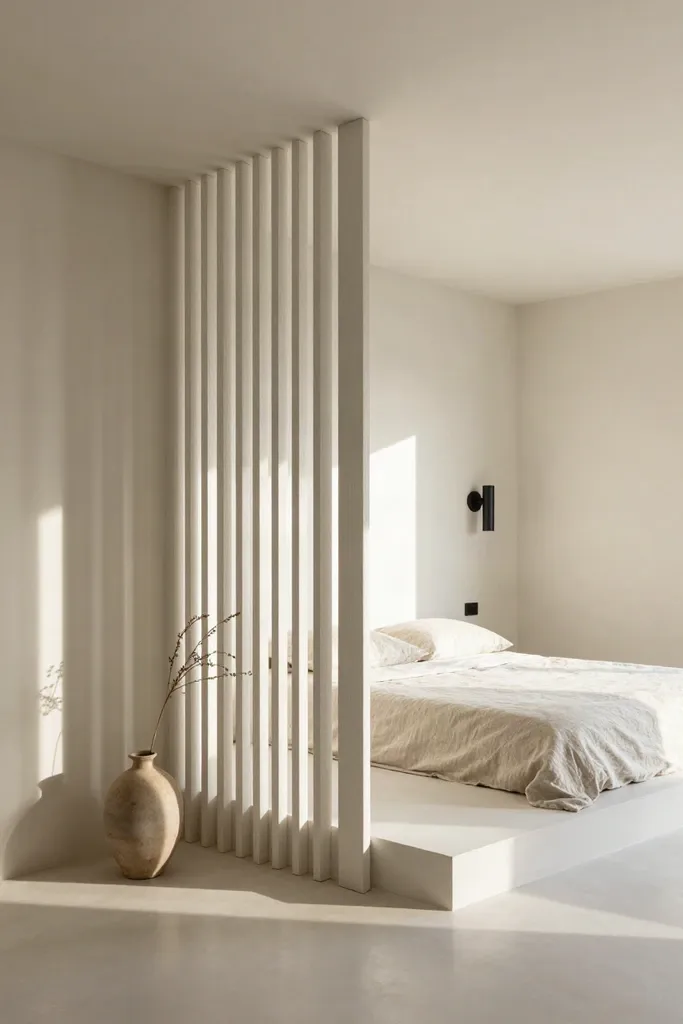
Solid walls can make compact urban rooms feel closed in and starve interior alcoves of natural light. Introducing a diy wood slat partition provides physical separation between functional zones while keeping daylight flowing across your layout. When planning refined japandi room divider ideas, clean sightlines and balanced vertical spacing help establish an airy studio apartment screen wall without adding visual bulk.
- Map your ceiling layout with a laser level to align vertical batten points directly above floor positions, ensuring completely plumb sightlines between living and sleeping areas.
- Fasten parallel top and bottom mounting plates securely into structural framing, pre-drilling countersunk recesses for fasteners to keep the timber faces pristine.
- Secure each vertical slat onto the runners at uniform intervals, checking every face with a torpedo level before driving your final mechanical fasteners.
This uniform spacing keeps your sightlines open while giving each functional micro-zone its own distinct boundary.
Ceiling-Suspended White Oak Slat Room Divider
Constructed from 1x2-inch solid white oak battens, an overhead partition establishes a serene boundary for your resting quarters without obstructing natural light from primary windows. Setting each vertical batten 1.5 inches apart produces a balanced screening effect that softens views while maintaining visual continuity throughout the studio. To preserve comfortable flow through the room, leave at least a 32-inch walkway clearance alongside this white oak partition wall. Fastening the upper runner directly into structural ceiling joists with countersunk wood screws ensures lasting overhead stability. When finishing your diy vertical wood slats, maintain a 0.25-inch expansion reveal above the finished flooring to accommodate seasonal humidity changes and prevent the timber from binding over time.
Suspend your lower guide rail 0.25 inches off the floor to create an intentional shadow gap that prevents friction wear and lets the japandi studio divider screen float cleanly over baseboards.
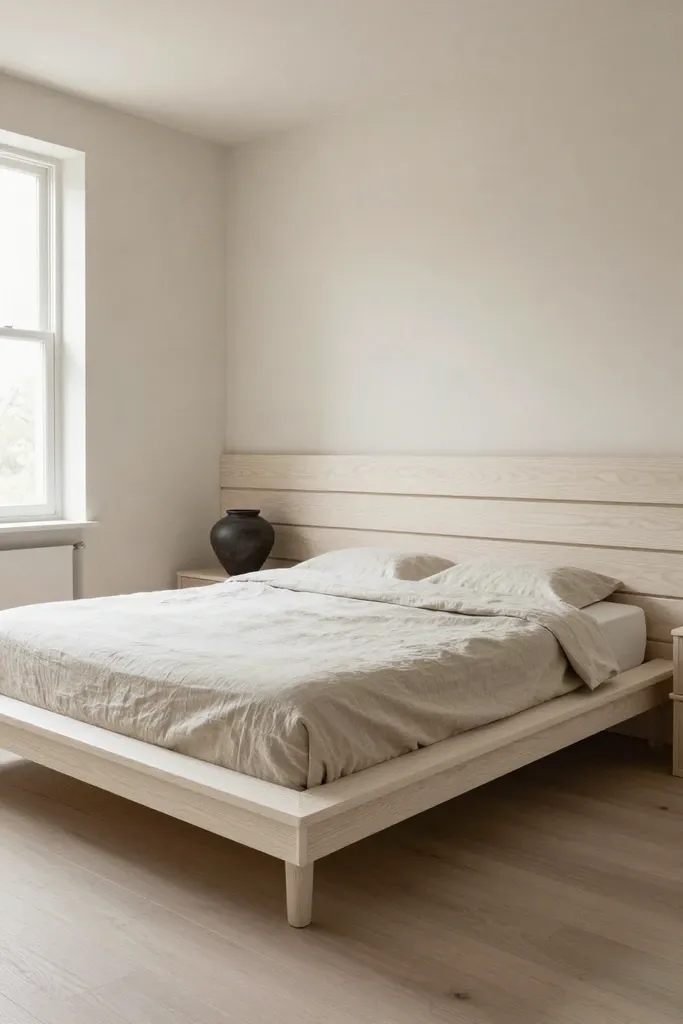
Low-Profile Floating Bed Frame with Extended Slat Headboard
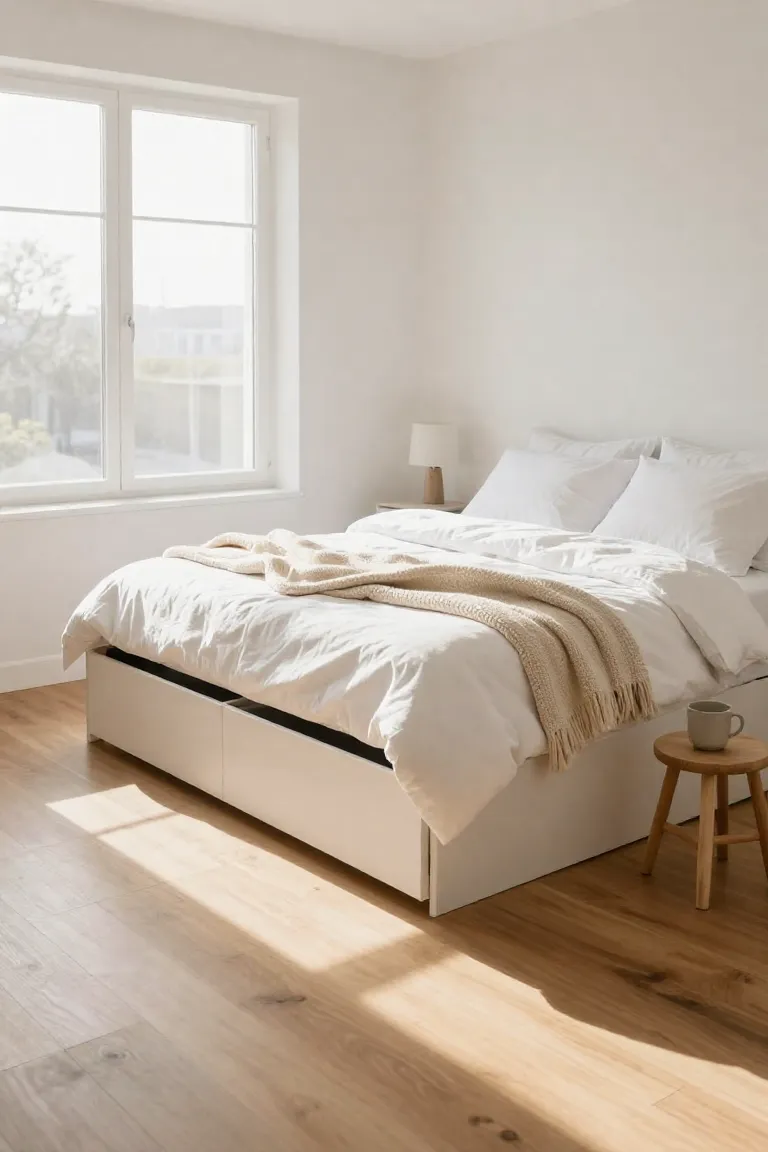
In standard eight-foot rooms, conventional tall bed frames crowd the upper volume of the room and restrict ambient airflow. Building a low profile platform bed diy that stands eight inches above the floor anchors your sleeping zone closer to the ground, opening up valuable vertical breathing room. Extending a wide horizontal japandi slatted headboard twelve inches past each edge of the mattress creates a grounded architectural baseline that ties the wall together, proving that small bedroom low furniture can visually expand your space while maintaining a solid footprint.
- Cut your perimeter side and end rails using half-lap corner joinery instead of pocket screws to ensure the primary load-bearing joints resist lateral racking and long-term joint fatigue.
- Anchor a concealed structural steel center-support leg beneath the central span, setting it back ten inches from the outer rim to preserve an unobstructed floating profile from standing eye level.
- Secure your pre-sanded horizontal slats onto the wall-mounted cleat system, indexing each board with consistent spacing to complete your minimalist wooden bed frame backdrop.
This low-slung perimeter and extended slat line balance functional weight distribution with a serene, uncluttered bedroom aesthetic.
Fold-Down Wall Desk with Tambour Reeded Face
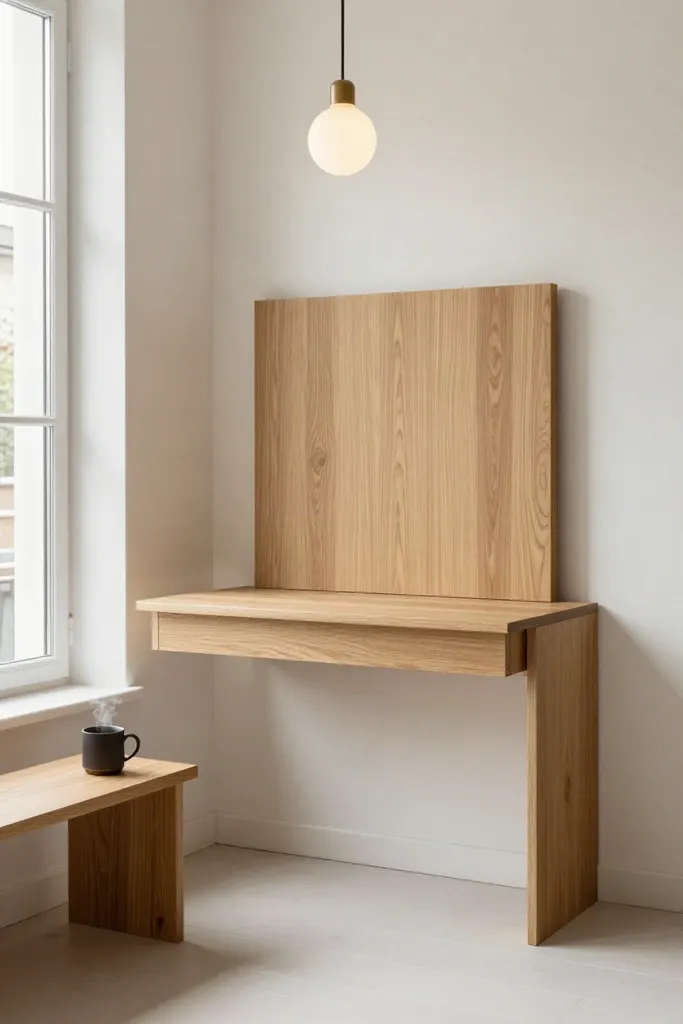
When floor area in a studio is at a premium, moving utility up onto the wall preserves visual balance while keeping daily essentials accessible. A wall-mounted drop-front workstation clad in half-inch half-round solid oak tambour moulding delivers an understated textured facade that hides computer screens, cords, and stationery the moment work wraps up. When opened, this reeded wood wall desk exposes an intentional 20-inch worktop depth positioned at an ergonomic 29-inch height from the floor, matching standard seating postures while fitting cleanly against the wall. Building this style of tambour wood furniture diy allows you to turn a small space drop front desk into a focal art panel rather than an obvious office zone.
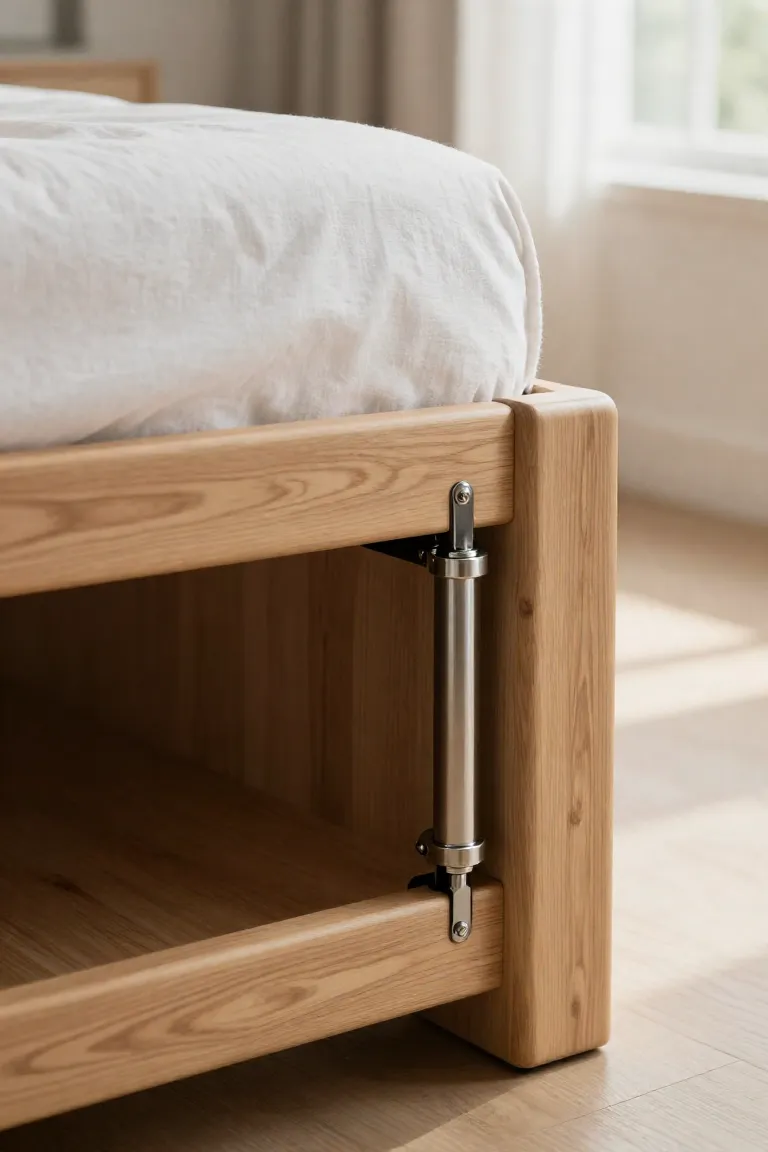
Long-term durability depends entirely on hinge selection, especially since daily work requires confident stability for your laptop and forearms. Heavy-duty lid-stay torsion hinges rated for 50-pound point loads protect the joinery from sagging or sudden drop failure over years of continuous motion. Anchoring your structural backplate directly into wall studs ensures the entire diy fold down desk remains rock solid through long writing or design sessions without putting shear stress on the drywall.
Entryway Drop-Zone with Asymmetric Pegboard and Slatted Bench
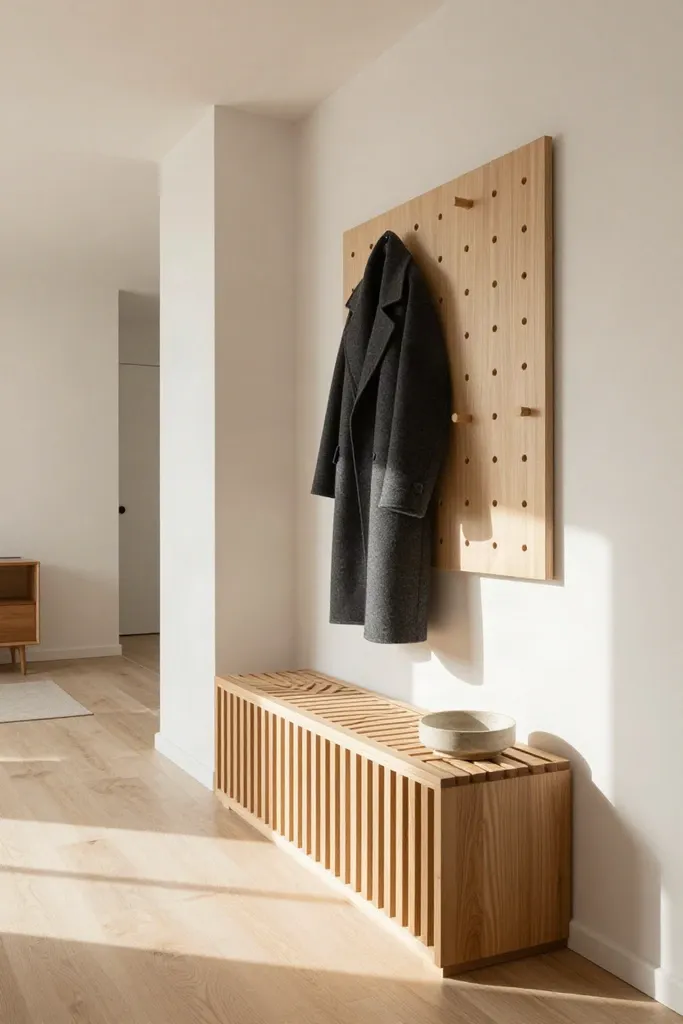
Transition zones set the emotional baseline for your entire apartment, demanding functional storage that keeps tight circulation paths clear. Pairing an oversized pegboard with a narrow 12-inch-deep slatted wood entry bench establishes a functional japandi mudroom drop zone without crowding adjacent walls.
- Solid ash dowels turned to one inch in diameter seat firmly into a three-quarter-inch birch plywood panel drilled on clean four-inch grid intervals to hold heavy winter coats, linen tote bags, and everyday caps.
- The accompanying low bench utilizes spaced timber slats to catch shoes and provide a brief staging spot for grocery bags without obstructing room entryways.
- Finishing these high-contact surfaces with an ultra-matte hardwax-oil instead of film-forming polyurethane lets you perform quick spot repairs on scuffs using a light buffing pad, bypassing the need to strip or sand back the bare wood.
This layout turns a narrow hallway wood storage setup into an adaptable vertical arrangement, making your diy wooden pegboard entryway look intentional, light, and easy to maintain.
Low-Slung Sanctuaries: Platform Joinery and Integrated Storage
Embracing lower horizon lines is one of the most effective ways to preserve open overhead airspace in compact floor plans. Shifting storage capacity toward custom plywood joinery across the perimeter keeps your sightlines long and the walls feeling uncluttered. Dry-fitting modular platform boxes before final wall anchoring reveals subtle floor imperfections that shims can level out cleanly.
- Map your floor space by leveling a rigid plinth framework of three-quarter-inch birch plywood directly over the subfloor, securing square perimeters that support daily foot traffic and heavy household goods.
- Construct modular storage bays fitted with deep pull-out drawers or soft-closing lift lids, aligning individual lid seams along continuous grain directions to keep the woodwork looking cohesive.
- Top the framework with finished timber panels cut flush to adjacent wall bases, creating a unified base for meditation mats, low-slung seating cushions, or modular shelving units.
This built-in platform storage layout yields substantial cubic capacity underneath while maintaining a calm, expansive atmosphere across the room.
Recessed Window Banquette with Concealed Plywood Drawers
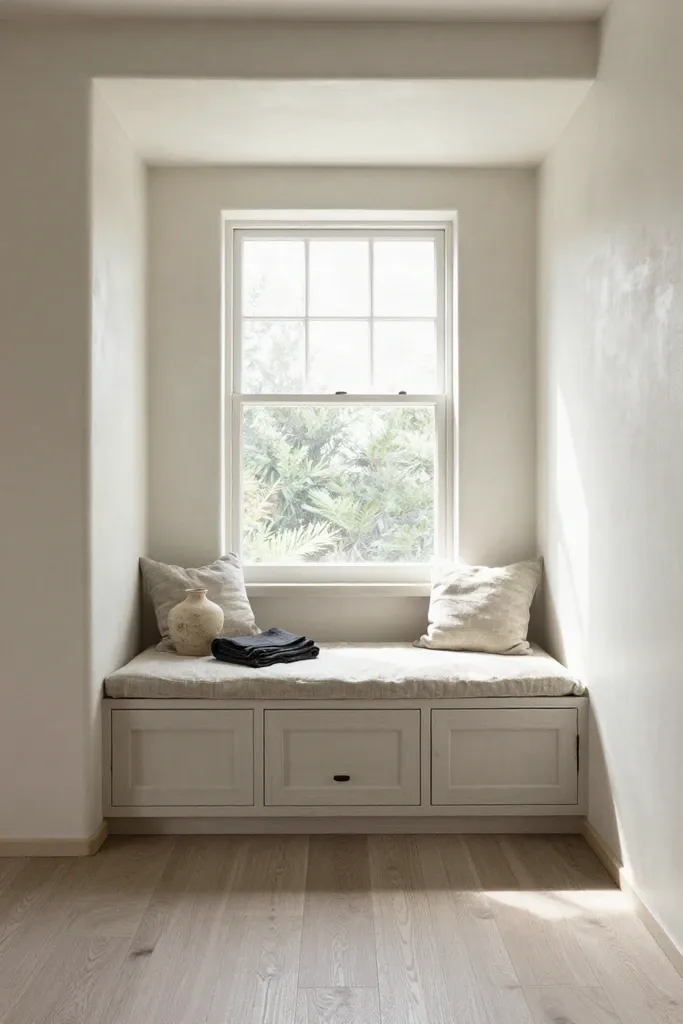
Natural window niches offer prime opportunities to integrate quiet morning seating alongside high-capacity concealed organization. Constructing a built in dining banquette from edge-banded maple plywood provides an ergonomic 18-inch seat height and a 22-inch depth that works equally well for morning coffee, evening dining, or afternoon reading sessions.
- Continuous grain-matched drawer fronts span the entire bench run, maintaining an uninterrupted horizontal grain pattern that disguises the individual compartments beneath.
- Full-extension 100-pound undermount drawer runners provide quiet gliding action and deliver complete access to spare linens, bulk kitchen essentials, or heavy board games stored deep inside.
- A two-inch recessed toe-kick register built directly into the base structure keeps perimeter baseboard heating vents unobstructed so natural radiator convection circulates smoothly into the room.
A neutral linen seat cushion placed directly above this banquette woodwork produces a clean, serene nook, proving that a thoughtful plywood bench with drawers can double your everyday storage while perfecting a diy window seat storage layout.
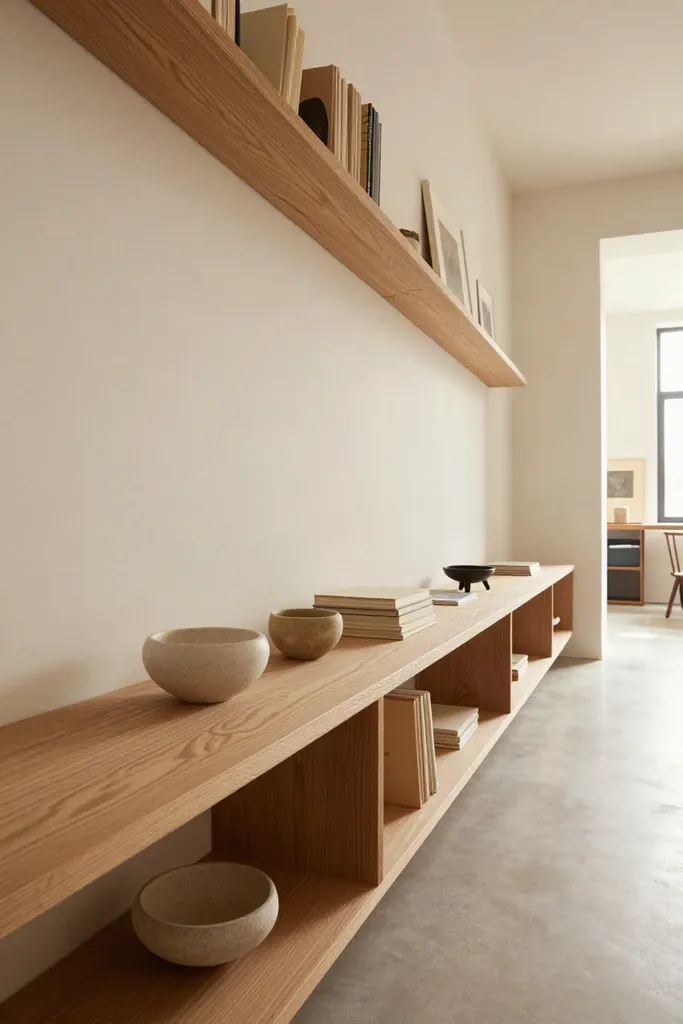
Modular Low-Level Bookcase and Display Plinth
Keeping furniture profiles close to the floorboards preserves open wall expanses across compact studio apartments, creating an expansive room atmosphere without vertical crowding. When building this low profile bookshelf diy setup, restricting the overall elevation to 14 inches allows perimeter walls to breathe while grounding your daily seating zone. Crafting a japandi display plinth along your main perimeter creates an understated horizontal wood shelf system where negative space and tactile materials coexist in quiet balance. Maintaining a three-to-one ratio between empty space and curated ceramic vessels brings immediate calm to the entire room.
- Prepare clear solid pine planks and join the vertical dividers using exposed hardwood through-dowel joinery, securing every joint with wood glue and flush-cut dowel pins for structural rigidity.
- Recess the supporting base frame by two inches inward from the outer edges, which casts soft floor shadows underneath and gives the heavy timber a floating, weightless presence.
- Sand all surfaces to a smooth finish, apply a matte clear sealant, and style the top as a minimalist book ledge featuring low ceramic bowls and selected art volumes spaced generously apart.
This grounded arrangement keeps wall expanses open, letting natural daylight wash smoothly over pale pine grain throughout the day.
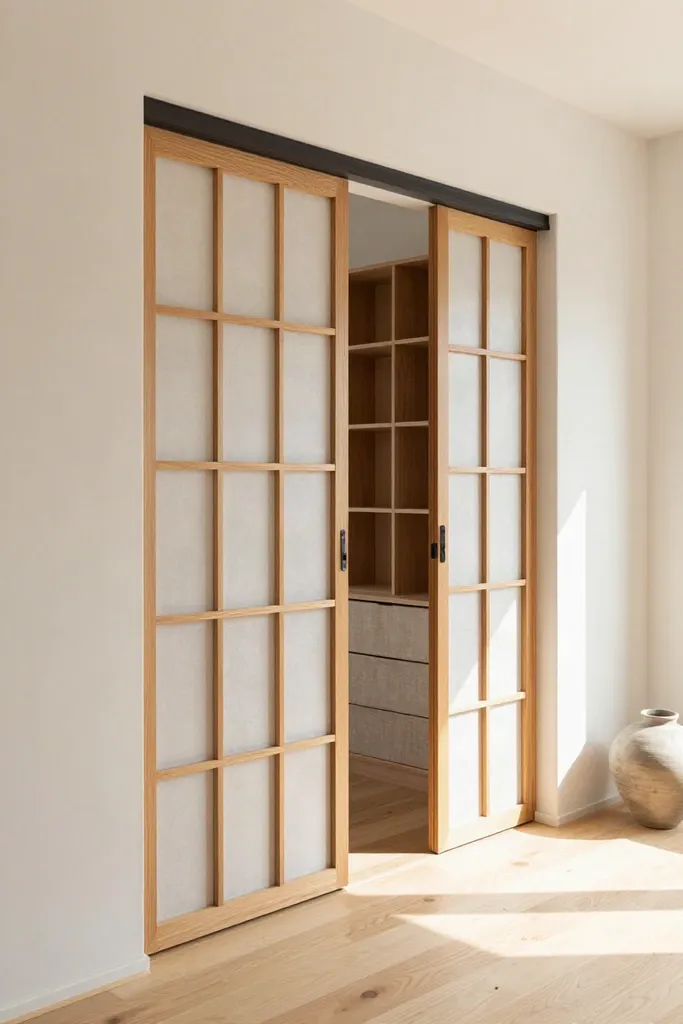
Sliding Shoji-Inspired Oak Pocket Screen for Closet Alcoves
Standard hinged closet doors swing directly into narrow walkways, stealing valuable floor area and interrupting movement through compact apartment hallways. Building diy shoji sliding doors provides a gentle, space-saving barrier that lets diffused light filter between zones while concealing wardrobe chaos. You can craft each panel with a sturdy 1.25-inch outer timber frame combined with delicate half-inch cedar mullions joined with clean half-lap notches. In place of traditional fragile fibers, tensioning synthetic tear-resistant washi paper behind the grid produces an authentic japanese closet screen that withstands daily household handling without puncturing or sagging.
An overhead ceiling track carries the weight of each panel, turning this oak framed sliding partition into a practical small apartment door alternative that moves silently across the opening. Rather than mounting raised metal floor channels that interrupt wood floorboards and collect dust, recess compact nylon ball guides into the bottom groove of each frame. This hidden floor guide keeps the screens tracking in line while maintaining smooth, flush flooring across your living areas.
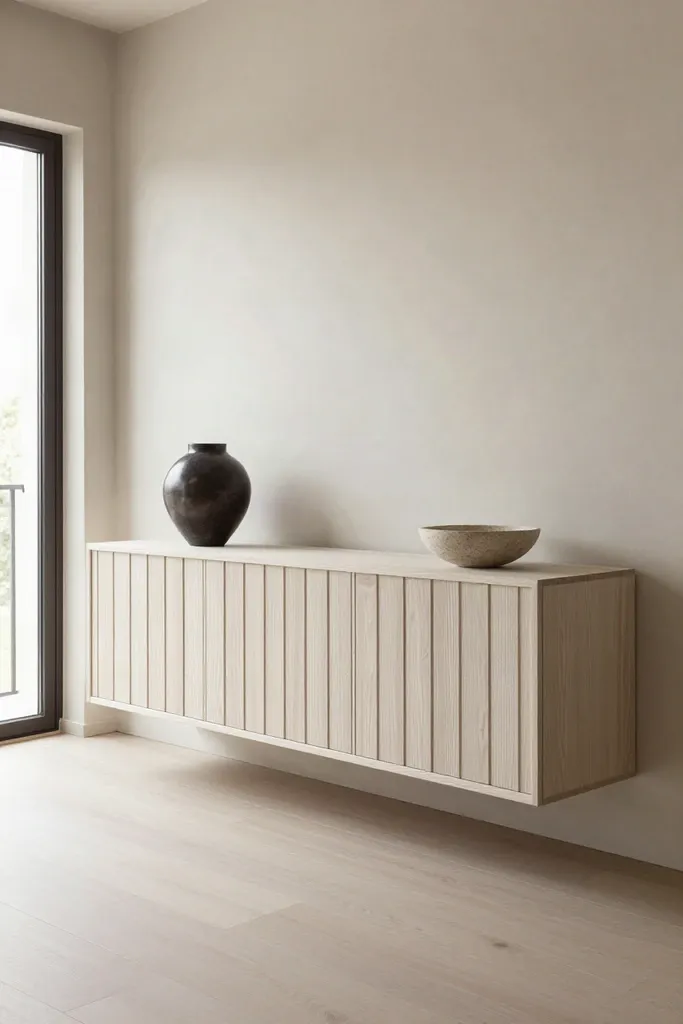
Wall-Hung Floating Media Credenza with Slatted Acoustic Venting
Lifting media storage off the floorboards instantly frees up perimeter space, giving compact living rooms a clean and open foundation. When planning a floating slatted media console, suspending the cabinet 12 inches above the floor creates room for natural light to pool beneath the casework while hiding electronic wires. This diy wall hung credenza relies on balanced proportions and precise timber joinery to house media hardware, transforming standard entertainment equipment into an intentional piece of japandi tv console woodwork.
- Secure a heavy-duty plywood French cleat horizontally across your wall framing studs using three-inch cabinet screws, checking level across the entire length to anchor the main cabinet body safely.
- Assemble the outer carcass with internal cable pass-through grommets, then hang the console onto the wall cleat to confirm flush alignment against the drywall.
- Build slatted wood cabinet doors using narrow vertical battens spaced one-quarter inch apart, allowing infrared remote signals and cooling ventilation to pass freely while obscuring power cords inside.
Soft shadows beneath the suspended credenza reinforce a calm, uncluttered atmosphere while keeping everyday devices accessible and cool.
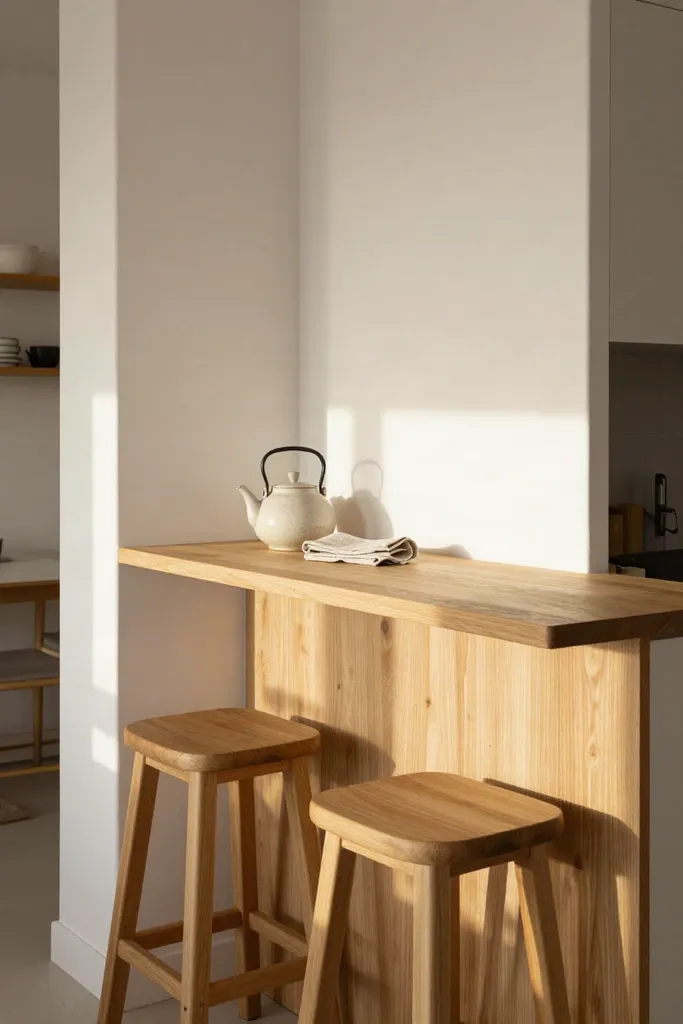
Multi-Functional Alcoves: Compact Dining and Cantilevered Surfaces
Underutilized architectural recesses offer prime real estate for compact dining corners and flexible work surfaces in smaller homes. Integrating tailored small apartment dining woodwork into these transitional nooks eliminates the visual clutter of freestanding furniture legs while maintaining open circulation throughout your kitchen zone. Tailoring custom horizontal planes to existing alcove dimensions unlocks dedicated zones for coffee brewing, weekday meals, and laptop tasks without encroaching on everyday walking paths.
- Cantilevered dining ledges anchored directly to wall studs with heavy hidden steel brackets, eliminating table legs to keep floor areas completely open for tucking backless wooden stools.
- A slender cantilever breakfast bar built from solid white oak, bridging an awkward structural column and the kitchen wall to provide prep space alongside morning dining seating.
- Integrated power channels and recessed cable passthroughs routered into the underside of timber counters, turning architectural recesses into tidy charging stations for portable devices.
- Concealed corner bracing systems that support floating hardwood shelves, introducing versatile space saving counter ideas that serve as buffet ledges during weekend hosting.
Custom wall-anchored surfaces turn bare architectural recesses into purposeful dining zones while preserving the serene, uncluttered balance of your overall floor plan.
Cantilevered Oak Waterfall Breakfast Counter
Extending your kitchen prep area into the living zone requires a cohesive visual thread that keeps sightlines open and uncluttered. A diy waterfall breakfast bar serves this purpose beautifully, turning an 18-inch-deep peninsula into a functional boundary between cooking and lounging zones. By crafting a white oak peninsula table with a crisp 45-degree mitered drop, you establish continuous grain flow down to the floorboards. This layout operates as a versatile small kitchen counter bar during busy weekday mornings, while functioning as a waterfall wood island small space solution that preserves valuable walking aisles.
- Secure the horizontal oak slab to your existing base cabinet frame, ensuring you calculate an overhang of 12 to 14 inches so your knees clear the counter when seated on counter-height stools.
- Cut matching 45-degree miters on the counter slab and vertical leg panel, then use a plunge router to carve recessed channels along the underside joint to house heavy-gauge internal steel corner brackets.
- Apply polyurethane glue along the mitered faces, draw the corner tight with clamping blocks, and screw the steel brackets flush into the routed pockets to permanently lock against lateral movement and seasonal wood shift.
A coat of ultra-matte hardwax oil preserves the pale, natural tone of the timber while sealing the end grain against spills.
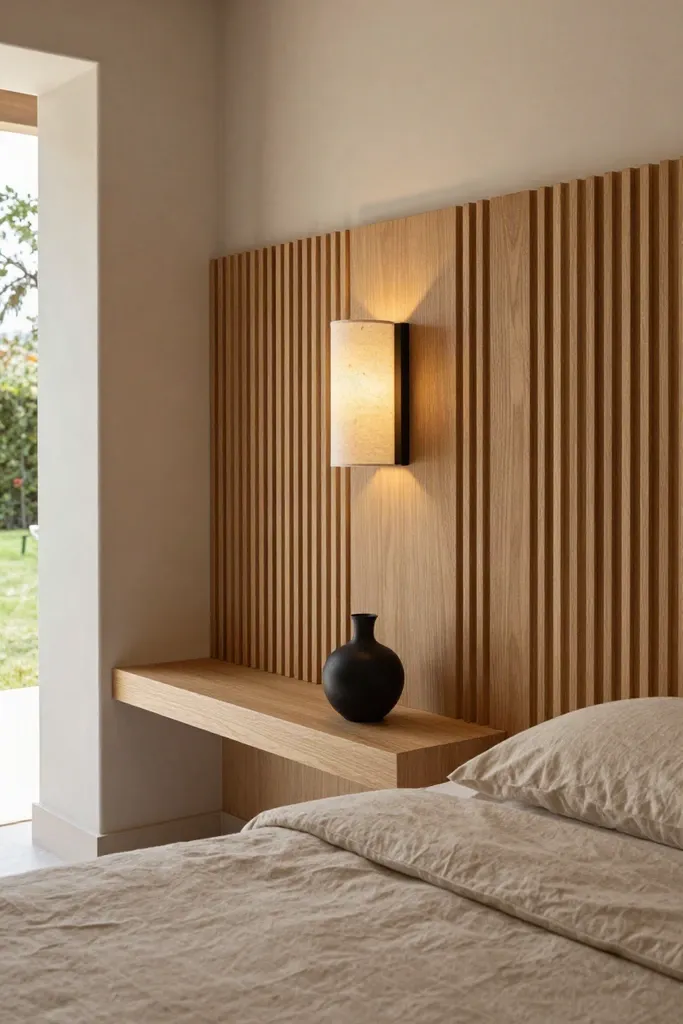
Slatted Headboard with Integrated Cantilevered Bedside Ledges
Tight sleeping quarters often feel cramped when floor-standing tables crowd the sides of the mattress. Mounting a floating nightstand headboard clears floor space entirely, introducing an airy, balanced proportion to compact quarters. This slatted headboard with shelves relies on horizontal solid ash battens that span wall to wall, anchoring the bed while providing structural mounting points. Instead of letting night tables eat up precious walking margins, an integrated bedside ledge projects outward just enough to hold an evening water carafe, a ceramic dish, and your current reading book. Concealed blind-shelf metal support rods drill directly through the timber and into your wall studs, providing reliable load-bearing strength without visible brackets beneath.
To solve tangled cord clutter, drill 45-degree angled feed-through holes through the gaps between adjoining slats directly behind each ledge. These diagonal channels guide your phone and lamp cables behind the backplate assembly, feeding them downward toward baseboard outlets without exposing messy loops. For renters or small homeowners weighing narrow bedroom nightstand ideas, this wall-hung timber arrangement creates a calm, grounding backdrop that visually expands the bedroom footprint.
Mobile Solid Ash Kitchen Cart with End-Grain Prep Surface
Flexibility is essential when preparing meals in a single-wall or galley layout where permanent cabinetry leaves little room to pivot. A diy mobile kitchen island bridges the gap between prep space and dining convenience, wheeling wherever cooking tasks demand an extra surface. Building this solid ash butcher block cart with a 20 by 24-inch footprint gives you a compact culinary station that tucks neatly into an empty corner when not in use. As an adaptable small space rolling kitchen island, the design reflects the functional simplicity of japandi kitchen furniture through pale timber tones and purposeful joinery.
- Frame the base structure using traditional mortise-and-tenon joints between the legs and upper aprons, creating a rigid skeleton that resists lateral racking forces when you chop hearty vegetables or steer across floorboards.
- Install four heavy-duty recessed brass casters with foot locks into the bottom leg mortises, ensuring smooth rolling across timber flooring alongside dependable stability once parked.
- Assemble an open slatted lower shelf to hold heavy Dutch ovens and ceramic bowls, then crown the base with an end-grain prep block conditioned thoroughly with food-grade mineral oil and melted beeswax.
The resulting mobile workstation shifts smoothly between prep counter, breakfast staging cart, and serving plinth whenever guests arrive.

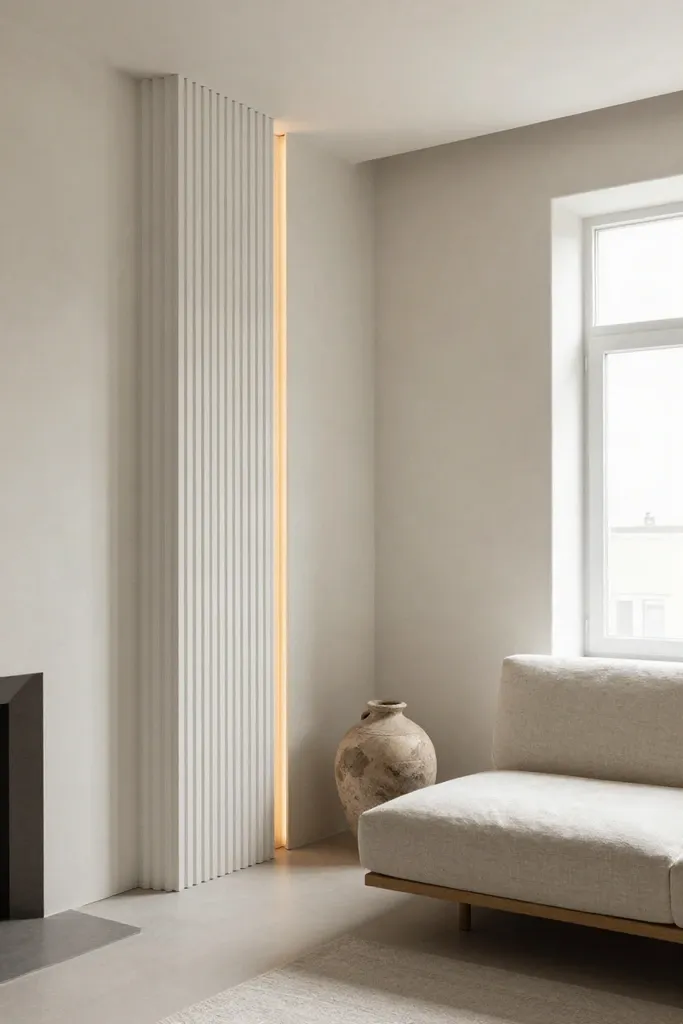
Corner Slat Column Concealing Utility Chases with Ambient Lighting
Exposed drainpipes and boxed structural chases often break the visual calm of an open studio corner. Wrapping these awkward vertical drops with a diy wood slat column wrap converts functional building conduits into a warm design feature. Using three-quarter-inch white oak battens mounted across a simple 90-degree internal corner frame, this technique demonstrates how hiding pipes with wood slats can soften rigid plaster boundaries. The vertical lines draw the eye upward toward the ceiling, creating an illusion of greater room height while honoring the honest, natural warmth of japandi architectural woodwork.
You can enhance the installation by recessing a slim aluminum channel along the rear edge to create an indirect led wood feature. Fitted with a warm 2700K COB LED strip and a frosted silicone diffuser, this hidden luminaire washes soft light across adjacent walls, completely eliminating harsh glare. Remember to preserve access to building infrastructure by mounting a three-slat sub-panel on concealed spring hinges with magnetic touch latches, allowing quick, tool-free entry to internal cleanout valves whenever plumbing maintenance is required.
Tactile Verticality: Floating Vanity Joinery and Overhead Accents
Extending natural timber accents beyond living zones allows you to soften sterile wall surfaces and warm forgotten overhead expanses throughout a studio layout. When humidity-prone zones or tall drywall stretches feel visually cold, balancing clean joinery with acoustic elements establishes a continuous, grounded harmony across the entire home.
- A custom bathroom wood vanity diy build introduces deep grain patterns to compact water closets while keeping sightlines open across the floor tiles.
- Structural tiered plant stand joinery draws the eye upward toward natural daylight, gathering trailing foliage into a sculpted vertical garden.
- Installing overhead wood ceiling slats breaks up harsh overhead light reflections while absorbing reverberant noise bouncing between hard plaster walls.
These tailored woodwork additions create an interconnected atmosphere where every vertical plane contributes to quiet visual harmony.
Floating Powder Room Vanity with Slatted Undershelf
Mounting an 18-inch-deep console directly into wall studs immediately expands the perceived footprint of a compact washroom. A handcrafted diy floating wood vanity built from moisture-stable teak or rift-sawn white oak pairs beautifully with a shallow stone vessel basin, introducing warm organic grain against cool ceramic wall tiles. To maintain this japandi bathroom vanity over years of daily splash exposure, you must protect every exposed edge with marine-grade matte sealant applied in three thorough coats, paying careful attention to cut end-grains that naturally pull in standing water.
Beneath the primary stone basin deck, a built-in slatted towel shelf vanity maintains open negative space that lets ambient light wash across the tile floor. This lower tier provides breathable storage for rolled waffle-weave linen towels and spare washcloths, preventing moisture buildup without requiring bulky cabinet doors. By selecting this streamlined wood sink console small bathroom setup, you achieve functional storage while preserving the quiet, uncluttered sightlines essential to balanced small-footprint living.

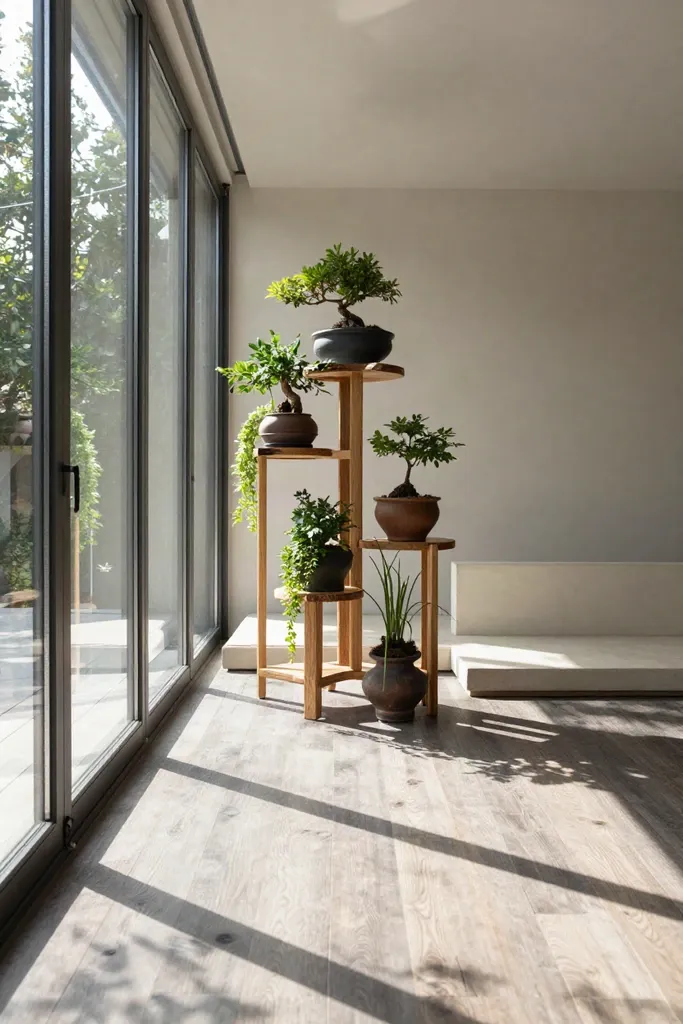
Tiered Solid Oak Plant Stand Pedestals
Arranging window greenery at varied heights draws daylight into your living area while keeping floor traffic completely unobstructed. Crafting a custom diy tiered plant stand relies on interlocking half-lap joinery to assemble a lightweight yet stable structure that turns potted foliage into a sculptural vertical installation.
- Cut slender tripod legs from kiln-dried white oak, establishing staggered platforms at 16, 24, and 32-inch elevations for your oak plant pedestal trio.
- Mill three circular top discs and buff each surface with natural carnauba wax to protect the porous wood grain against stray watering spills.
- Assemble your potted greenery onto this japandi plant display wood arrangement, balancing trailing vines on top with weightier ceramic planters on the base.
This space-saving small apartment plant shelf creates a living privacy screen next to window glazing, framing natural light without sacrificing usable floor space.
Suspended Timber Slat Acoustic Ceiling Canopy
Hard surfaces such as concrete subfloors, glass balcony doors, and plasterboard partitions frequently produce harsh sound reflections in compact residences. Installing an overhead architectural feature defines intimate conversation zones while taming resonant flutter echoes, achieving cozy comfort without boxing in room dimensions.
- A 48x48-inch diy acoustic wood ceiling cloud constructed from lightweight cedar battens over black recycled PET felt absorbs high-frequency reverberation above dining or lounge seating.
- Suspending this slatted ceiling cloud 84 inches above finished floor height preserves open sightlines across the room while establishing an intimate overhead boundary.
- Securing the suspended timber ceiling panel requires four adjustable stainless aircraft cables rated for at least 50 pounds per corner anchor attached directly to ceiling joists.
This minimalist japandi ceiling design brings warm texture overhead, softening room acoustics while anchoring your primary seating vignette in understated warmth.

Dimensional Clearance Benchmarks and Slat-Wall Lumber Cut Lists
A serene layout relies on breathing room between your custom woodwork and everyday pathways. Before taking a saw to your lumber stock, verify your floor plan against a reliable japandi furniture dimensions matrix so built-ins never crowd your living quarters. Standard interior walkways require 32 to 36 inches of unobstructed clearance to feel natural and comfortable. Dining chairs need a 30-inch pull-out perimeter from the table edge to prevent backs from colliding with walls, while casual bar counters function best with 12 to 14 inches of knee overhang space.
- Establish your floor-to-ceiling variance by measuring the vertical distance at three points along your installation line. Subtract 0.25 inch from the shortest measurement to create an essential expansion tolerance margin that prevents ceiling deflection from bowing your vertical uprights.
- Calculate your wood slat divider cut list for an eight-foot room height using 1x2-inch nominal white oak battens, which measure 0.75 by 1.5 inches in actual profile. Plan your top mounting ledger and bottom runner from 1x3-inch boards, accounting for a uniform 1.5-inch negative reveal between each standing batten.
- Crosscheck your materials against a practical diy lumber sizing guide to verify that all timber runs true without cupping or twisting. Gang-cut your vertical slats to 92.75 inches to accommodate the combined thickness of your top ledger, bottom runner, and seasonal expansion gap.
Careful attention to these small apartment clearance dimensions prior to assembly protects your floor plan from visual crowding, guaranteeing clean circulation through every curated corner.
Curated Neutral Palette Swatch Specifications and Timber Sourcing
A cohesive Scandinavian and Japanese interior depends on organic textures that share similar reflective qualities rather than high-contrast paint schemes. When gathering swatches for your space, harmonize soft matte finishes and earthy raw textiles to ground your japandi neutral color palette in natural light.
- Wall treatments perform best when specified with chalky bone limewash paint color codes that carry gentle beige undertones, softening modern glare through velvety mineral texture.
- Accents and soft furnishings lean into tactile simplicity, pairing unbleached oat linen upholstery and raw biscuit stoneware alongside small touches of blackened cast-iron hardware to add grounded depth.
- Rigorous japandi wood material selection favors kiln-dried white oak and European ash for their tight, straight grain lines, actively bypassing knotty yellow pine or soft construction-grade lumber that warps easily in compact quarters.
- Surface protection requires a thoughtful white oak finish swatch, steering clear of ambering oil varnishes in favor of zero-VOC raw matte hardwax-oils tinted with light white pigments that preserve bare wood warmth.
These deliberate material combinations celebrate organic weathering across your apartment, ensuring each timber element patinas with quiet grace over time.
Strategic Implementation Framework: Balancing Carpentry Complexity and Spatial Impact
Transforming a compact flat with handmade architectural joinery demands an honest assessment of your available workspace, tool inventory, and structural priorities. Successful diy woodworking project prioritization begins with manageable tasks that produce immediate storage gains without overwhelming your living area with construction dust. Accessible weekend projects such as entryway drop-zone pegboards, wall-hung display rails, or slatted shoe benches let you hone your joinery cuts, practice clean sanding, and test finish oils on smaller boards before tackling complex structural installations.
Once you master basic joint alignment and material prep, you can advance along your japandi apartment roadmap toward ambitious structural elements like ceiling-anchored partition screens, platform daybeds, or cantilevered breakfast ledges. Larger interventions demand substantial timber investment, precision dowel joinery, and reliable wall-stud fastening, making thoughtful budget woodwork planning critical to long-term success. Focusing your resources on one defining architectural statement gives your compact layout a tailored, peaceful focal point that unifies the entire home without unnecessary stress.